I have two boys, Liam (age 8, deafblind, braille reader) and Finn (age 5, typical vision and hearing). I remember when someone first suggested that I expose Liam to scribbling and art, I thought they were crazy! It made no sense to me at the time that a child who is deafblind or blind should experience art or drawing. In the years since then, I have seen how much he has enjoyed these tactile experiences and how they have helped him to develop tactile discrimination skills as a braille reader (and writer!).

The kit also included different “how-to” YouTube video lessons to show you how to use the materials in the kit. My goal was to complete one lesson per week with my boys; it was great to have art activities that included both of my children. I wanted to share some of the activities we tried and how we applied them to other projects we created.
Coloring and drawing
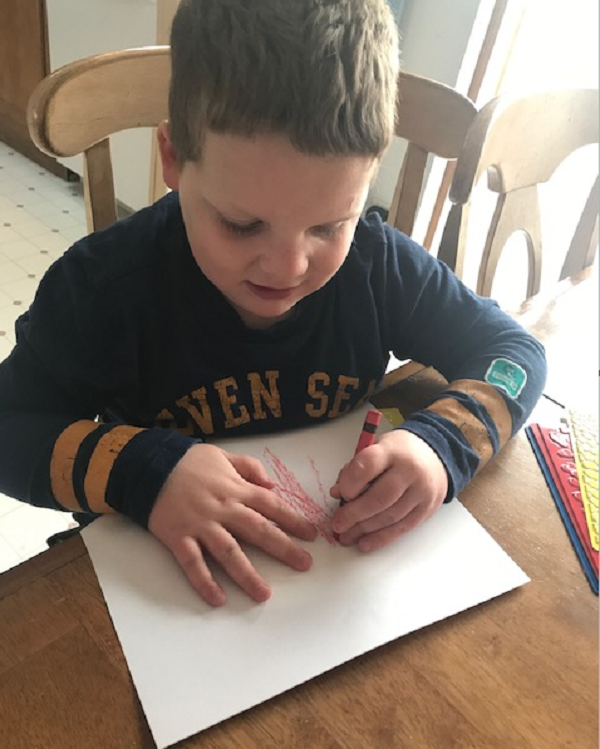
We’ve done this before, but the kit included a lot of different textures we haven’t used before. You place a piece of paper over a textured surface. You can use crayons and pens to color over a variety of textures to create touchable designs! Liam’s favorite was a ball point pen over sandpaper.


Here are some ideas of textured surfaces you can try:
- Plastic animal print squares
- They can be found on Amazon.
- Sandpaper
- Braille grid paper
- Screen
- Cross stitch plastic canvas
Sensational Black Board

It’s an awesome board that is slightly stickyand rubbery on one side. You place the paper over it and you can draw. It instantly creates raised lines without the need for flipping the paper over. I have never seen this before. I have seen other things similar to this but you can use regular paper and the lines are created with ease. It can be used for drawing and practicing shapes and designs. Liam even liked feeling his name and his brother’s name spelled in print. I love the convenience of the Sensational Black Board. All you need is the board, paper and a pen and you can instantly create tactile graphics and designs! It is a little expensive, however I feel that the benefits and the convenience of this board are worth the expense.


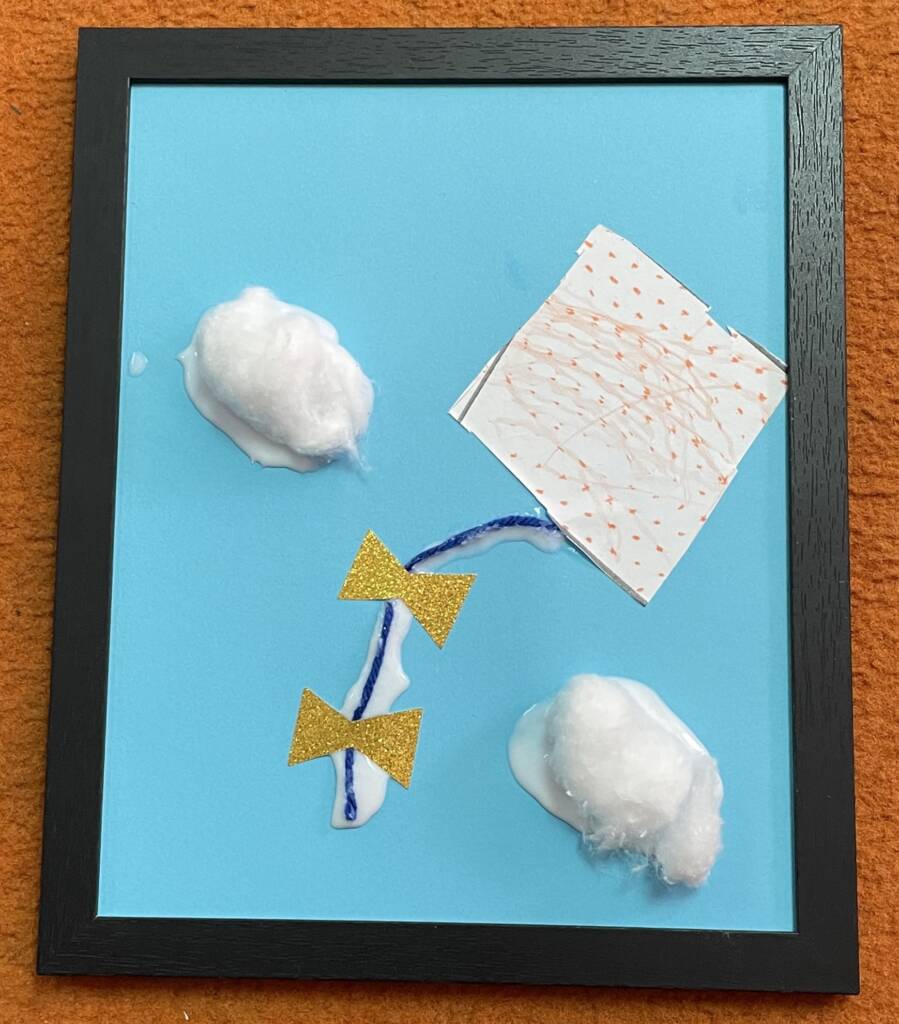
Another lesson taught us how we can use the Sensational Black Board to cut out shapes. Both boys loved learning about and drawing “closed” shapes on paper that was placed over the blackboard. You need to push firmly as you draw and then you can punch out the shapes! You can use the shapes to glue on paper and create a design! Liam made a snowman and Finn made a Christmas tree! Liam loved creating a collection of random shapes, and he carried them around in his pocket all day.
Using our new “skills” for other projects: Illustrating a Book

We were able to use our newly acquired art skills to illustrate one of Liam’s new books. I had made Liam a book about the Christmas Story and I purposely left a blank space on the bottom of every page. The purpose of the space was so that Liam could use his new drawing techniques to illustrate the book himself! We started with the cover page, titled “Christmas Story”. Together we cut-out a Christmas Tree (his choice) using the Sensational Black Board and glued it on the cover. Then he wanted to color so we placed the sandpaper under the title page and he colored it. He insisted on knowing what color it was he placed on the cover as well. Finally, to polish off the cover page, he wanted to draw a baby Jesus. So we placed the Sensational Black Board under the cover page and drew a circle for his head and an oval for the body. He was very proud that he was able to illustrate the cover himself.


With this intentional focus on art the past few weeks Liam has now been asking to do “art” and asking for his art kit more than ever before! It has been fun to see his confidence and interest grow! I am thankful for these practical tips that we received from this project. It has definitely got me thinking of how we can transfer these skills to other things for Liam. I love that I have some new tools to help make art accessible for my child!