We are sharing them on Paths to Literacy and hope that others will use them! Please add your comments at the bottom of the page.
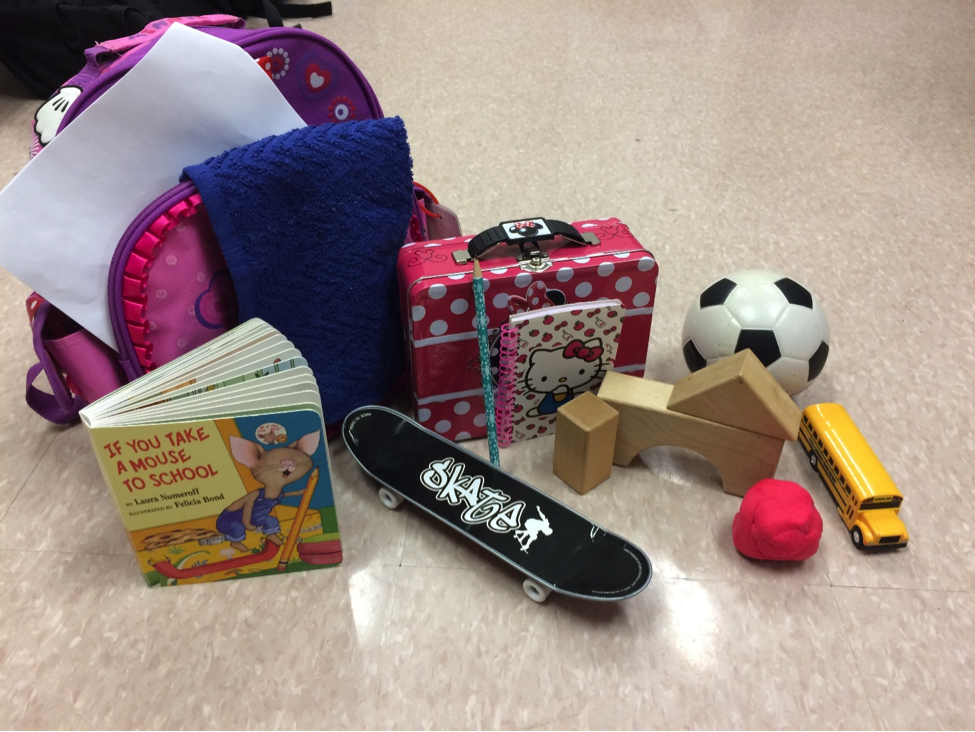
I made a Story box for the story If You Take A Mouse to School. It allows the book to be accessible for all learners. The story box contains objects to act as the illustrations for the book for a student with a visual impairment. It could be used with all different ages depending on the student’s developmental level and skills. I included in my story box: a model school bus, a backpack, a lunchbox, a washcloth, building blocks, clay, a skateboard, a soccer ball, a pencil, a notebook, and paper.
If You Take a Mouse to School
By Laura Numeroff
Illustrated By Felicia Bond
If you take a mouse to school,
he’ll ask you for your lunchbox.
When you give him your lunchbox, he’ll want a sandwich—
and a snack for later. Then he’ll need a notebook and some pencils.
He’ll probably want to share your backpack, too.
When you get to school, he’ll put his things in your locker and take a look around.
He might do a little math, and spell a word or two.
He’ll even try a science experiment!
Then he’ll need to wash up. You’ll have to take him to the bathroom.
Once he’s nice and clean,
he’ll be ready for his lunch. On the way to the lunchroom, he’ll see some building blocks.
He’ll build a little mouse house
and make some furniture out of clay.
Then he’ll need some books for his bookshelf. He’ll start by writing one of his own, so he’ll need a lot of paper.
He’ll probably use up all your pencils.
When he’s finished, he’ll want to read his book to you.
Then he’ll want to take it home. So he’ll put it in your lunchbox, and tuck it in a safe place.
When the bell rings, he’ll run out to wait for the bus.
While he’s waiting, he’ll play a quick game of soccer.
Then he’ll ask you to shoot a few baskets,
and do a little skateboarding.
When he stops to catch his breath, he’ll want to eat his snack. So he’ll ask you for your. . .
lunchbox. And chances are,
if he asks you for your lunchbox,
you’ll have to take him
back to school.
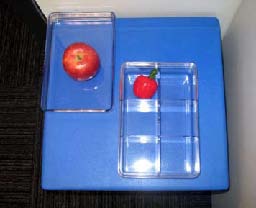
I plan to use my communication symbols with a student with CVI (Cortical Visual Impairment). The activity will be matching the symbols with the objects.

-
I will first present the story with the tactile objects.
-
Then I will present the talking book with the use of the symbols using a large switch.
-
Lastly, I will assess my student by having her match the symbols with the object. I will show her the tactile object, give the verbal prompt to “point to the ____” and have two symbol choices on the all in one board from APH. She will point to the symbol that matches the tactile object I present. The symbols are designed using a yellow background because my student shows a color preference for yellow. They have a heavy black border, and reduced visual clutter by removing the print label. The symbols I chose match the items in my story box. My student will need exposure to the tactile items prior to being introduced to the picture symbols.
Another activity is to have the student sequence the symbols from left to right on the all in one board. As the talking book plays, my student will find the corresponding picture, using the visual prompt on the PowerPoint, and put the symbols in order. As the student becomes more familiar, I can remove the symbols from the PowerPoint, and have the student sequence the symbols.
For another student with multiple disabilities, including CVI, I will use the enhanced symbols to answer the following questions after reading the book:
-
What did the mouse get from the lunchbox?
-
Where did the mouse put his things when he got to school?
-
What did the mouse do before he washed his hands?
-
What did he use to build a mouse house?
-
What did he use to make furniture?
-
What did the mouse do while he was waiting for the bus?
-
What did the mouse take to school with him?
-
What did he need to do before lunch?
-
What did the mouse use to write his story?
-
How did the mouse get home from school?
In order for these picture communication symbols to be used, the students must show an understanding of symbolic relationships. In addition to this, it would be helpful for all the pictures to be of items in the students’ daily life or routine. Those that are not will need to be presented first before the picture is presented to the student.
I will use the tactile communication symbols by introducing the symbols one at a time prior to reading the story to my student who does not understand that pictures represent items. She will also use these communication symbols when answering the following comprehension questions after reading the story and developing an understanding of the symbols. For each question, I would use a black background, and present two-three answer choices.
-
Who was the main character in the story?

-
What did the mouse do while waiting for the bus?
-
What items did he need to write his own story?
-
What items did he use to make a mouse house at the school?
-
How did the mouse get home from school?
-
What did the mouse pack in his backpack for school?
-
What did the mouse need to do before lunch?
-
What items do you have at school?
-
What did the mouse make furniture out of?
-
What item is good for holding school supplies?
I chose the mouse as a communication symbol, because I feel like it is important for the student to understand the story element of character. The mouse is an appropriate size and is similar to the texture of a mouse. I chose the round wooden ball to represent soccer. The student will be pre-taught that ball means soccer. I chose the small wooden block, because it is made with similar material and is the same shape as building blocks. I chose the tire to represent bus, because the student is able to understand that a bus has wheels. I chose the small skateboard, because the student has prior experience with a skateboard and knows what it is. I chose the small piece of clay so that the student would be able to feel the texture, and realize it’s the same as the clay she has experience with. I chose the strap to the lunchbox, because it’s a real-life piece of material that is found on the student’s lunchbox. I chose the buckle to represent backpack, because this too is found on the student’s real-life backpack. I chose real paper and real pencil because they are most-like the actual items of the student. I chose the smaller notebook, because it still contains the wire spiral bound top, the cover and the paper. Lastly, I chose the piece of the washrag, because the student has prior experience with that item.
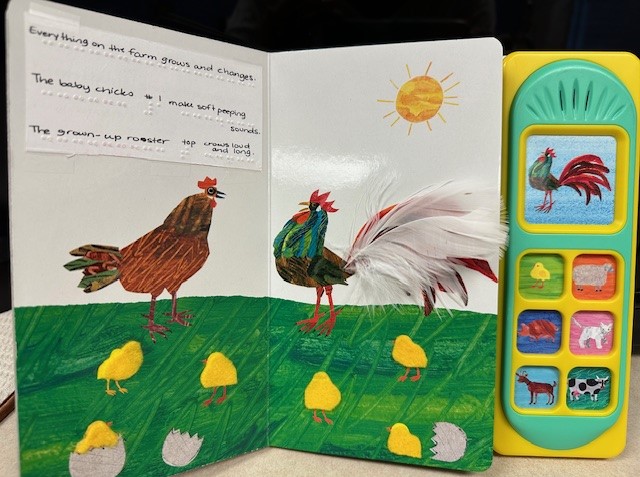
Some students may prefer to use a talking PowerPoint book to read along with the book, while listening to the audio version.
This talking book is based on If You Take a Mouse to School by Laura Numeroff.