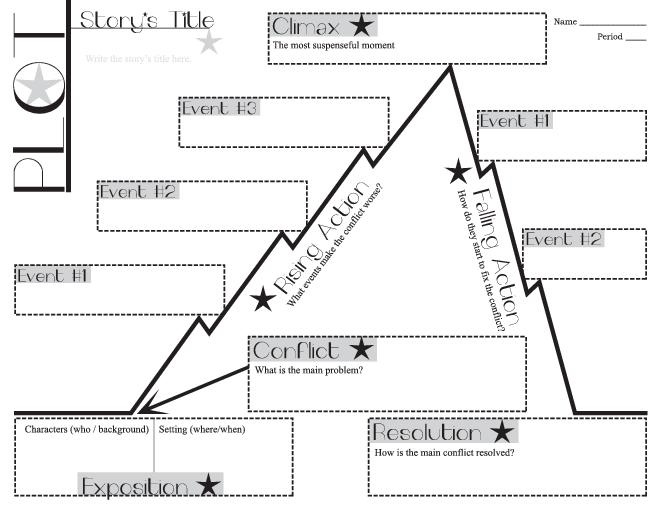
When teaching student how to break down the plot of a story, many teachers use plot diagram graphic organizers. Since graphic organizers are a visual teaching aid, the diagram may be ineffective for students with visual impairments. My lesson using a stair well or a sliding board was adapted from a graphic organizer that I have used to teach plot development in narrative writing when preparing students for the Ohio Graduation Test. (Amsco’s Mastering the OGT: Writing (2005) by Lesli J. Favor, Ph. D.)
Objective
After reading and analyzing a story, students will break down the plot (exposition, rising action, climax, falling action, resolution) and identify the information and/or events of each part.
Materials
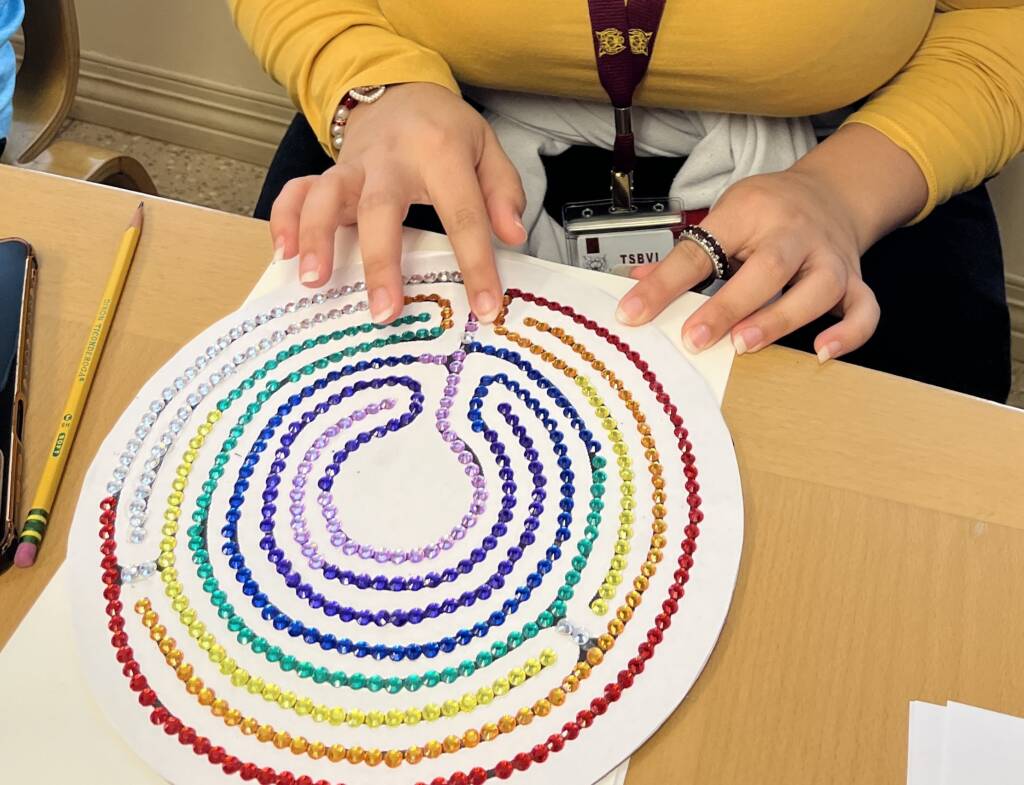
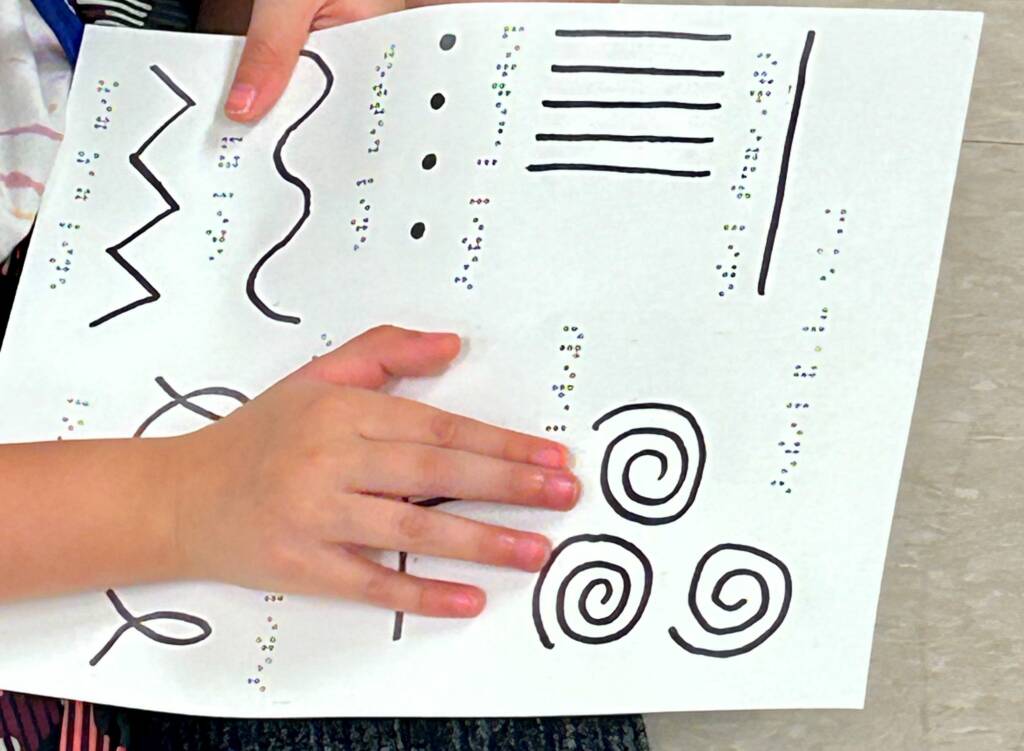
- Tactile plot diagram (see image below)
- Story (novel, novella, short story)
Procedure
- Introduce and define the part of a plot: exposition, rising action, climax, falling action, and resolution.
- Provide students with a tactile plot diagram so students can preview the lesson.
- At the stair well or at the bottom of the ladder of the slide, explain that area represents the exposition of the story. It is all of the necessary background information needed for the story – setting, characters, initial conflicts, etc.
- As the students ascend the stairs or the ladder, have them outline the events of the rising action of the story. Each step would represent one event leading to the climax. Make sure that students are retelling the events in chronological order. (Prior to the lesson, you may want to have the students come prepared with 4 or 5 events they would include in their rising action.)
- The top of the stairs/ladder represents the climax of the story. Have the students state what event is considered the turning point of the story.
- As the students descend the stairs or slides down the chute, have them provide what events occurred during the falling action of the story. This is where the loose ends of the story are tied up and when the action draws to a close. (When using a sliding board, have them rely the information prior to sliding.)
- Once the students descend down the stairs or the sliding board, they have arrived at the resolution of the story. Their activity is complete as well as the activity of the story.
Variations
- Consult the students’ O&M instructor prior to conducting this lesson.