Tips and guides
Connecting to a BrailleNote Touch Plus via Zoom Meeting
Step-by-step instructions to connect to a BrailleNote Touch Plus via Zoom Meeting
and by Byron Grosselfinger
The COVID-19 virus has changed the perspective of many schools on how they are going to deliver curriculum materials to students and unfortunately, many of the braille students within this mainstream setting, were not prepared with materials ahead of time to take home during the quarantine period. Those students who have access to the Internet and who already are using a BrailleNote Touch Plus device, have the option of continued support from their Teacher of Visually Impaired Students through the utilization of the online meeting platform, Zoom.
This will allow the teacher and student to work on electronic files that are either already saved on the BrailleNote, through the Cloud servers, or via e-mailing of work to complete. Unfortunately, tactile diagrams/graphs/charts and other hands-on materials are not accessible.
Materials needed:
- Teacher computer
- BrailleNote Touch Plus
- Internet connection
- ZOOM Meetings Application
Procedure:
Steps to follow for the student on their BrailleNote Touch Plus
-
Install the apps
- Search ZOOM Cloud Meetings

- *Students do not need accounts to join meetings started by teacher.
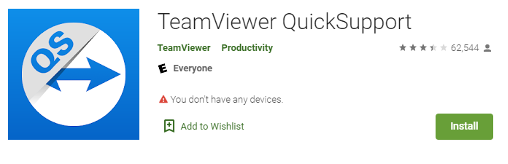
NOTE: If a parent or caregiver needs to assist in setting things up, the app: TeamViewer: Quick Support is a perfect solution to install.
Ipad
- Install ZOOM Cloud Meetings from Apple iOS App Store
- NOTE: This is only if needed. Install TeamViewer: Quick Support.
Teacher Steps
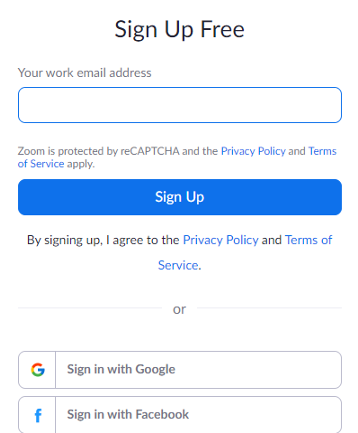
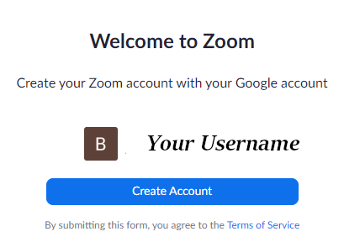
Install Zoom meeting on your computer. Go to the website: https://zoom.us/
- Follow the prompts below. If you have a school account via Google, this is the recommended method of signing up.
Important Notice: Zoom has removed the 40 minute time limit for schools affected by the Coronavirus. The meeting limit on your free Basic account has temporarily been lifted.
- Once you sign up for an account, Zoom will be downloaded on your desktop as an application.
- Open the ZOOM Application from your desktop and click meetings.
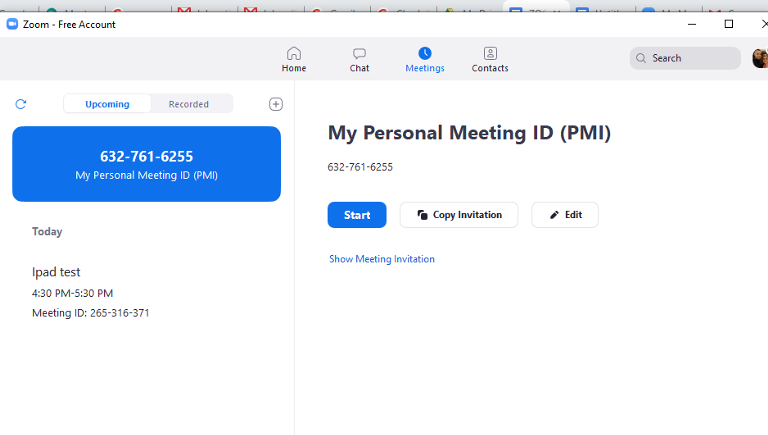
- From this screen, click copy invitation.
- Email the invitation to your student.
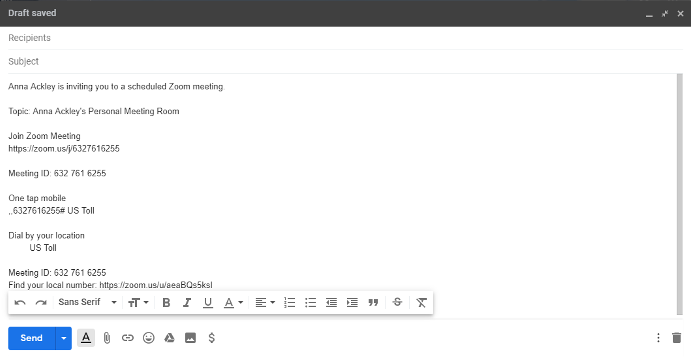
(PMI) Personal Meeting ID
As an alternative, if you schedule a time to have the meeting with your student, they can open the Zoom app and enter the PMI number of your account.

PMI
After the installation of Zoom onto your computer, you will have a Personal Meeting ID assigned to your account. This number will remain as a constant for anytime you want to start a new meeting.

Your student will follow these steps:
- Open Zoom and type the letter “J” to place the focus on the “Join Meeting” button. Press Enter or a cursor routing key.
- The student will land on the “Enter Meeting ID” text box. The student will need to enter the PMI number by entering with Computer Braille numbers or “dropped” numbers. *No UEB or Nemeth number sign is required.
- When they press Enter or navigate to the “Join Meeting” button and activate with an Enter or cursor routing key.
- To make the connection, the app will continue searching for the meeting. When the teacher presses the Start button on their laptop screen (on the PMI page), the meeting will commence and the student’s BrailleNote will automatically make the connection into the meeting.
- The teacher’s computer will have a new window asking about audio. Press the “Join with Computer Audio” button.

- The connection to the BrailleNote will take up to 30 seconds to occur.
- The student will follow the Step 3 written below to enable audio.
After teacher emails link to student, the student needs to follow these steps on their BrailleNote Touch Plus.
- Open email from teacher with zoom link
-
Once in email, press “h” to jump to hyperlink
-
Open with
-
Zoom
- Just once or always
- Choose always
-
Please allow zoom access permission
- Got it
-
Allow zoom to record audio
- Allow
-
Zoom
-
Open with
- Now you are In meeting, your cursor will be taken to “call via device audio” select using routing key.
- Press letter “s” until you get to share, click enter or routing key to select.
-
Click “S” until you hear screen- select.
-
Zoom will start capturing everything that’s displayed on your screen
- Click “Don’t show again” checkbox.
- Start now
-
Zoom will start capturing everything that’s displayed on your screen
- Once you select screen, a prompt will appear asking you to allow ZOOM to display over other apps, press that button to allow.
-
Press the home circle button to return to Main Menu
- All applications
- Open Zoom
- Press letter “s” until you get to share- select
- Click “S” until you hear screen- select
- The teacher should now be able to see the screen of the BrailleNote and the teacher and student should be able to communicate.
- Multiple users are able to join meetings at once, so parents and or paraprofessionals can also be invited to join your meeting.