The student with CVI (Cortical/Cerebral Visual Impairment) in Phase I (Roman-Lantzy, 2018) is building visual behavior. Remote learning takes place via two-dimensional (2-D) screens. Information is shared—visually and auditorily—using screens as portals. We cannot hold students with CVI Phase I accountable for interpreting visual information. How can we take advantage of remote learning opportunities for students with Phase I CVI?
The student and the teacher may be able to maintain a connection through their auditory interactions. For some students, this live, auditory connection is very meaningful—not only with the teacher, but also with peers.
Building Routines to Make Learning Times More Predictable
Let us take advantage of scheduled remote learning time by building routines to help make learning times more predictable and to help the student building visual behavior. Use the backlit light source (aka screen) as part of the student’s CVI schedule to try to provide regular and consistent scheduled opportunities for building visual skills. The teacher may support this visual experience by working together with the family to use the stronger, more concrete tactile mode—integrating the use of the tactile identifier object and the calendar box sequence/script to help create a predictable routine around learning time, introducing a routine “vision building opportunity” for the student in Phase I.
Use the object that you have already established as your name identifier or choose object to represent yourself to your student and take several photos on that object. You are encouraged to use a photo of the object for your profile shot if your school uses Google Meets or Teams video call platforms, otherwise you can send the picture to the student’s family. Then create a script (or a video) that you will use with the student. Next send the object to the family and explain how they will use the object symbol to represent your learning time with the student and explain how to use it to transition to learning time and put it in the “All done” or “Finished” when learning time is done.

Step 1: Choose an object
If you already have an identifying object that you have used with your student up until the pandemic shut down, it may be best to use the tactile identifier that you have already used together in person. This allows you to build upon the memories and the relationship that you have already established.
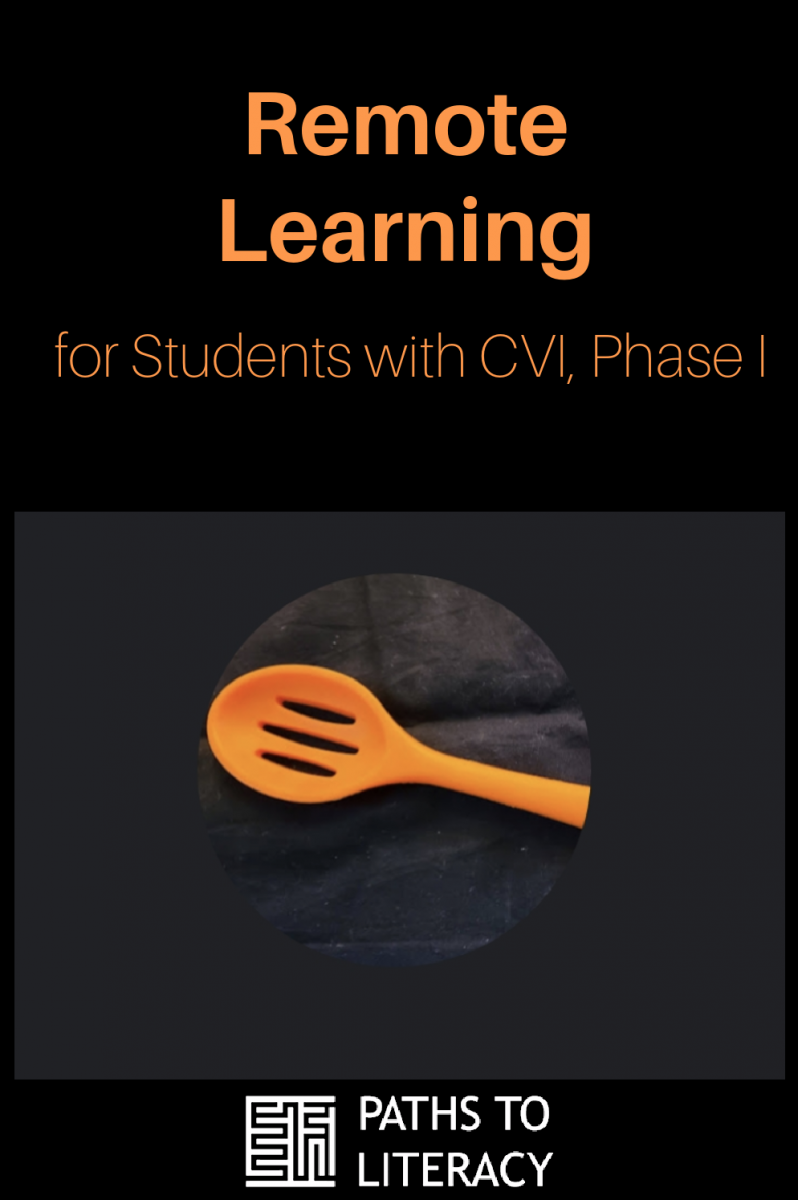
If you do not have a prior relationship with the student from before the remote period or if you haven’t chosen a tactile identifier, now is the time. Tactile identifiers are commonly used with people who have deafblindness or multiple disabilities. When the visual and/or auditory senses are unreliable for helping a student know who they are encountering, the tactile sense may provide more useful information. Your tactile identifier should be an object that is unique to you and an object taken from something the two of you do together often. You want to always have this object on you when you are with this student. (For further more information about tactile identifiers, please see Choosing and Using Tactile Name Cues, Using Personal Identifiers with My Deafblind Son, and Using Name Symbols to Get More (Literacy) Bang for Your (Tactile) Buck.) It is helpful if you are able to access at least two of the object (as you will be sending one to the student). The ideal object would also promote vision use by a student in Phase I of CVI. Determine the student’s preferred color. Find an object that is one solid saturated color or a shiny colored object that is the student’s preferred color that represents you. If necessary, or appropriate you could take an object you normally use and cover it with mylar paper or shiny duct tape in the preferred color of the student. Make sure the object would not be small enough that the student could choke on it, nor so unwieldly large that they may have trouble with the object’s size.

Step 2: Take photos of the object
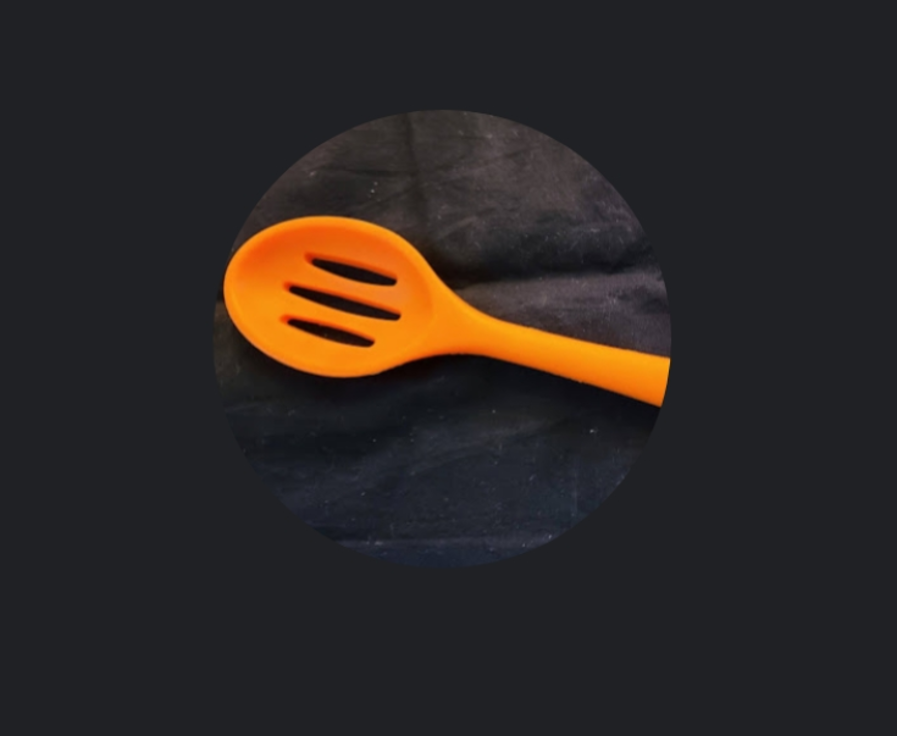
Locate either a black or other solid background for your object. This background should not be reflective. Most fabric works well. The most standard background would be black. If your object does not stand out against black—you may consider another drab color—a light grey or such. Do not use a background that is itself another saturated color.
Take photos of your object on the solid background. Take about 10—at various angles and positions. Take a least 3 that are head on. Choose your profile picture.
Step 3: Create Your Meets or Teams Profile Picture/Photo for Sending to the Family
Use this link to guide you to change your Google Meets profile picture.
Use this link to change your profile picture in Microsoft Teams.
If your district uses another platform, choose one photo of the object and send it electronically to your student’s family.
Step 4: Get the Object to the Family
If it is most convenient for the family to come to the school to get materials—have them access your identifier that way. If you typically send materials, send the object. Tell them that the object is coming so that they will be able to look out for it.
Step 5: The Transition to Learning Time with the Object Symbol
Talk with the family about how to use the object to transition from what they are doing before learning time, to learning time with you.
They need to present the object.
Teach them how to present it to each sense individually.
They would present it visually, with slight movement in each of the visual fields with a solid background in an environment of minimized auditory complexity and slow, rhythmic movement. Give a quiet 20-30 seconds (or more or less as the student requires) in each field.
Then they would name the object and pair it with the name for learning time, presenting it auditorily. If the object can make a noise (maraca, bells) this would be the time to explore that. (Choose both the object name and name for learning time consciously as using these names consistently is a crucial piece of the student’s ability to predict the routine.)
Then they may offer the object tactilely, (presented hand-under-hand, as shown in this video from Washington Sensory Disabilities Services) once the child has shown attention. They may name the object and indicate that whatever they were doing is finished and now is time for learning time (using the determined names for the object and learning time).
Step 5: Scripts During Learning Time
Have a script for beginning learning time and one for ending learning time.
Script to Begin—You want to introduce yourself and you also want to give time for the student to try to engage your vision. If you are able to do a one-on-one live script—maybe 2 minutes total—leave your camera off. For the student in a Meet or a Teams video call the photo will be visually highlighted as you speak.
You want to introduce yourself. For some students, just your voice will help them to know that you are there. Say the student’s name. Tell your name. If there is a phrase that they associate with you, use that phrase. Give long pauses or quiet time periods for your student to attempt to make eye to object contact with the screen. If you want to sing, or incorporate consistent music or a consistent pleasing sound, do so, but also give quiet times with no sound for the student to try to visually connect with the profile picture. Be consistent and repetitive with the same exact words and pauses in the same places.
Talk to the family and your Teacher of Students with Visual Impairments. Help them to position the screen so that the student may be able to make eye-to-object contact with the object that is her/his preferred color. This may mean holding the screen in peripheral fields.
End–At the end of your time together, help the student to put the object symbol in the “All done’”or “Finished” bin. Consistently do this at the end of every session. This may require modelling for the family. If so, turn your camera on to model.
If your session is planned with multiple students and you cannot do this individually with your student consistently—consider making a video. Send the video to the student so that the family may consistently play it before connecting remotely with you. You may even consider an end of session video, if your student’s tolerance of the group activity frequently expires before the activity is over. This way they can end the session by putting the object identifier in the “All done” or “Finished” bin to be sure that it is over.
Conclusion
Though the entire United States has gotten more familiar with the concept of video calls since March 2020, this may be very confusing for students who cannot recognize people visually on their screen.
Through creating a routine devoting scheduled time to helping your student build vision, through the use of a real physical object in the student’s preferred color, and then through attempting to get eye-to-object connection with the screen version of the object in the same preferred color, that it is two-dimensional yet supported by a light that the device itself supplies at the at the beginning of each video call, you add vision-building time into the day each time your student gets on to a video call. This predictable routine may give your student daily opportunities to build vision. With the emphasis on using a tactile transition object and “All Done” or “Finished” box, you are also helping the student to understand this chunk of time and to be able to give it a concreteness. This may strengthen an understanding that when the object goes into the “Finished” bin, the activity is “All Done” and that abstract (video and auditory) connection to the teacher or the classroom is over.