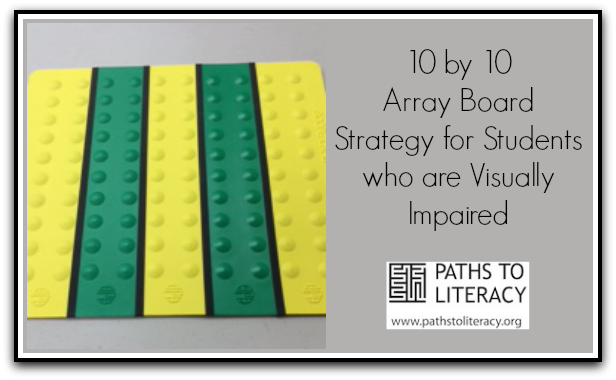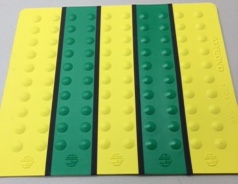
When first learning about the concepts of multiplication around second grade, a sighted child could easily make an array with pencil and paper. I came up with this idea to quickly make an array for a student who is blind or visually impaired, or have the student demonstrate an array herself. I trimmed the long sides of five APH score cards, taped them together on the back side using strips of carpet tape which have a very strong adhesion, then used wide graphic tape on the front side seams. It holds up very well, and you end up with a 10 by 10 re-usable array board.
Materials
- 5 APH Score Cards
- Exacto knife
- Strong carpet tape from a hardware store
- Graphic tape (wide)
Preparation
Using an exacto knife on the back side, cut a quarter inch off both long sides of three cards. These 3 cards will be used on the inside of the board. Cut off a quarter inch on only one long side of the two outer score cards so that the outer edges remain curved and not sharp. Turn cards upside down. Join them together with strips of carpet tape cut 1 cm by 24 cm leaving a centimeter free on the ends. On the right side of the cards, seal the seams with wide graphic tape long enough to wrap around to the back side about 1 cm. (about 27.5 cm long) You don’t want to cover up the back side of the cards because you’ll need to be able to access them when punching dots back into position.

How to Use in a lesson
Usually in second or third grade, students are taught to make an array using dots in columns and rows to learn multiplication concepts, i.e. three columns with two dots in each column would be equivalent to 3 times 2. A pre-made tactile is one way to go, but for a quick, re-usable tool, this 10 by 10 array board you make from APH score cards is the ticket. Much like popping bubble wrap, kids enjoy being able to independently push in the dots to make their own array.
Other uses
- Making rows of patterns: two dots up, one dot punched in, two dots up, one dot punched in.
- Following directions: e.g. punch out only the outer dots. Punch out every third dot. Starting in the lower left hand corner, move up 4 dots and over 2.
- Showing diagonal lines: student can punch out dots from one corner to its diagonal corner.
- Counting for early learners: counting by twos by punching down two dots at a time.
- Fine motor skills: helps with using different fingers, or two fingers at a time to punch out dots.
- Reward chart: instead of stickers, a student can punch out a dot for each completed assignment, or for each good day at school, with a big reward when all the holes have been punched out. Never underestimated the power of the sticker, or in this case, the “power of the punch”!