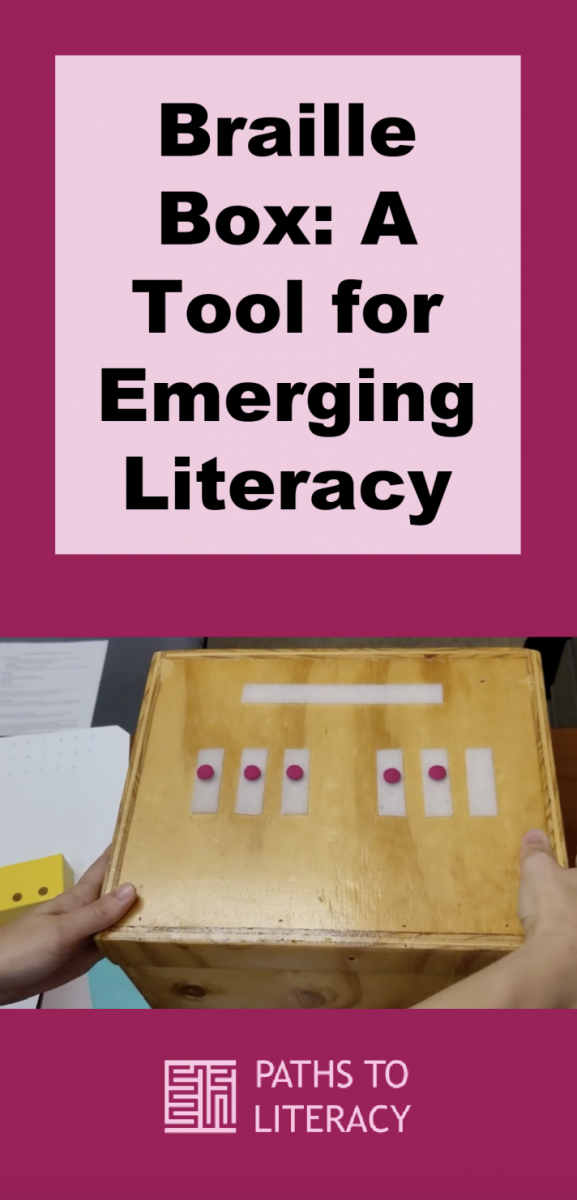
The Braille Box is an instructional tool that aids in concept development and emerging braille literacy.

About Braille Box
I discovered the Braille Box during a session at an AER international conference. It was recommended for emerging braille readers, such as PreK-4 and Kindergarten, as well as emerging functional braille users. I created this for an upcoming Kindergartner the following school year, and it was amazingly effective for learner engagement and retention of information.
In my experience it was a great instructional tool as it facilitated learner engagement and excitement, as well as retention of information. It provided tactual exploration, development of concepts, and meaningful connections.
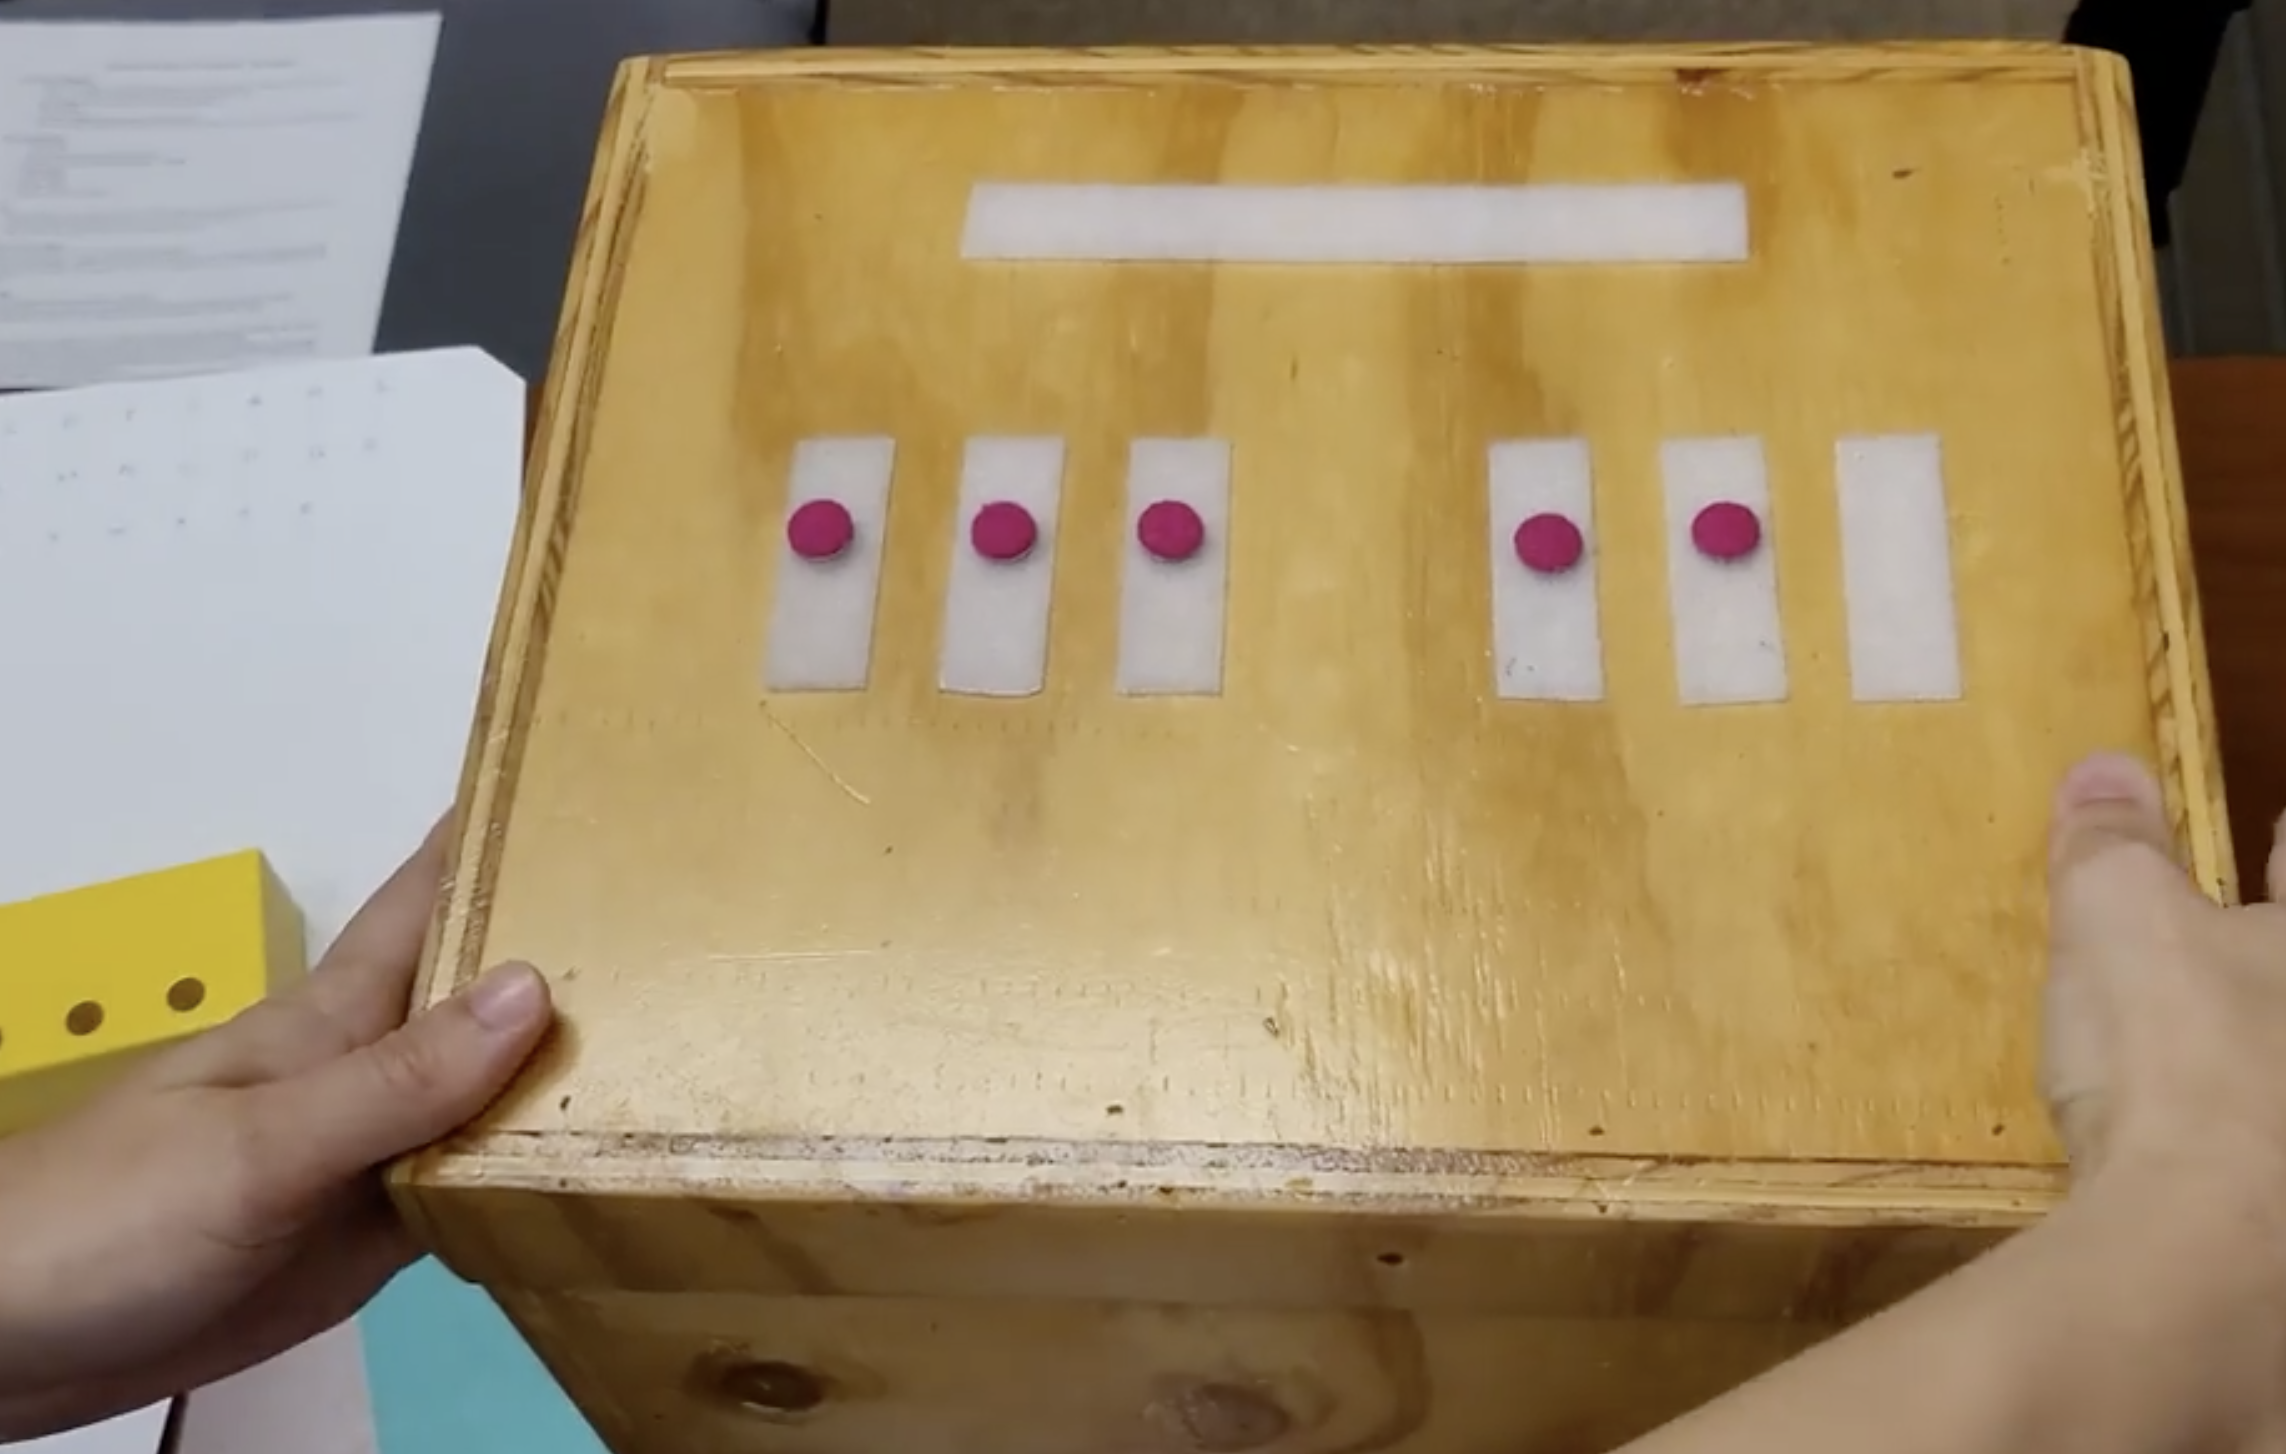
Physical Description
Steps for Instructional Use (brief demonstration video)
- Review braille alphabet and letter sounds with the student.
- Practice the letter of the day/week on a swing cell in both positions (open/closed).
-
Use the pink Velcro dots (located on the keys) and have the learner (as shown in the student video):
- State the dot number, and
- Place dot on the top horizontal strip.
-
Place an object in the braille box that shares the initial letter and sound as the letter you are learning. I found almost all materials from a dollar store.
-
Examples include:
- b: bandaid, buck (dollar), fake bug, ball, book
- c: coins, greeting card, toy car, candy
- e: plastic Easter egg, eraser, electric toy car, emery board
- h: harmonica, hats (party hat, cowboy hat, etc), headphones, clapping hand toy
- i: fake insect, income (coins), ice pack, ice cube tray, instrument (possibly toy guitar or drum from dollar store).
- p: pencil, popcorn, pickle, pennies, poncho (plastic from dollar store), pop rocks (candy)
-
Examples include:

- The student independently opens the box, locates the item, and holds and explores the item. Then, the student is asked to identify and describe the object. This time may be used to expand on concept development. For example, if it’s a toy car, identify that it rolls on wheels, systematically count the wheels top/bottom/left/right, move the car “fast” and “slow”, drive/turn the car to the left, to the right, forwards, and backwards/reverse. Identify the top/bottom/sides.
-
Next, the student practices composing the letter of the word/day using the pink Velcro dots (located on the horizontal strip) by the following steps:
- Remove dots one at a time,
- Place the dot(s) on the corresponding key,
- State dot number.
- Repeat until letter is composed.
- Instruct the learner to place fingers over the dots in correct position for the letter of the day/week, while stating dot numbers. This is an opportunity to reinforce correct positioning before transitioning to the braillewriter.
- Then, the learner transfers the new information to writing a letter on the braillewriter. Briefly review with the braille box prior to writing, if needed.
Adaptations
- The idea is to reinforce the braille cell configuration as it relates to writing, as well as expand concepts. There is room to individualize instruction within this activity. For example, I frequently had the student place his fingers over the braille letter configuration a second time- after he loaded the braillewriter with paper.
- To further expand the function of the Braille Box, an instructor may consider adding strips of Velcro that simulate the closed position of the braille cell.
Demonstration Video
- Video description: instructor briefly demonstrating strategies outlined above. The student included in the video briefly was in kindergarten with a five-degree field in the better eye.
Comparison of Size Options
While a construction plan is provided, Braille Box can be made in varying sizes. I have learned there are pros/cons to the different sizes.
- A benefit to making the box taller (about 7 or 8” in height) is putting larger objects inside. For instance, if your student is learning the letter “p”, you can put an entire pineapple in the box. For younger students, the drawback is the box is too tall and they have to position the braille box on the table where the top/Velcro is facing their chest, as opposed to it being positioned facing up (like a braillewriter).

- The drawback to the shorter box (about 5” in height) is large-scale items do not fit. However, for younger learners, it is optimal height.