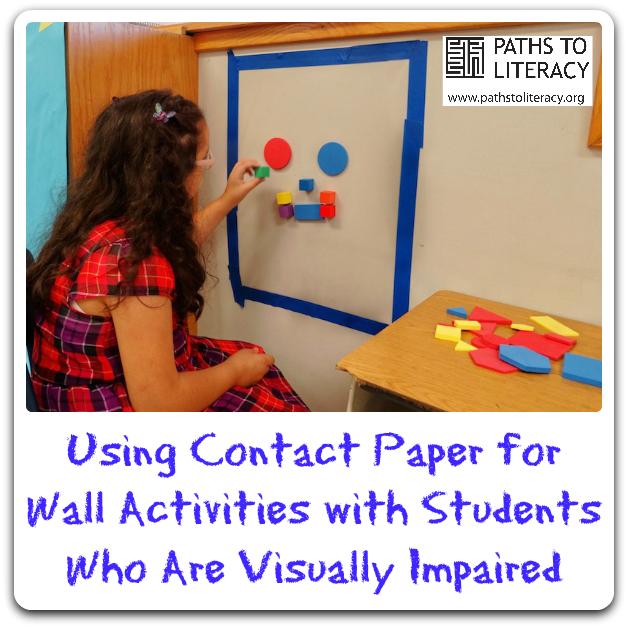
To provide a change in routine or an activity to do while I’m changing up activities, the contact paper wall activity works wonders!
To set it up, take a section of contact paper and peel the paper off of it. Use brightly colored painter’s tape to affix it to the wall sticky side out. Use whatever size suits your needs. Then use foam shapes or cubes and stick on the contact paper.
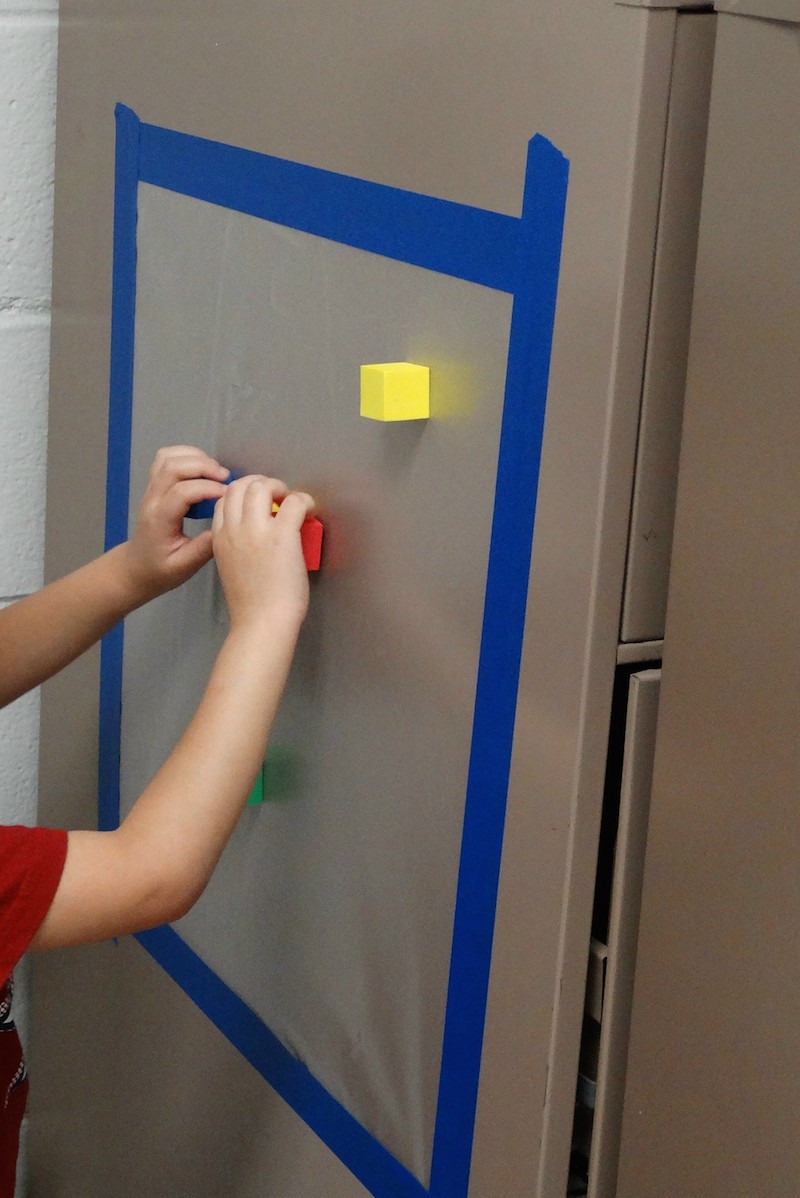
In two of the pictures you’ll see a student working on positional terms. For instance, top/bottom, left/right, beside. Another student is seen creating a face with the different shapes.
The students can stand or sit while working on this. I’ve put it on a door instead of a wall and it’s worked great there too. Its life span is about two weeks…depends on the usage it gets.

Materials
- Clear contact paper (not the dollar store brand, as it needs to be good quality)
- Painter’s tape
- Foam blocks, shapes, etc.