Creating learning materials that support every student requires more than clear text. It means offering pages that invite learners to see, touch, hear, and interact with ideas in ways that make sense to them. Even as digital tools grow, printed resources remain valuable because they are flexible, tactile, and easy to adapt. This article shares simple, practical strategies to make print materials more inclusive, more sensory-rich, and more engaging for all learners.
What makes learning materials “inclusive” and “multi-sensory”?
Inclusive, multi-sensory materials give every learner meaningful access to content by removing barriers and engaging multiple senses for deeper understanding.
Inclusive learning materials
Inclusive learning materials ensure every student can access and participate in lessons, regardless of sensory, cognitive, or motor needs. Using Universal Design for Learning principles, educators provide multiple ways for students to perceive and interact with content, reducing barriers and promoting independence.
Inclusive print materials typically:
- Support a wide range of visual, cognitive, and motor needs
- Offer multiple entry points such as large print, simplified layouts, or tactile cues
- Provide alternative formats, including braille or textured symbols
- Reduce unnecessary visual clutter to help learners focus on essential information
Multi-sensory engagement
Multi-sensory engagement uses sight, touch, sound, and movement to help students process and retain information. A single printable may combine visuals with textures, audio cues, or movable pieces to create a richer learning experience. The article, A Multisensory Approach for Children with CVI, shows that activating multiple senses enhances understanding, especially for learners with visual impairments, and boosts memory for students.
Benefits of multi-sensory learning include:
- Stronger engagement and motivation
- Improved memory and deeper understanding
- Increased independence and confidence during learning
4 key elements of multi-sensory print-based resources
Multi-sensory print materials become most effective when they combine visual clarity, tactile features, auditory support, and opportunities for movement. Each element contributes a different mode of access, ensuring learners can connect with the content in ways that match their strengths and needs.
Visual accessability
Visual accessibility ensures that learners with low vision, CVI, or processing challenges can clearly see and interpret information. Strong visual design reduces cognitive load and supports better focus.
Effective strategies include:
- High contrast between text and background to improve readability.
- Large print formats that support learners with reduced visual acuity.
- Clear spacing and simple layouts that help students track information more easily.
- Bold lines, consistent color coding, and visual cues that guide attention and highlight key concepts.
Tactile components
Tactile features help students who rely on touch to explore, identify, or organize information. They are especially valuable for learners who are blind, have low vision, or benefit from hands-on sensory experiences.
Useful tactile elements include:
- Raised lines, textured shapes, and tactile symbols that mark boundaries or represent objects.
- Braille labels or dual-media resources that combine large print with braille so multiple learners can use the same material.
- Foldable or layered printables that allow students to lift, feel, and manipulate pieces during exploration.
Audio pairing
Auditory support enhances printed materials by giving learners an additional pathway to receive instructions or content. This is helpful for students who struggle with decoding text, learners with visual impairments, or those who benefit from verbal reinforcement.
Effective auditory pairings include:
- Audio guides that explain steps or describe concepts
- QR codes connected to recorded instructions, vocabulary, or sound effects
- Verbal prompts that accompany activities and help learners follow along independently
Kinesthetic elements
Kinesthetic components encourage movement and hands-on interaction, making lessons more engaging for learners who need physical involvement to maintain focus or process information. Keep in mind that students with visual impairments may need extra support in this area.
Examples of kinesthetic elements include:
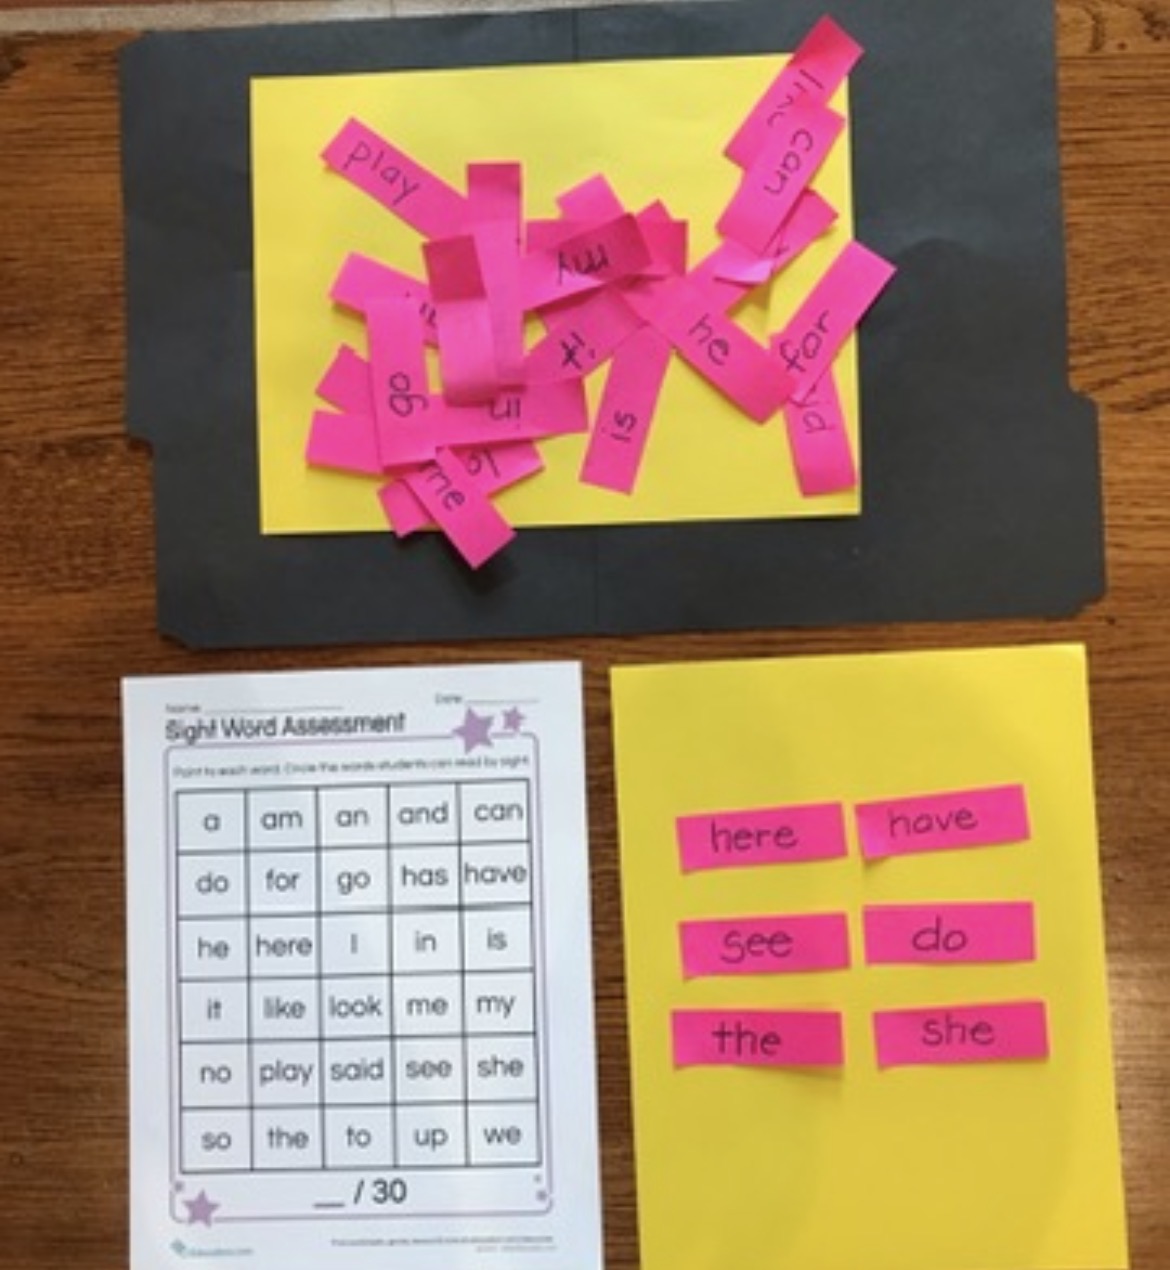
- Cut-and-paste activities that build fine motor skills and support sequencing.
- Moveable pieces that students can place, sort, or rearrange.
- Sorting, matching, or sequencing cards that promote active decision-making.
- Interactive notebooks where learners flip tabs, lift flaps, or assemble mini-pages.
Creative ways to build multi-sensory print-based materials
Multi-sensory print resources can be created by enhancing simple worksheets or designing new materials with visual, tactile, auditory, and movement elements. The ideas below show how to make print tools more accessible and engaging.
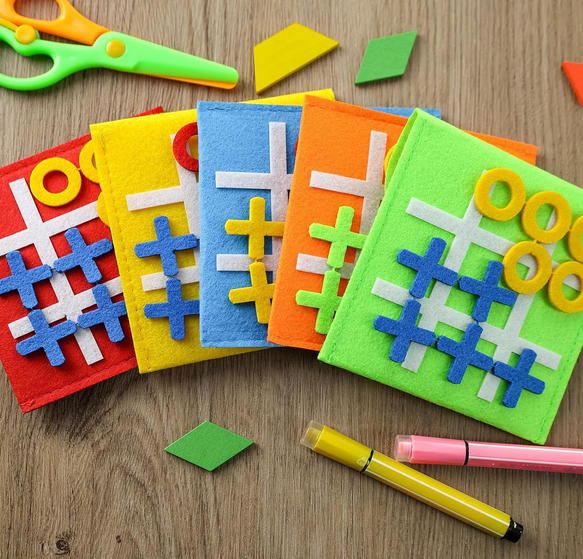
Adapt Regular Worksheets to Be Multi-Sensory
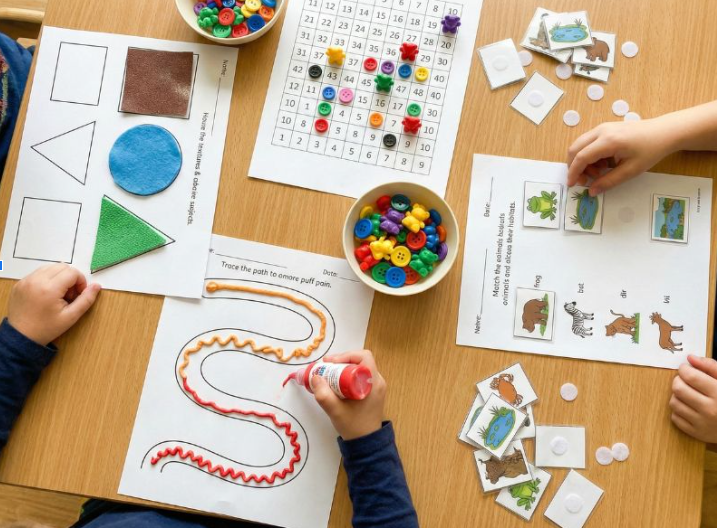
Many standard worksheets can be made more engaging simply by adding sensory elements. Textures, raised borders, and manipulatives help learners explore content through touch and movement, making the experience more concrete. Make sure the worksheets are not too complex and follow your students IEP (Individualized Education Program). Make sure the specially designed instruction for accessing materials is followed.
You can adapt worksheets by:
- Adding textured materials such as felt, sandpaper, or foam to shapes and paths
- Using raised borders created with puff paint or glue to help students stay within lines
- Pairing worksheets with manipulatives like buttons, counters, or small objects
- Converting matching or tracing pages into interactive, hands-on tasks with Velcro or movable pieces
Use tactile graphics and symbols
Tactile graphics give students a way to understand diagrams, shapes, and spatial relationships through touch. They are essential for learners who are blind or have low vision and highly beneficial for students who process information best through physical interaction.
Effective tactile materials include:
- Raised-line drawings made with Wikki Stix, puff paint, or textured tools
- Three-dimensional shapes or objects that represent key concepts
- Velcro-backed pieces for sorting, sequencing, or matching
- Textured paper to distinguish surfaces or highlight important areas
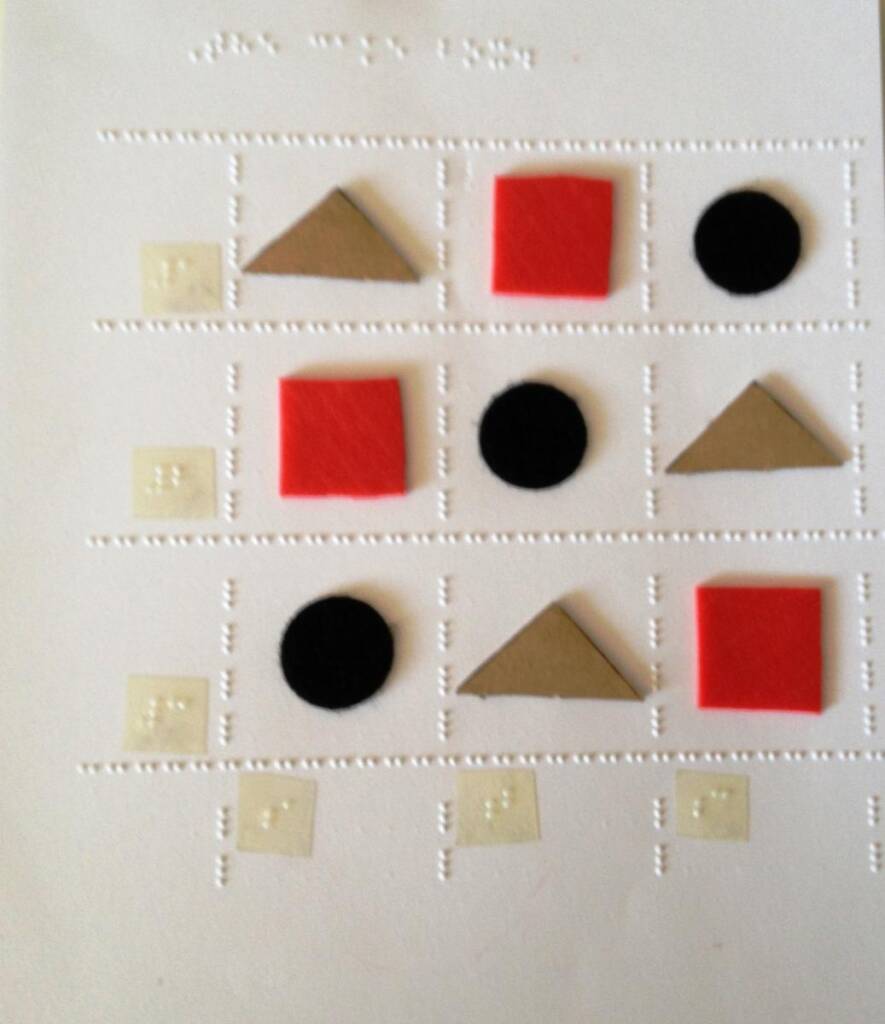
Photo from article: Creating Large Print and Tactile Graphs
Combine print with audio or QR codes
Print-based materials become more flexible when paired with sound. Audio support helps students who struggle with text decoding, benefit from verbal reinforcement, or need alternative ways to understand directions.
You can enhance materials by:
- Providing audio instructions or explanations to accompany each activity.
- Linking vocabulary words or descriptions to short recordings.
- Adding QR codes that connect students to sound effects, stories, step-by-step directions, or teacher-modeled examples.
Interactive print learning kits
Themed learning kits offer a complete set of multi-sensory materials that learners can explore at their own pace. These kits work well both in classrooms and at home because they provide a consistent structure and a variety of tactile and visual tools.
A strong multi-sensory kit may include:
- Tactile cards that use textures, raised lines, or braille.
- Printed pieces for matching, sequencing, or storytelling.
- Sorting mats help students organize objects or concepts.
- Labels in braille and large print to support dual-media learning.
- Components built around themes such as weather, shapes, emotions, letters, routines, or community activities.
How to create an inclusive, multi-sensory printable
Creating an effective multi-sensory printable involves a few simple steps that help ensure the material is clear, accessible, and engaging for diverse learners.
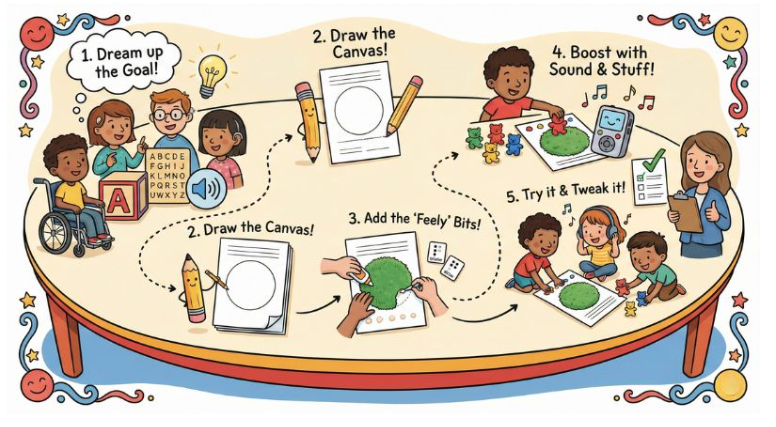
Step 1: Identify the learning goal and sensory needs
Define the skill or concept the printable will teach. Consider the learner’s needs, such as large print, tactile cues, or simplified layouts.
Step 2: Select or create the base printable
Choose a clean, uncluttered worksheet or design a simple template. Make sure the layout leaves room for tactile or visual adaptations.
Step 3: Adapt the printable with multi-sensory features
Add textures, braille, raised lines, or cut-out pieces to support tactile learning. Adjust contrast or text size to improve visual accessibility.
Step 4: Add supplemental sensory input
Enhance the printable with audio instructions, manipulatives, or light movement tasks. These additions give learners more ways to access and understand the activity.
Step 5: Test and refine
Try the printable with learners and observe clarity, ease of use, and comprehension. Make small adjustments to spacing, textures, or instructions as needed.
Tips for teachers, families, and specialists
- Keep tactile pieces, cards, and manipulatives organized in clearly labeled bins so students can access them independently.
- Use durable materials such as cardstock, lamination, and Velcro to ensure that frequently handled items remain in good condition.
- Check readability each time the printable is used, paying attention to contrast, font size, and spacing.
- Begin with simple adaptations and gradually add complexity as the learner becomes more confident and familiar with the format.
Recommended resources & tools
Building inclusive, multi-sensory print materials becomes much easier with the right tools. These resources help educators add tactile elements, improve visual accessibility, and create clean, adaptable printables for diverse learners. Remember that the content of the worksheet is what is important, not how it is presented. Present the material in the simplest format for your student.
Print-based adaptation tools
These tools make it possible to add tactile and interactive features directly onto printed pages:
- Puff paint for raised lines and borders
- Textured paper to distinguish shapes or sections
- Velcro, Wikki Stix, and foam shapes for movable pieces and tactile cues
- Braille labelers to create dual-media materials for learners who use Braille
Printable creation tools
Several platforms allow educators to design clean, customizable worksheets:
- Worksheet maker tools (Worksheet Maker, for example) for fast, structured templates.
- Google Docs and Canva for flexible layouts and visual design.
- Boardmaker (when available) for symbol-based communication and structured activity pages.
- SnapType an online platform to complete and adapt worksheets
Accessibility considerations
When creating or adapting print materials, it is important to check:
- Reading level and clarity of language to ensure learners understand instructions.
- Font size and spacing to support students with visual or processing difficulties.
- Contrast levels to make text and graphics stand out.
- Dual-media needs, such as combining large print with braille or adding tactile symbols.
- Complexity of the material keeping our CVI (cerebral/cortical vision impairment) in mind.
Conclusion
Multi-sensory print-based materials make learning more inclusive by offering students multiple ways to see, touch, hear, and interact with content. These resources boost understanding, engagement, and independence for diverse learners. Educators can try creating a tactile, audio-supported, or interactive printable to experience how these strategies enhance learning. For continued ideas and examples, read more on Paths to Literacy.