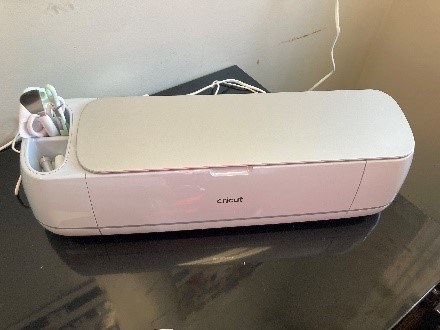
While I knew that the Cricut has been revolutionary for crafters, I only recently discovered its game changing power for the blind and visually impaired community. If you are currently working as a teacher of the visually impaired or orientation and mobility specialist, you know that these jobs entail creating a LOT of adapted materials and signage.
I started using the computer-controlled cutting machine less than a year ago, but I’ve learned a lot. While I’m by no means a Cricut expert at this point, I’m here to share what I’ve learned so far about how to use a Cricut to create great looking tactile graphics and adapted signage.
Graphics
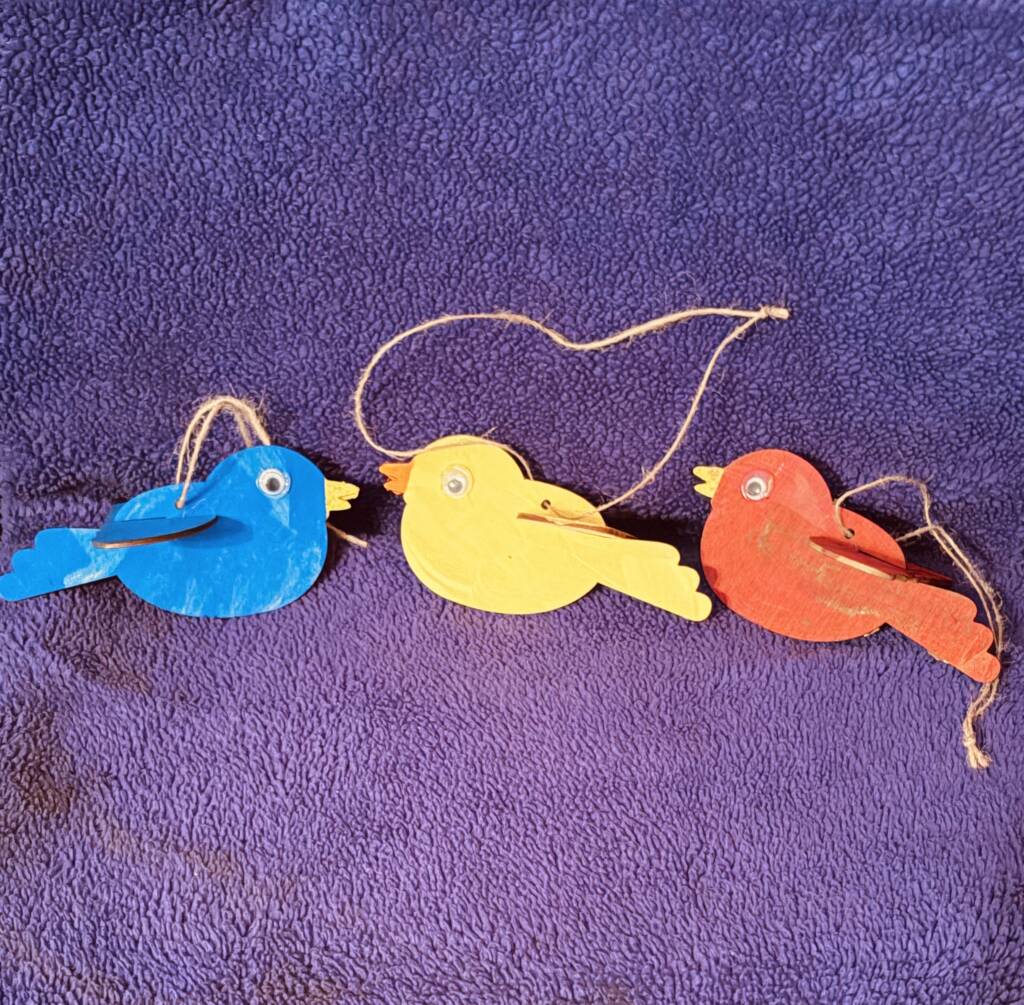
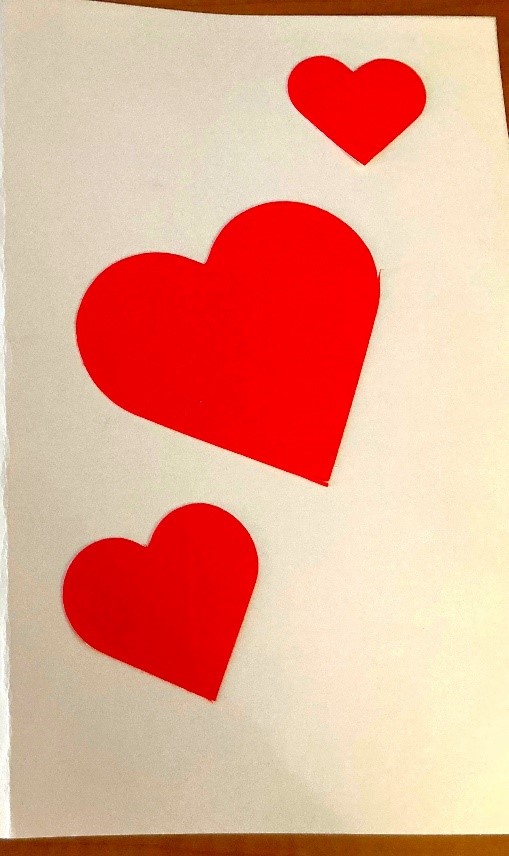
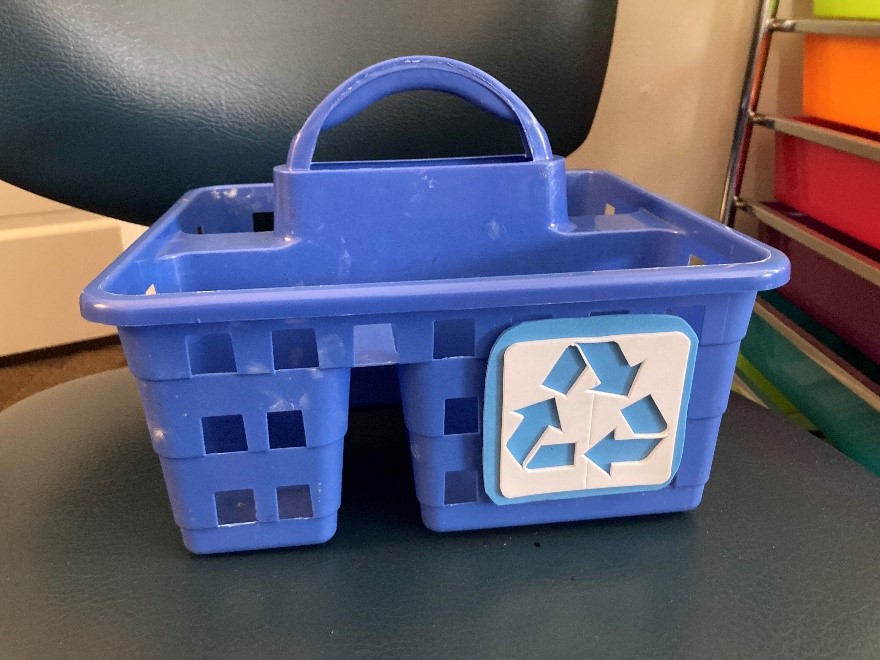
Finding and making tactile graphics can be a challenge but with the right materials and a Cricut, it’s never been easier! I’ve created graphics for individual student lessons on paper, for adapted signage, and materials for instructional programs. There are many images available for free in the Cricut image library and there are also many available for a small charge ($0.99). Another option is downloading an image from the web and uploading it into the Cricut Design Space app where it can be edited. It takes some trial and error, but the results are well worth it!

Materials and Tools
- Cricut and Cricut Design Space app
- Knife blade for Cricut is recommended
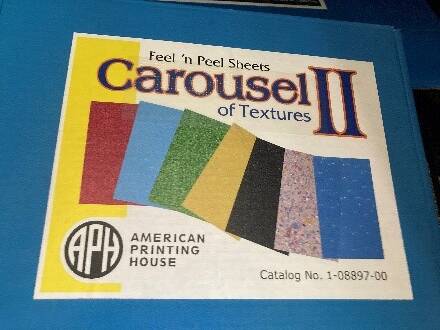
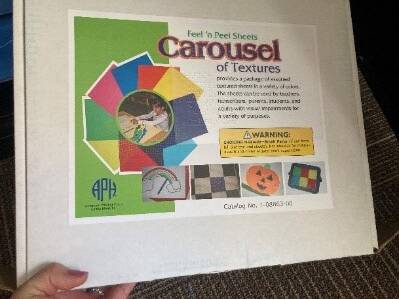
- Materials will vary depending on your needs. I recommend getting the APH Feel & Peel Carousel of Textures I & II as a starting point.
Instructions
- Open the Cricut Design Space app on your computer.
- Select “+ New Project” in the green box on the upper right corner of the screen.
- Select “Image” icon and search for the image of your choosing or “Upload” to search the web if necessary.
- Adjust image size and color. If your image has more than one color, you will need to run the sheets through separately. To avoid this, edit the image so that it is all one color.
- Connect Cricut to your computer.
- Load textured paper onto your Cricut mat, adhesive side down.
- Click on the green “Make” icon in the top right corner of the screen. You may need to adjust how the text is laid out in order for it to fit on the sheet you are using or use multiple sheets.
- Follow the instructions on the screen for blade selection and loading the Cricut mat. You will likely need a knife blade if you are cutting thicker paper. You also may need to run the cut twice if it does not cut through the paper fully on the first try.
- Start your cut by selecting the Start button on the Cricut when prompted.
- Remove the image from the mat and place it on your mounting material.
- Use and enjoy!
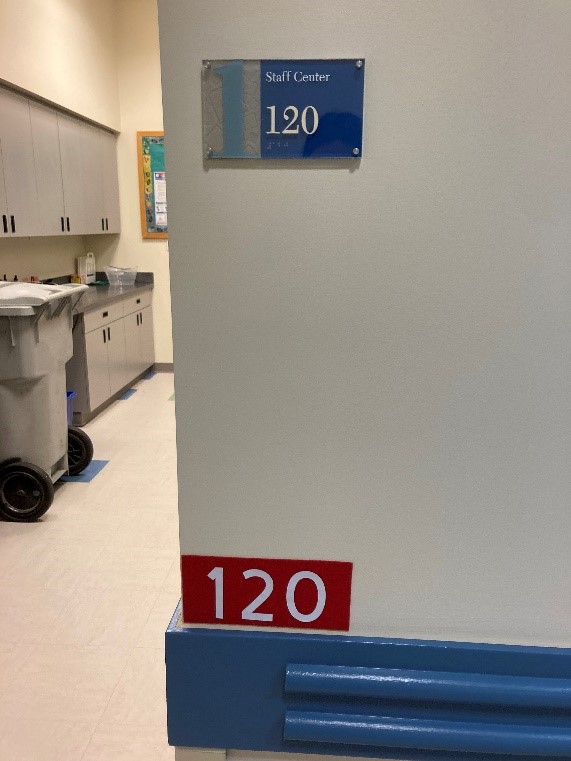
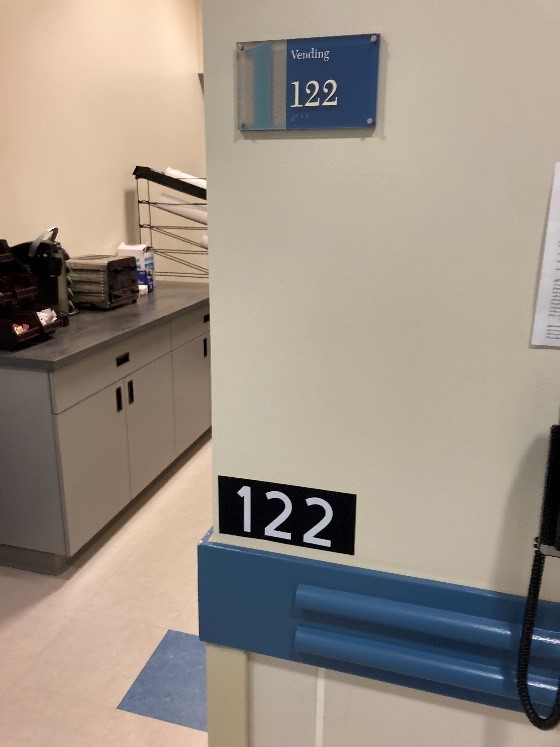
Adapted Room Numbers
Teaching the use of room numbers is an important skill in orientation and mobility. I love to use room numbers rather than arbitrary symbols, even with students with multiple disabilities, identifying the numbers becomes a natural opportunity to imbed functional math skills. (In the examples I show I am working on color discrimination with my students, as well.)
In my school building, the room number signs are located at the standard height of 5 feet off the floor, which is too high for my younger students and students who use wheelchairs to access. As a result, I often find myself making adapted room numbers. One way I’ve made these is with the Cricut.
Materials and Tools
- Cricut (I use a Cricut Maker 3) & Cricut Design Space app
- APH Carousel of Colors Feel & Peel Sheets
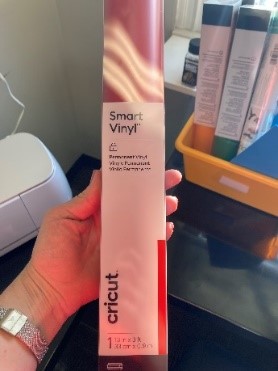
- Smart Vinyl

Instructions
- Open the Cricut Design Space app on your computer.
- Select “+ New Project” in the green box on the upper right corner of the screen.
- Select “T Text” icon to create a textbox.
- Write in the desired numbers and adjust the size and font as desired in the toolbar across the top of the screen.
- Repeat process to create more room numbers.
- Connect Cricut to your computer.
- Cut and load paper onto your Cricut mat, adhesive side down.
- Click on the green “Make” icon in the top right corner of the screen.
- Follow the instructions on the screen for blade selection and loading the Cricut mat.
- Start your cut by selecting the Start button on the Cricut when prompted.
- Place the vinyl numbers on your desired backdrop and mount in desired location.
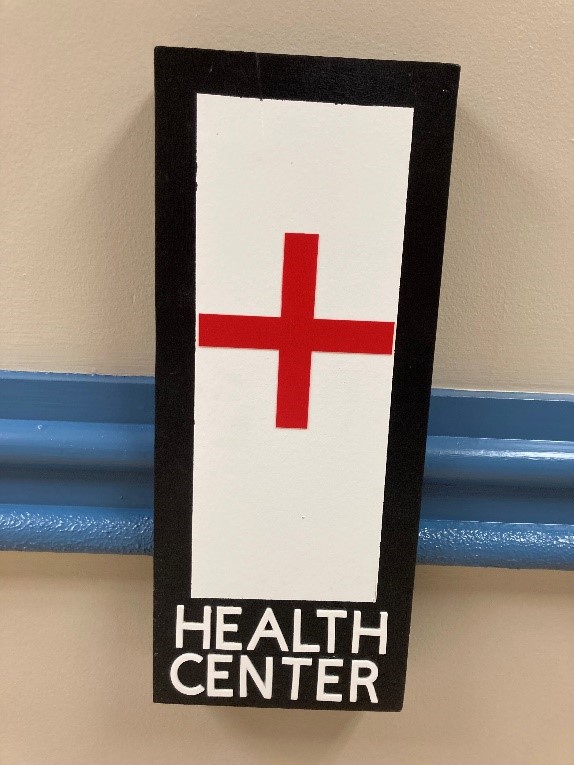
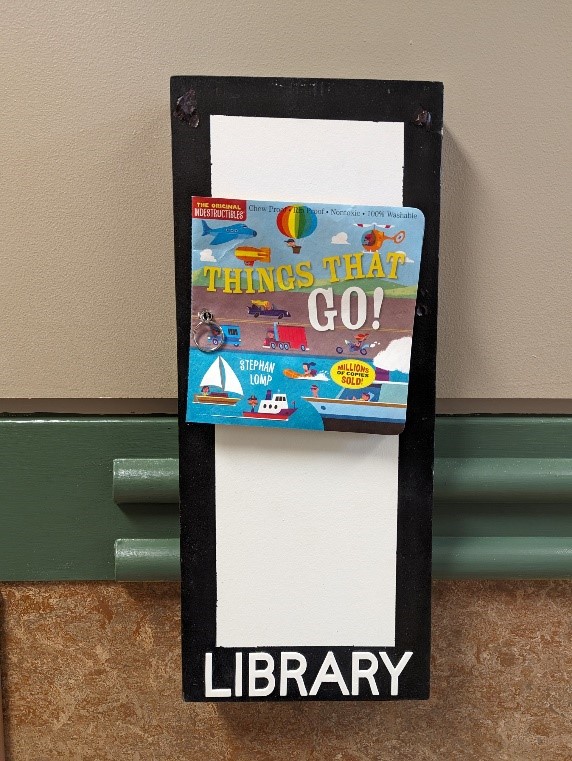
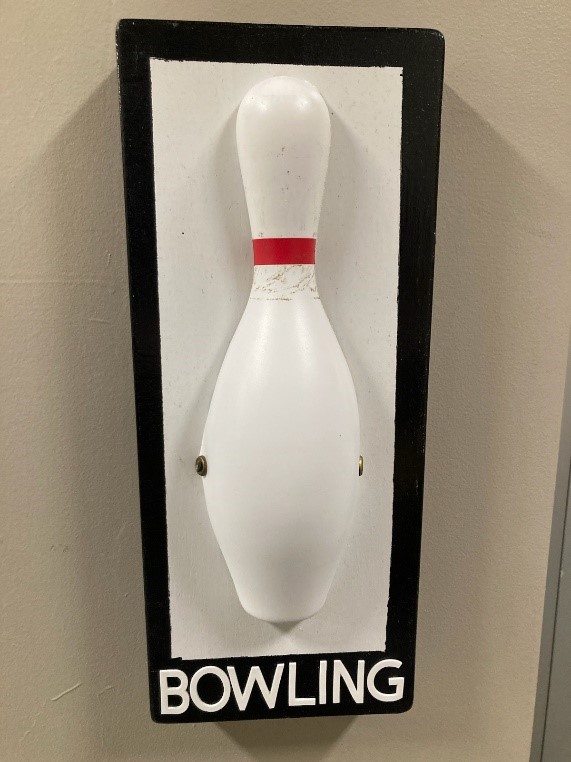
Adapted Print Signage
As with room numbers, standard signage is often insufficient for our students with multiple disabilities and visual impairments. Our orientation and mobility department worked with our building and grounds department on a large project to create what we call landmark boxes, which are visual and tactile room markers. We had a hard time coming up with a system for creating the text on these, and this project is what prompted us to buy a Cricut in the first place. After being mounted, the text was covered with a sealer for increased durability.
Materials and Tools
- Cricut and Cricut Design Space app
- Cricut knife blade is recommended
- Adhesive craft foam (found these on Amazon)

Instructions
- Open the Cricut Design Space app on your computer.
- Select “+ New Project” in the green box on the upper right corner of the screen.
- Select “T Text” icon to create a textbox.
- Write in the words you want to use for your labels. Adjust font and size as desired.
- Repeat process to create more words labels.
- Connect Cricut to your computer.
- Load paper onto your Cricut mat, adhesive side down.
- Click on the green “Make” icon in the top right corner of the screen. You may need to adjust how the text is laid out in order for it to fit on the sheet you are using or use multiple sheets.
- Follow the instructions on the screen for blade selection and loading the Cricut mat.
- Start your cut by selecting the Start button on the Cricut when prompted.
- Place the foam words on your desired backdrop and mount in desired location.
- Seal with clear sealer of your choice.