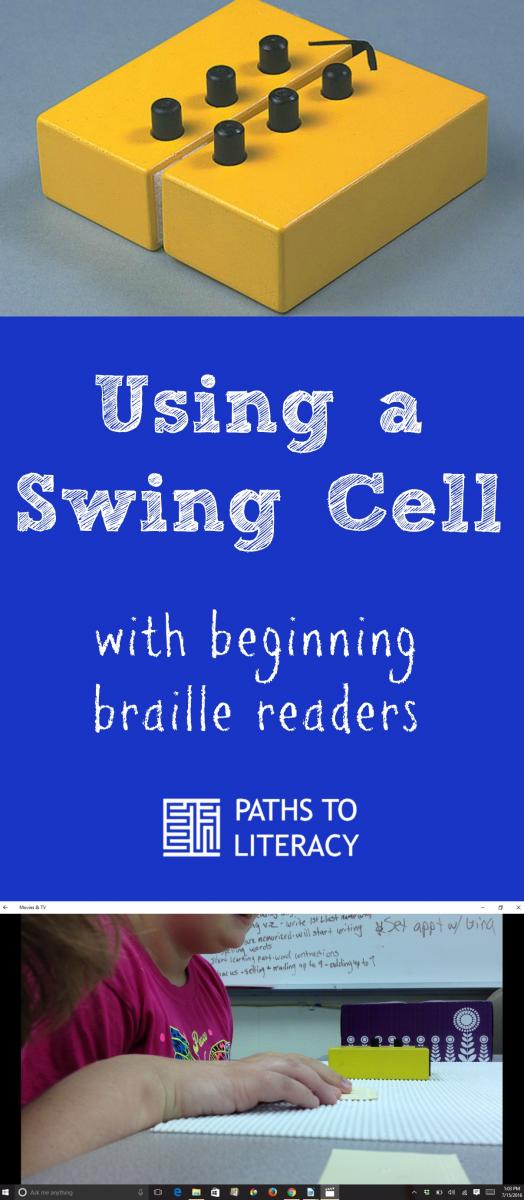
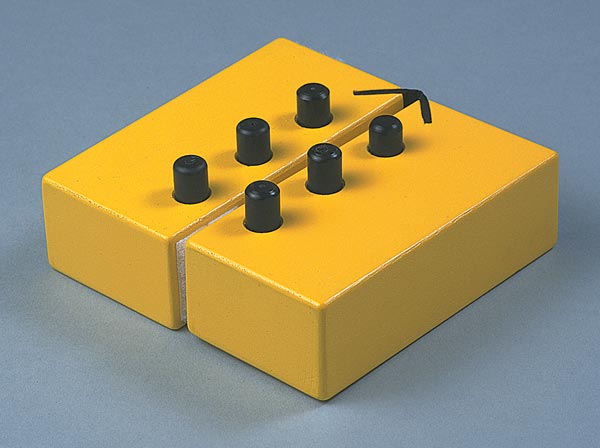
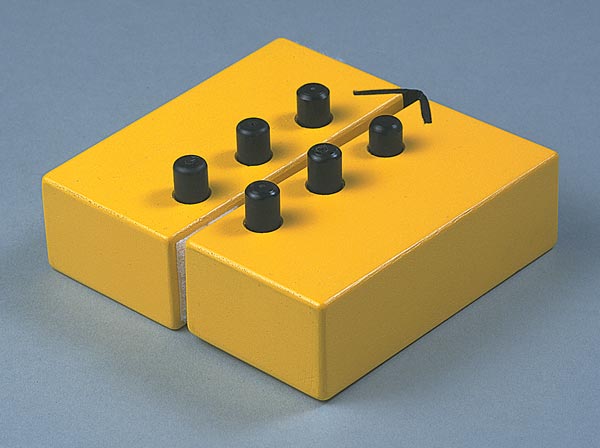
A Swing Cell is designed to help students understand the relationship between the braille cell and the keys on a braillewriter. In the closed position, the removable pegs inserted into the blocks represent the dots in a braille cell. In the open position, the pegs represent the keys on a braillewriter that correspond to each of the braille dots. Internal storage of pegs when not in use.
The suggestions below may be helpful if you have a student who is struggling with transitioning to a conventional braille program. One of my students was successful at tactually discriminating shapes in braille, but had trouble discriminating individual dot differences within the braille cell. My focus in this post is on how I utilized the swing cell for this student.
Understanding the layout was crucial and stood between a tactually aware child and an actual braille reader!
1. Drill the layout of the cell. Repeat, repeat, repeat…!
This may feel like a lot, but as I said before, repetition is huge with all kids, especially if they have additional learning needs.
- Have them count the holes with their index finger, repeating multiple times until they have the order of the dots memorized.
- Begin to put pegs in the holes – in order – then have them take the pegs out – in order.
- Move one peg from hole to hole in order.
-
Begin moving peg around the cell to requested dot number.
- Ex. “put the peg in dot 1”, “now, move the peg to dot 4”, “now, move the peg to dot 2”, “now, move the peg to dot 6” and so on.
2. Provide practice opportunities and exploration.
- Repeat creating dots on swing cell to corresponding dots in letter on flash card.
- Create letters starting with an empty swing cell.
- You can also have them create letters by starting with a full cell on the swing cell and asking them to tell you the dots in a letter like “w” and then have them remove the dots not needed for that letter, like in this case, dots “1” and “3”.
-
Provide lots of repetition until they get the letter.
- Use for when they confuse letters or have letter reversals.
- Discuss how different letters are the same and different.
- Talk about which dot numbers different letters have in common.
- If you choose to not use dot numbers, then drill the positional layout of the cell.
- I ended up using a mixture of drilling the dot numbers and helping the student to understand the positional layout of each letter.
