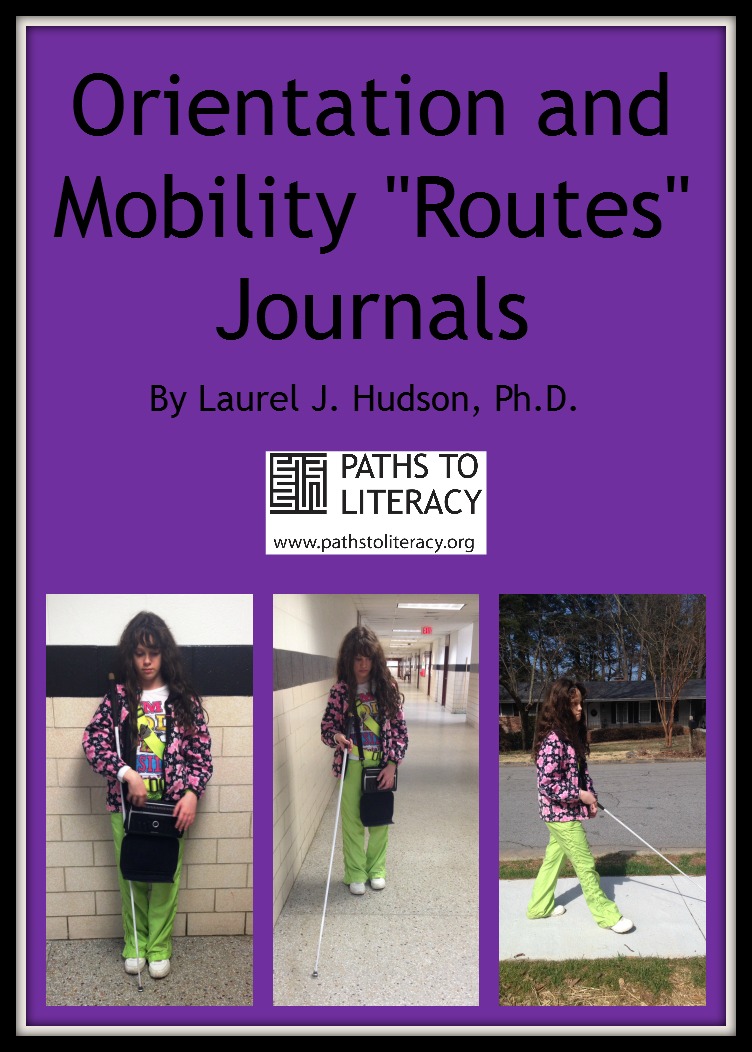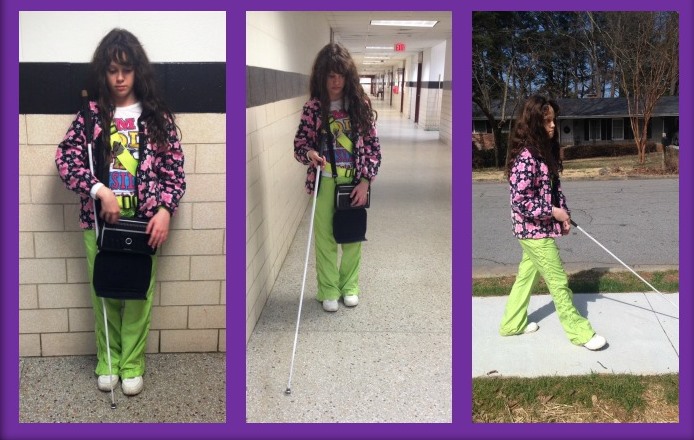
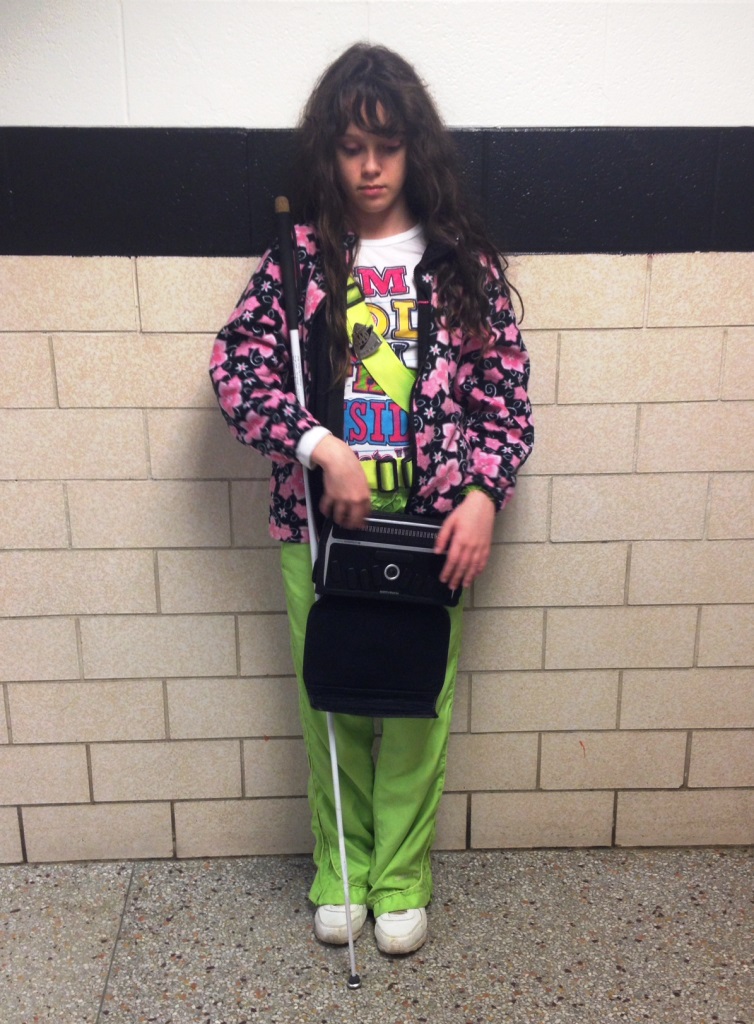
Literacy happens throughout Orientation & Mobility curricula: maintaining personal notes of walking routes and personal O&M journals, reading public transportation routes and schedules, menus and maps, processing Global Positioning System output, etc. Being dually certified as both TVI and COMS, I’m particularly eager to support O&M and literacy reinforcing each other. For this post, I want to focus on personal notes of walking routes. This instruction addresses at least three of the Expanded Core Curriculum areas: Orientation & Mobility, Compensatory Skills, and Independent Living Skills.
Once they have mastered the routes in their daily routines, my students tend to remember them. After all, they practice them regularly. However, it’s easy for them to lose track of the routes that they only walk occasionally. Especially for those students without enough vision to see turns and landmarks, it’s easy to forget how to get to the stage door … to the assistant principal’s office….to a nearby bus stop …. to those destinations they only need to reach two or three times in a school year. It’s also easy for them to forget routes they had walked regularly at one time but not now; for example, their cognitive maps tend to fade during summer vacations.
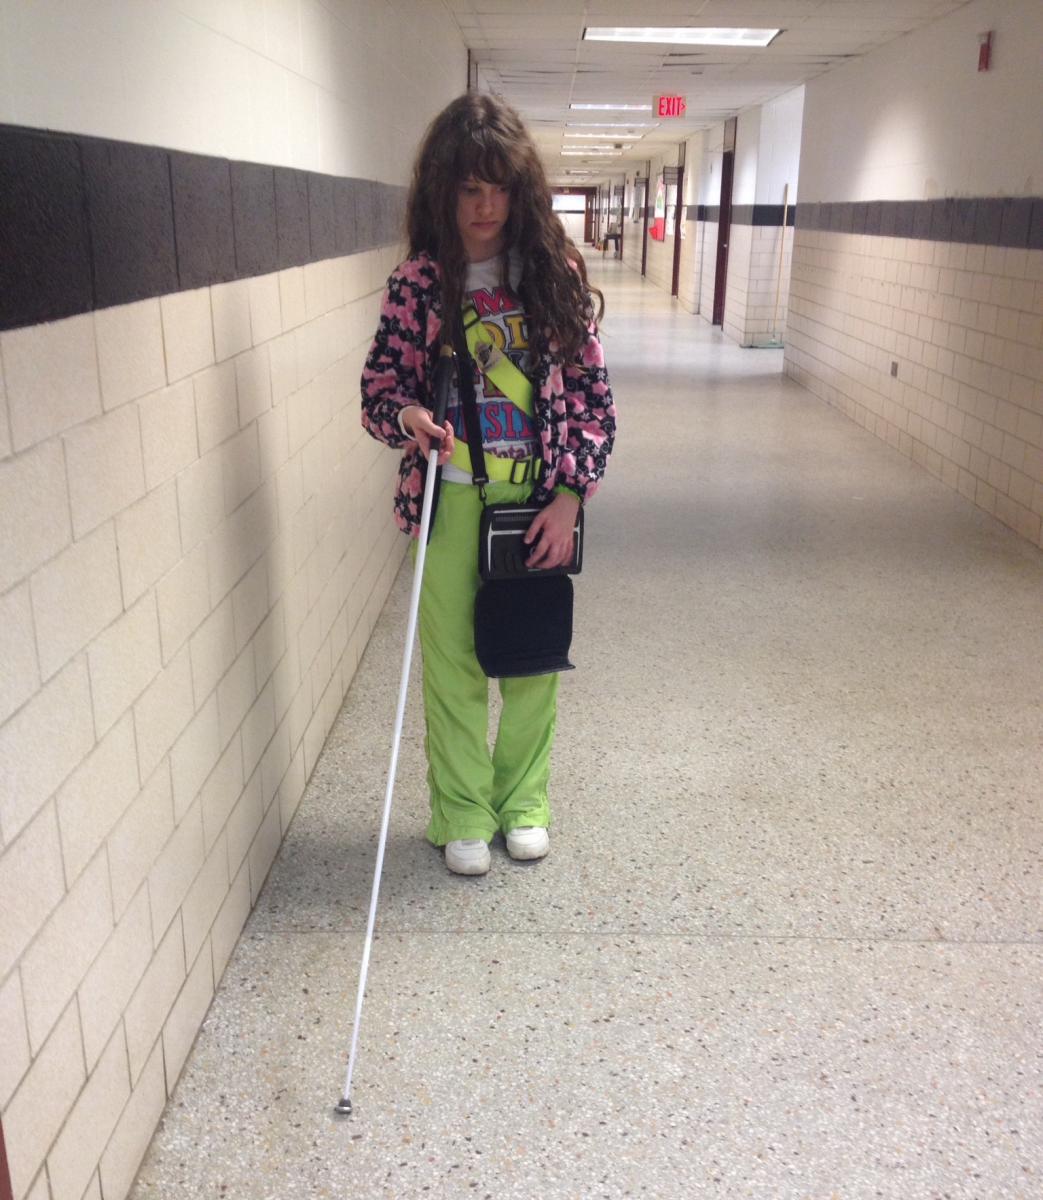
To help my students to walk these seldom or previously used routes, as well as to guide them to write and follow directions, I sometimes have them create and maintain a “Routes” journal. Electronic note-takers and/or tablets are ideal for this, although paper braille and handwritten cards or notebooks work as well.
Starting Up:
Every page or file name begins with the Starting Point and the Destination, such as “From Room 113 to the Stage.” Return routes have separate files or pages, because they are often different than simple backtracking.
Step-by-Step Directions:
Next, I work with my students to create numbered, step-by-step directions from the starting points to the destinations. In this process, they learn to identify landmarks that are unique, permanent and easily located. (A fourth grader wrote about her Tuesday lesson in a residential neighborhood that she passed by some trash bags. When we met again on Thursday and the bags weren’t there because it wasn’t a trash day again, she realized that the bags weren’t effective landmarks because they weren’t permanent.)
I guide my students to write clear, unequivocal routes. As it applies, I have them follow a universal template of “walk to the _____,” “turn ____,” “walk to the _____,” turn _____,” deviating from this only for details at starting points and destinations and for descriptions of relevant cues and landmarks. I also have them write what they will come to if they walk too far and miss turns or their destination.
Big Picture Information:
Either at the beginning or the end of route descriptions, I encourage my students to write some “big picture” information, as well. For instance, I guide them to summarize route shapes as “I,” “L,” “J,” “U,” or “staircase” or to use clock analogies. (“As I start the route, the destination is at 1:00 ‘as the crow flies.’”) My plan is that this global description will help them to bridge from being route/rote travelers to being travelers with a more abstract, aerial cognitive map of their environments. This more advanced cognitive mapping better equips them to remember routes and to handle any detours.
Reading Back:
I make it a point to have my students follow the routes in their journals, exactly as they were written, in order to proofread them. For this, they bring their papers (or electronic devices) with them as they proceed from step to step. They read the first step, walk the first step, read the second step, walk the second step, etc. I encourage them to refine their routes or the ways they describe them. For example, I may be able to lead them to describe a door as, “the second from the last on the right” instead of, “the 14th door on the right,” or to describe a destination as, “immediately after the water fountain” instead of, “after 53 steps.”
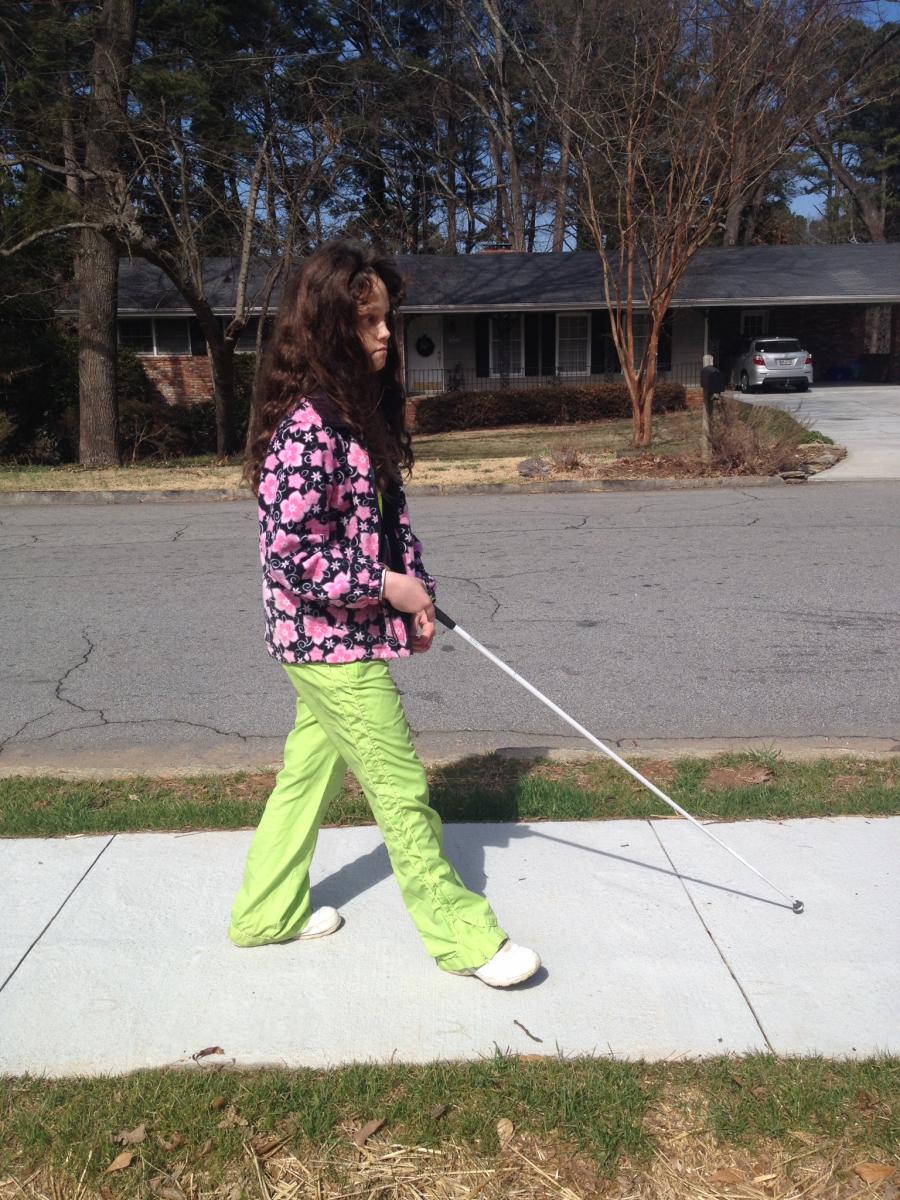
Reading back lessons with indoor routes are great when the weather is inclement, or for “sponge activities” when we have just a few minutes available at the end of a session. In reading back and following the routes they have created, my students practice finding the descriptions they wrote on their devices or in folders, following them in a systematic way, and developing some lifelong organizational and travel skills including soliciting assistance.
- Sample Route: From Room #113 to the Stage
- Big picture: After I exit the room and turn right, this is a “U” route with two turns, both to the left.
- “Exit room #113 and turn right. Walk, without trailing, to the end, where there will be a wall in front of me. Turn left and walk past the nurse’s office and the main office to the end, where the cafeteria wall will be in front of me. Turn left and trail on the right past the cafeteria entrance door and the cafeteria exit door. The door to the stage is the next door on the right. If I come to an intersecting hall on the right, I’ve gone too far.”