“Even the simplest tools can empower people to do great things.” –Unknown
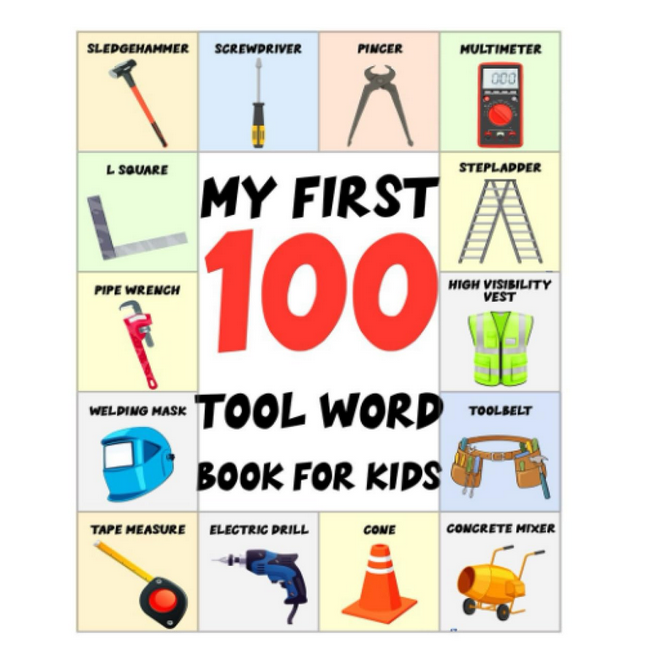
The book I selected for this month was My First 100 Tool word book for kids: Teach kids and children about most tools used by builders, mechanics, painters, plumbers, gardeners, electricians, welders, carpenters by Khelil Cherfi Yassine.
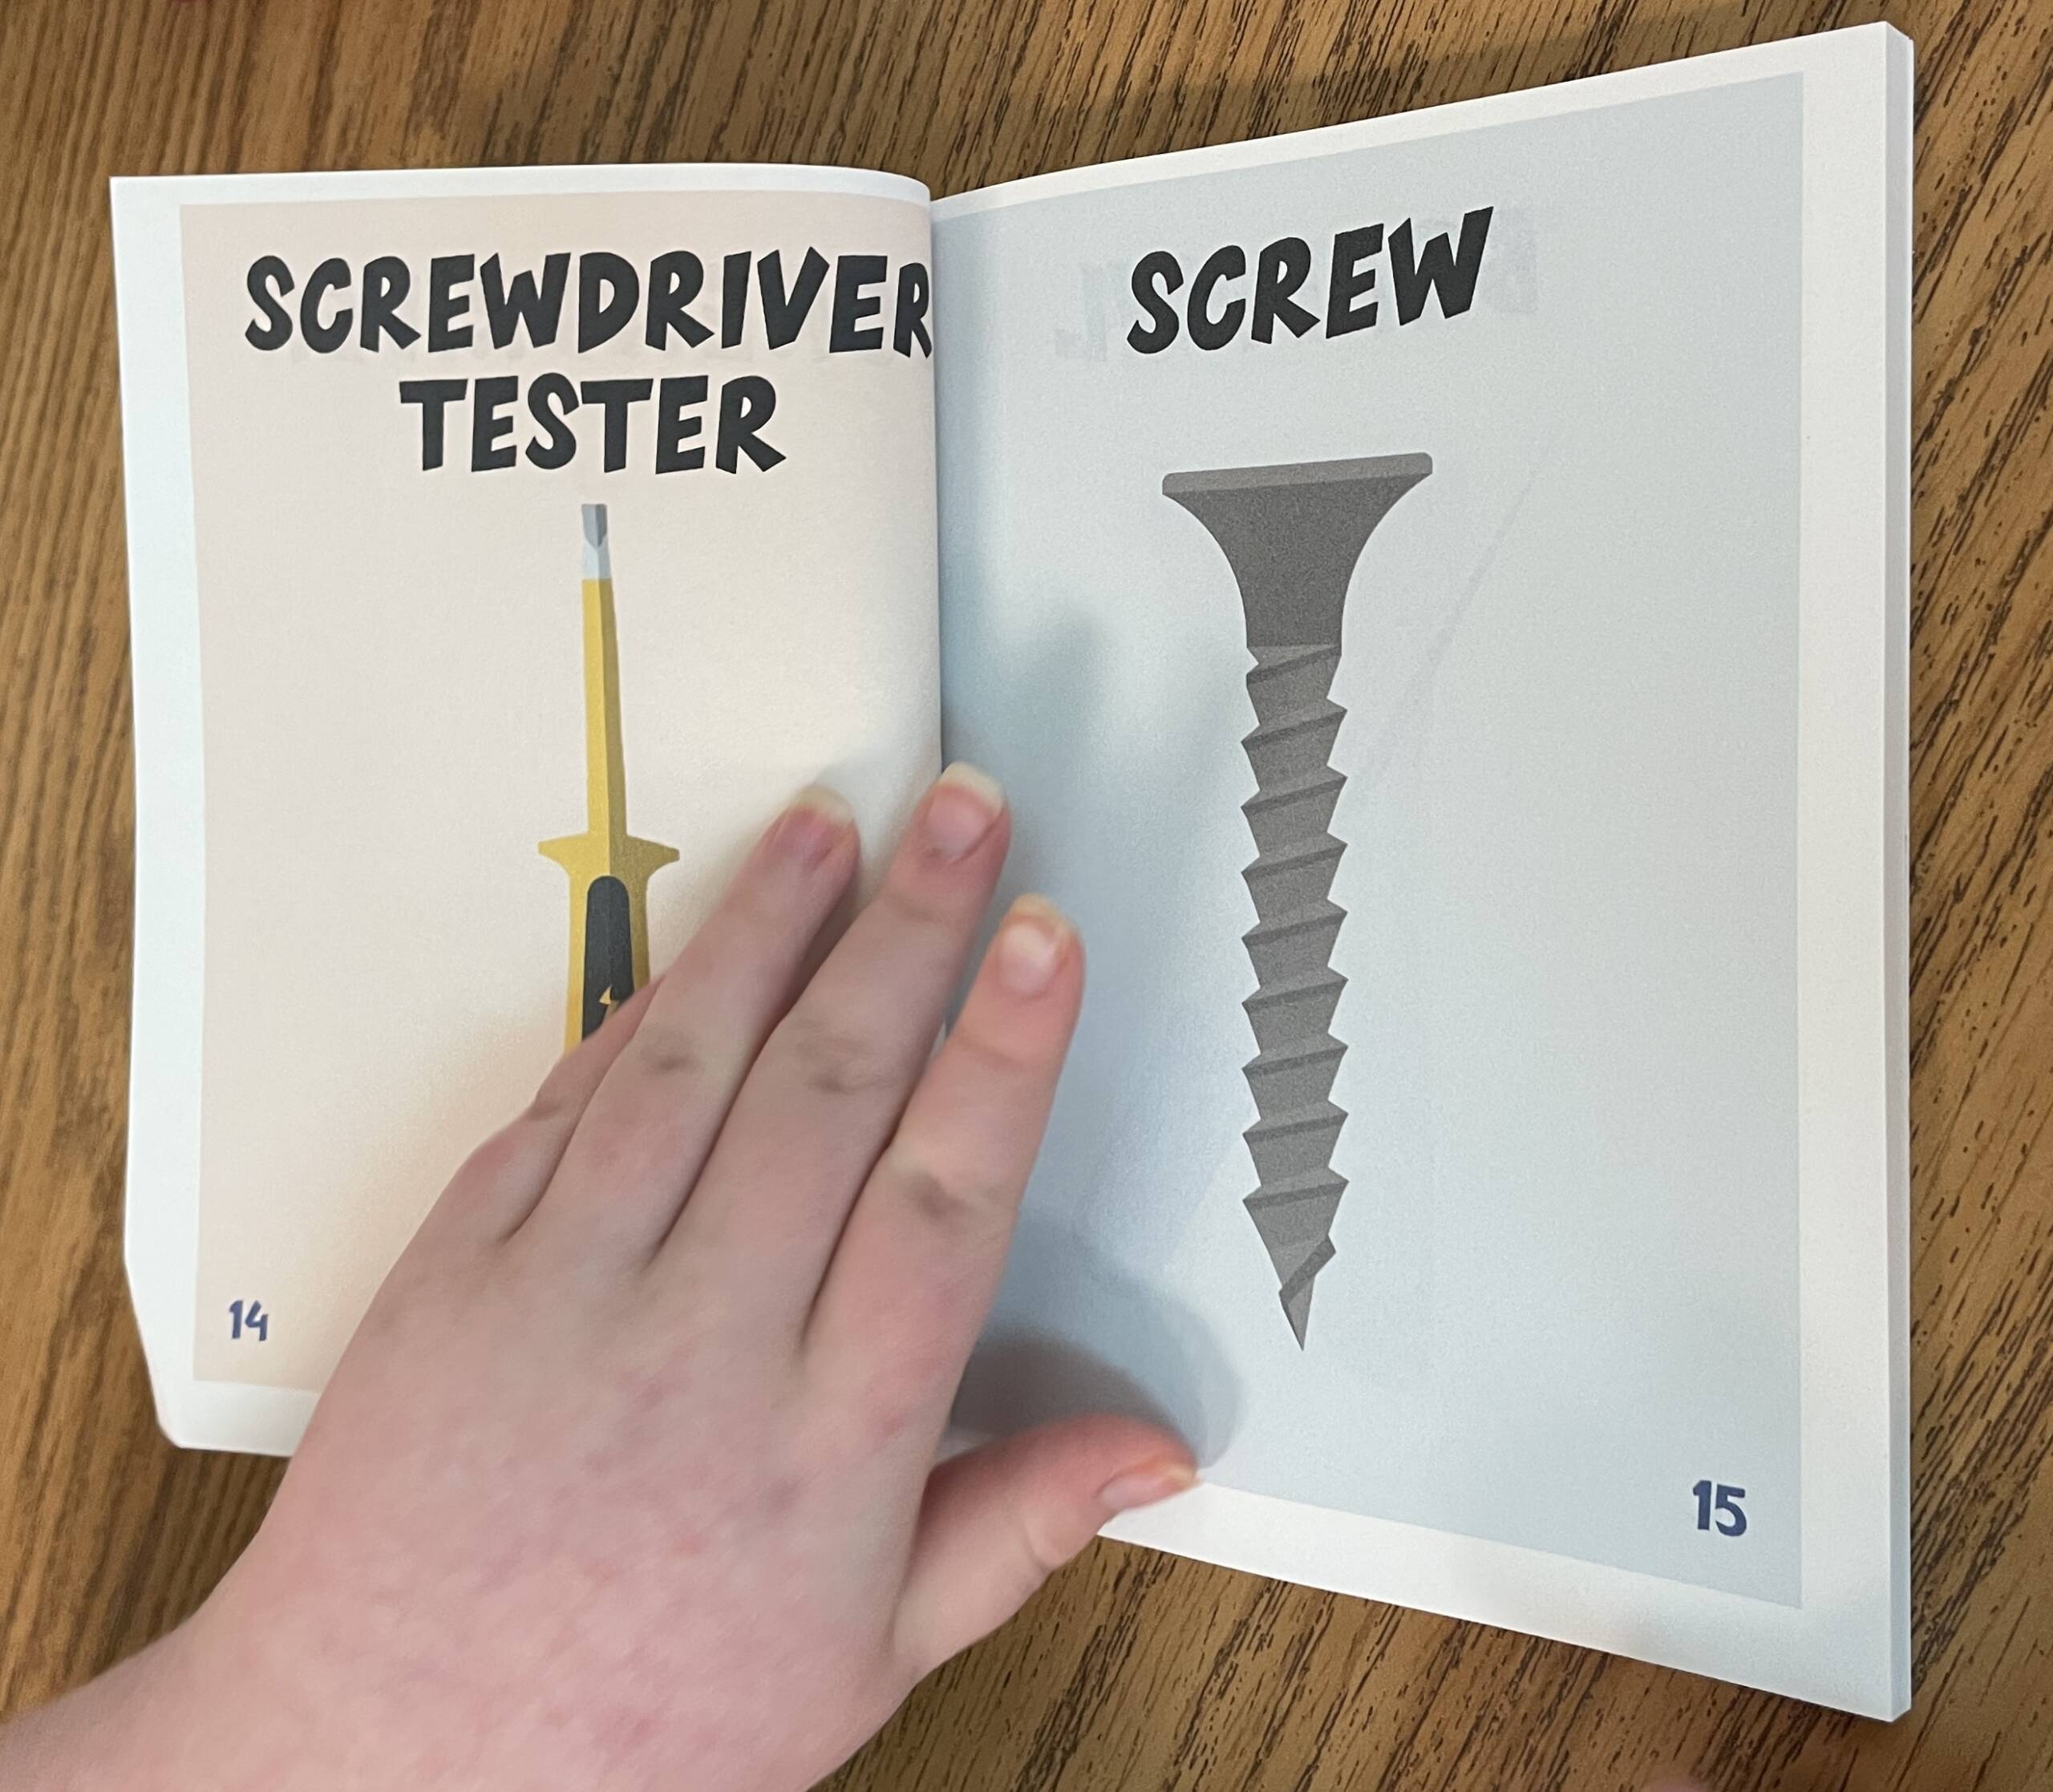
One of the things I liked about the book is that it is in large print with high contrast images! There is some bleed through from the image on the back of the page, but so far, my students haven’t been bothered by it. Basically, this is a lovely book that contains colorful images along with the name of the tool. A nice tool to use to expand your students’ and your own vocabulary.
The skills worked on this month are many. Here’s but a few:
- Tool knowledge
- Pair tool with image in book
- Use of low vision tools while reading the book
- Develop hand and eye coordination
- Soliciting assistance appropriately
- Fine motor
- Communication
- Positional concepts
- Choice making
The tools my students were exposed to in creating this craft:
- Sanding Block
- Tack Hammer
- Flathead Screwdriver
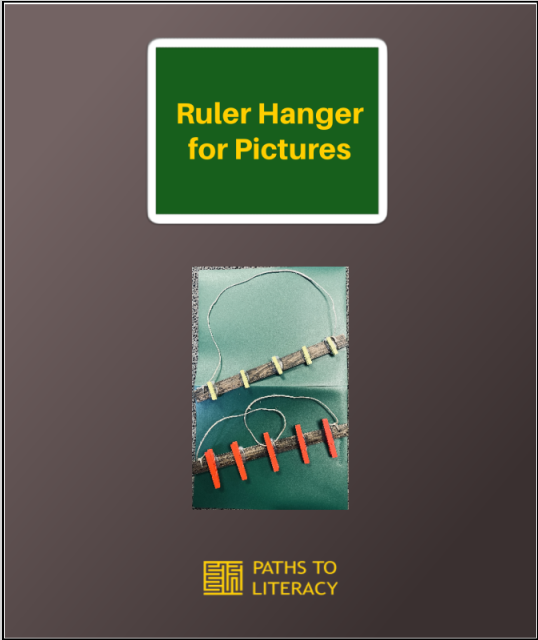
A colleague sent me an image of this craft that was on Facebook. I immediately fell in love with the craft and started thinking of tools that I could teach my students how to use safely at school. This would be a two-lesson activity as the stain would need to dry before adding the clothespins.
For the craft, I needed:
- Wooden Ruler 12 Inch (a pack of 60)
- Dark Walnut Premium Fast Dry Interior Wood Stain (8 oz.) (very minimal odor)
- Paintbrush or paint sponge
- Small Clothes Pins for Photos (3-5 for each ruler)
- Small Disposable Compostable Bowls
- Name stamps
- Black sharpie marker
- Disposable gloves
- Hot glue gun
- Hot glue stick roll (one of my favorite things!)
- Parchment paper
- Dremel or drill
- And the tools listed above
To prep for the activity, I used a Dremel to drill holes in both ends of the ruler for hanging purposes. I decided to leave the sanding of the two drill holes for my students to try.

Day 1
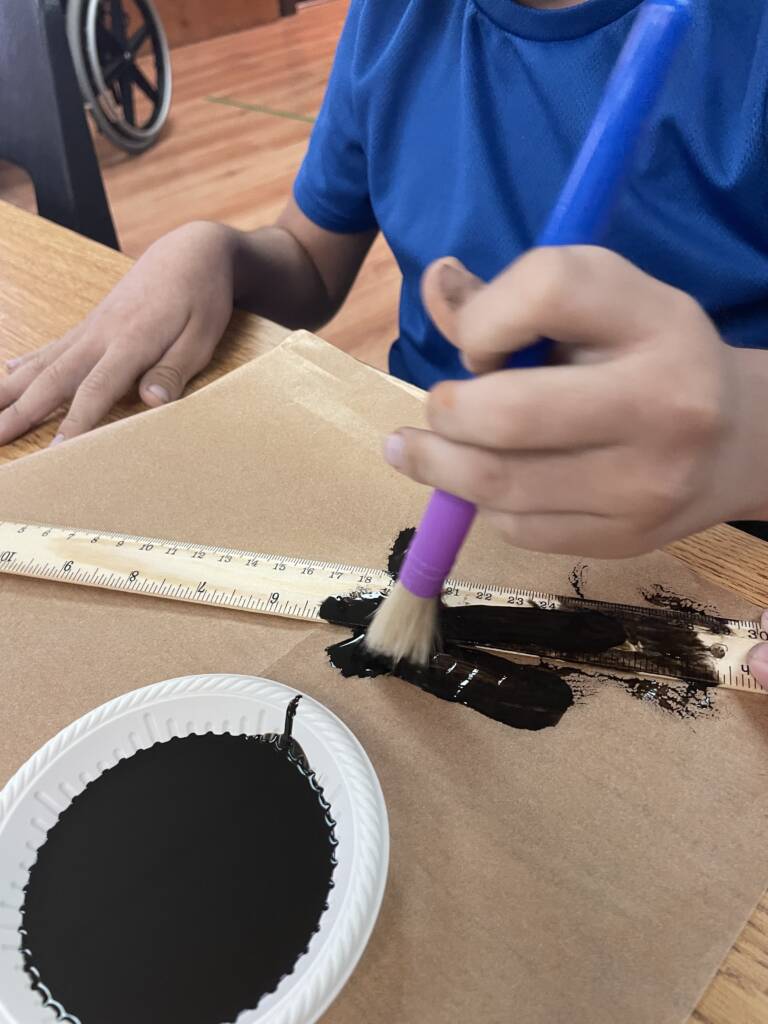
The first thing I have my students do is to either write their names or use their name stamp to mark the back of the ruler. Then students had to use the handheld sander to smooth the area around where I drilled the holes. I used a screwdriver to open the wood stain before using a scoop to gather some stain into a disposable bowl. A tack hammer was used to reclose the canister of stain. Several students wanted to try to close the stain. The tack hammer is light and my students enjoyed hammering the lid on. A disposable bowl was used to reduce the risk of spillage. While the stain is fairly easy to clean up, it can leave behind a long-lasting stain. Parchment paper was laid down to protect the table while staining the rulers. An added bonus was the parchment paper reduces sticking to the material under it. Disposable gloves were offered to protect the skin from staining. To allow for drying, the items were kept in a secure location within the classroom or I stored them in my car.
Day 2
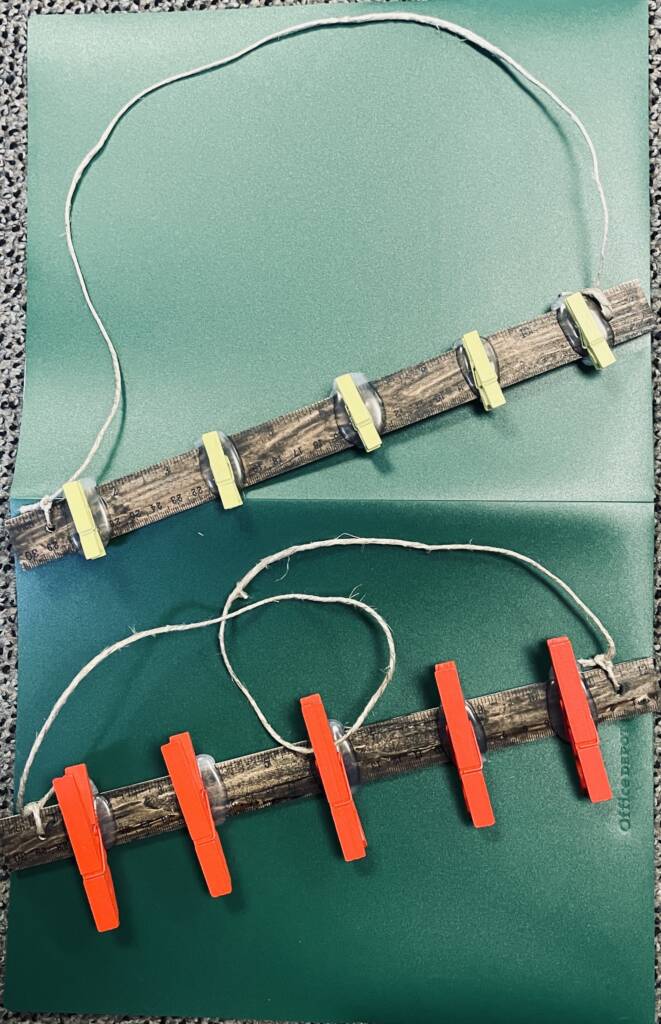
The rulers are dry. Decision day! The students needed to make the decision of whether they wanted a string attached to the holes for hanging or no string. Not surprisingly, they all chose to use a string. The next decision was what size of clothespins they wanted to use and what colors of clothespins. They placed the clothespins where they wanted them and then I used a hot glue gun to secure them in place. The students chose what photos they wanted to use from the photos I had taken of them creating their craft. Once the glue was cool to the touch, the students then selected where to place the pictures they previously selected.
Tips
1) Introduce each tool separately and give safety tips for each.
2) Explore a hot glue gun that is COOL and NOT plugged in. Students are naturally curious about the tools adults/teachers use. Having the opportunity to explore things in a safe environment helps to curb some of those possible issues down the road.
3) For younger students, there are several tool playsets that can be incorporated into the activity to learn the purpose of each tool.
4) Assign “homework” and have the student learn about tools from a family member or other person the family selects. Have the student write about it, tell you about it through photos or words, etc.