Students with low vision who are young, as well as those with a cognitive impairment, often need support in order to make sense of tactile images. I have found that it is helpful to begin with an experience of the real item whenever possible, followed by tactile illustrations using real materials, before introducing raised line drawings.
A classroom teacher gave the class a worksheet with an image of a line drawing of a tree (shown below) and asked the students to label the parts of the tree. I began by using T-shirt paint to make the mage tactile, but found that this was still too abstract for the student. It was just a bunch of lines that were similar to other worksheets she’s been given in the past.

Beginning with the Real Experience
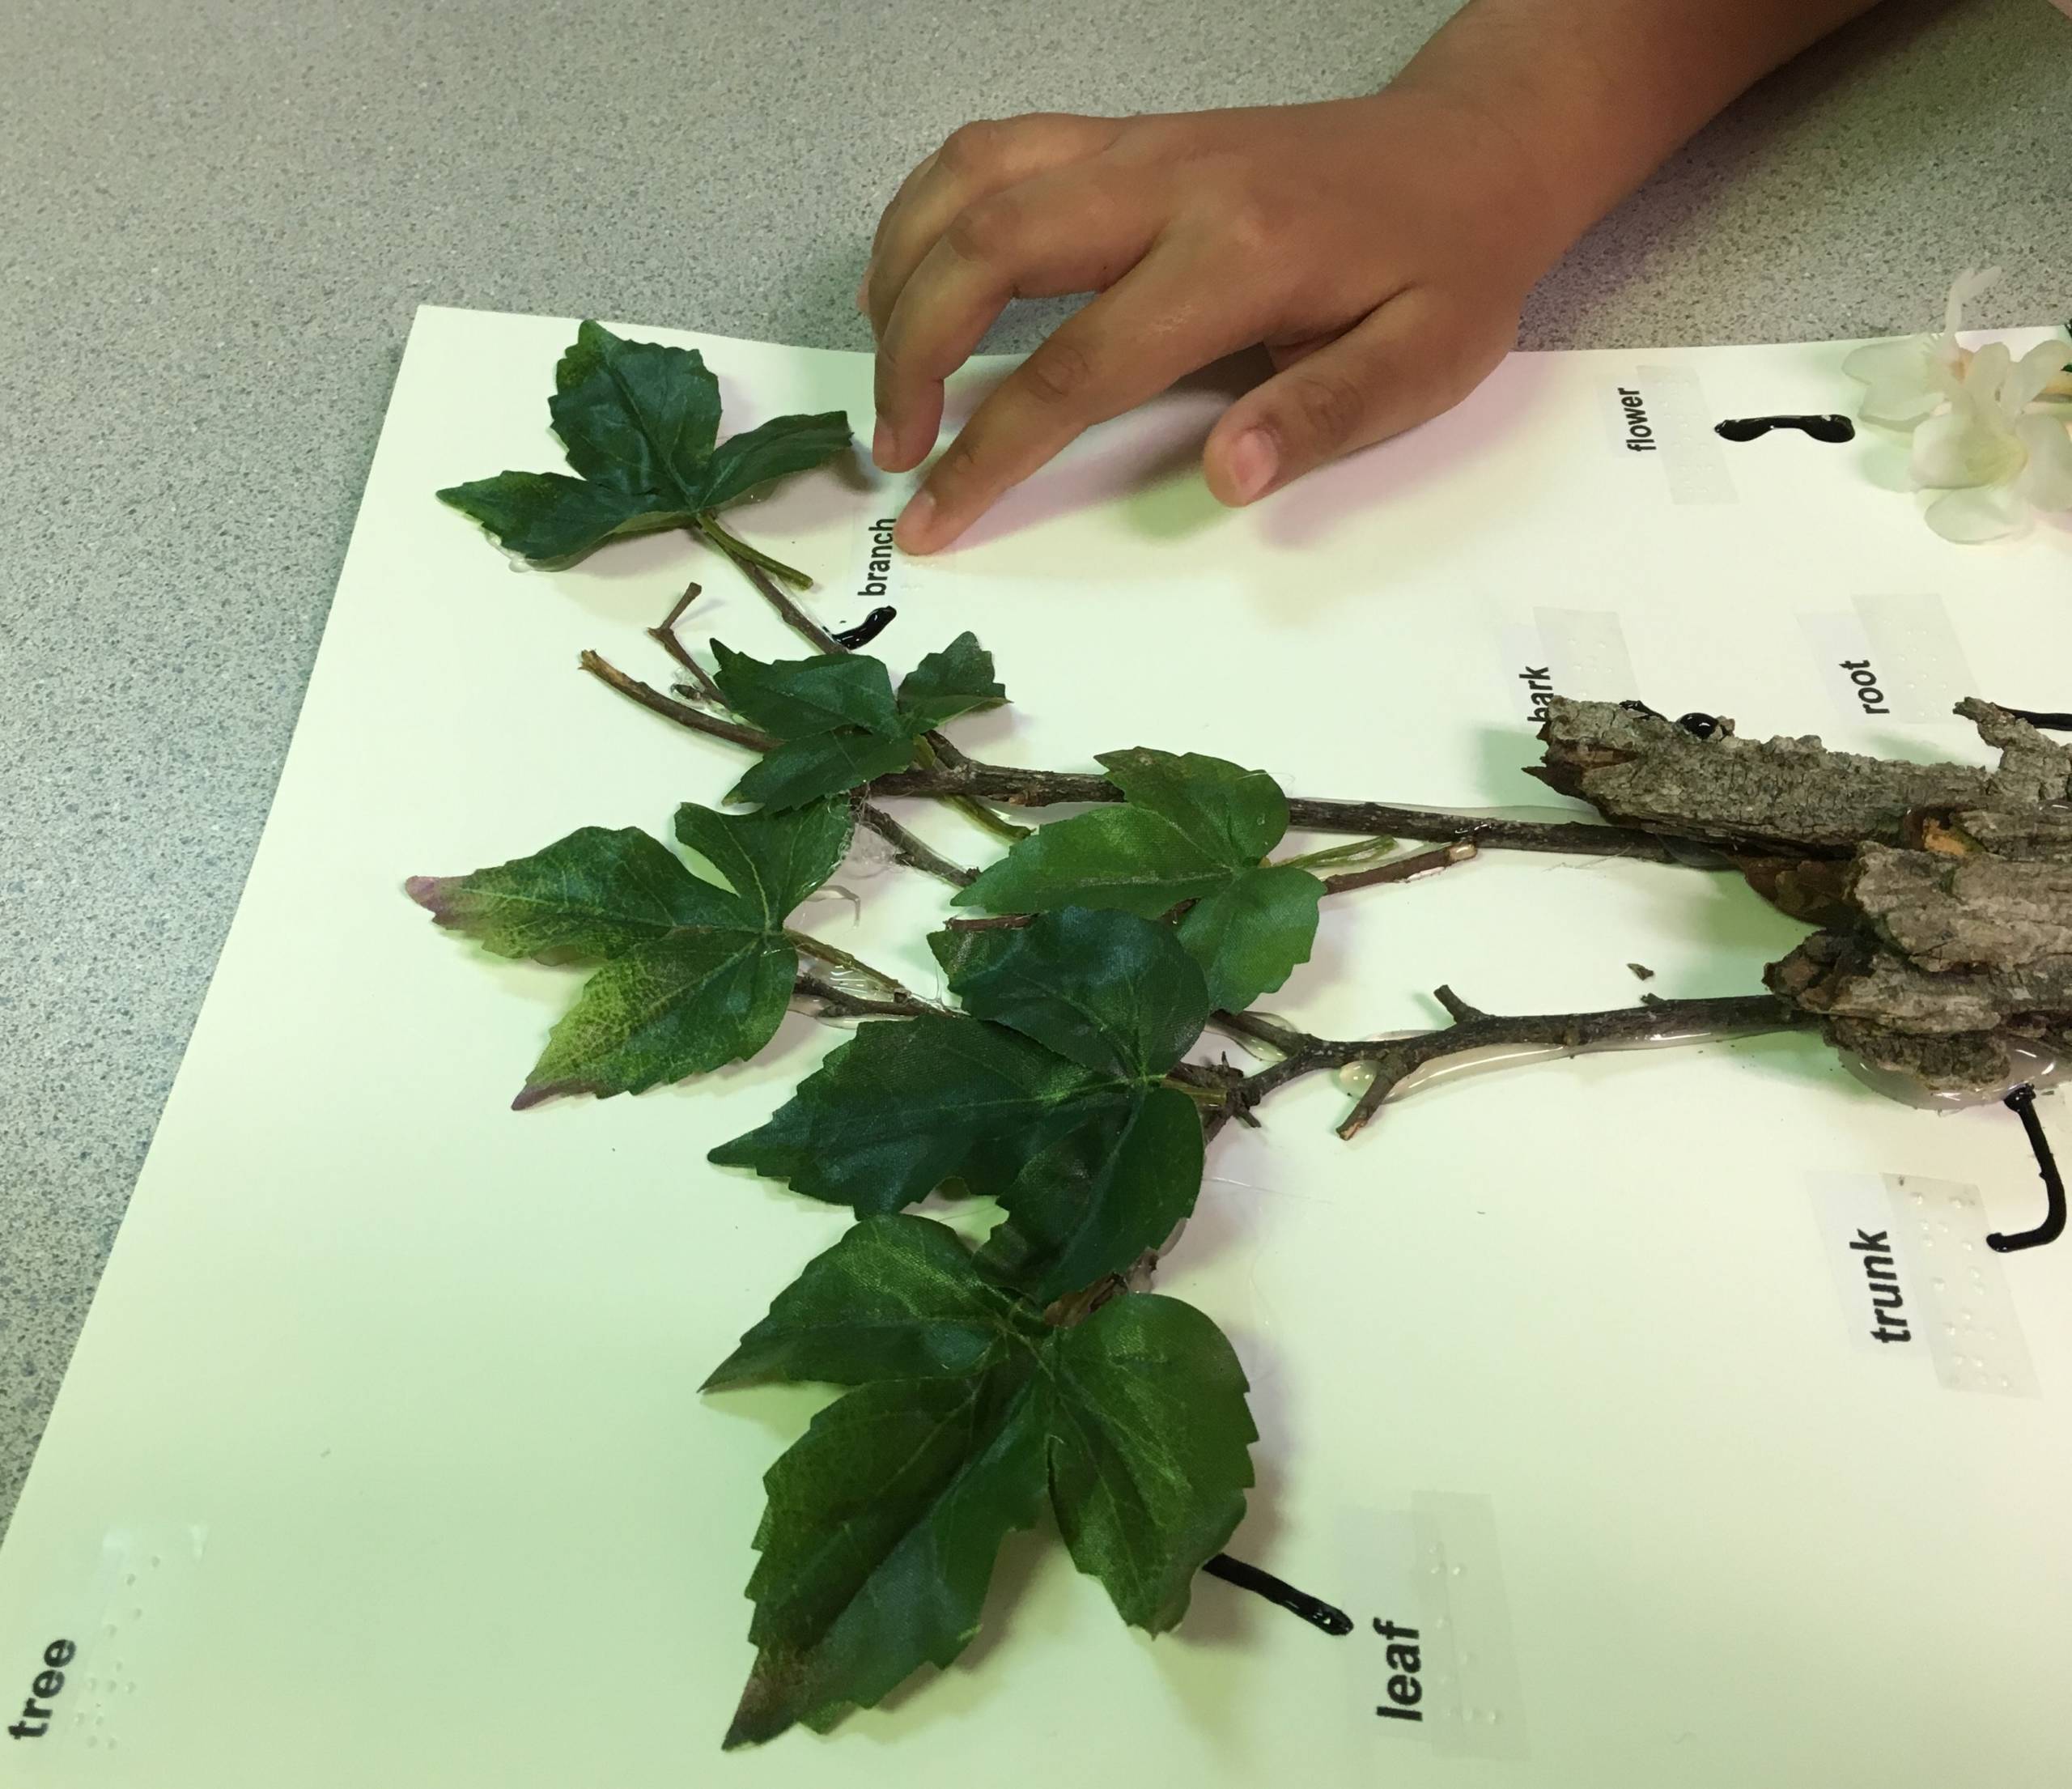
The classroom teacher took the entire class outside on a nature walk outside to explore the trees on the school campus. My student explored tactually what her peers explored visually. They explored trees of all different sizes. I created the tree poster below based on a tree that had branches and leaves at a height that she was able to reach. We used both real and artificial materials to create the poster. We used real bark and real twigs, and artificial leaves, flowers, and grass. Real leaves, grass, and flowers could be used instead, depending on what is available and on how durable the poster needs to be. I added small pieces of string to show the roots beneath the tree. Everything was hot glued down. I go overboard with the glue only to increase the longevity of the poster, as I have plans to use this same poster this spring with several students.

Adding Print and Braille to the Tactile Illustration
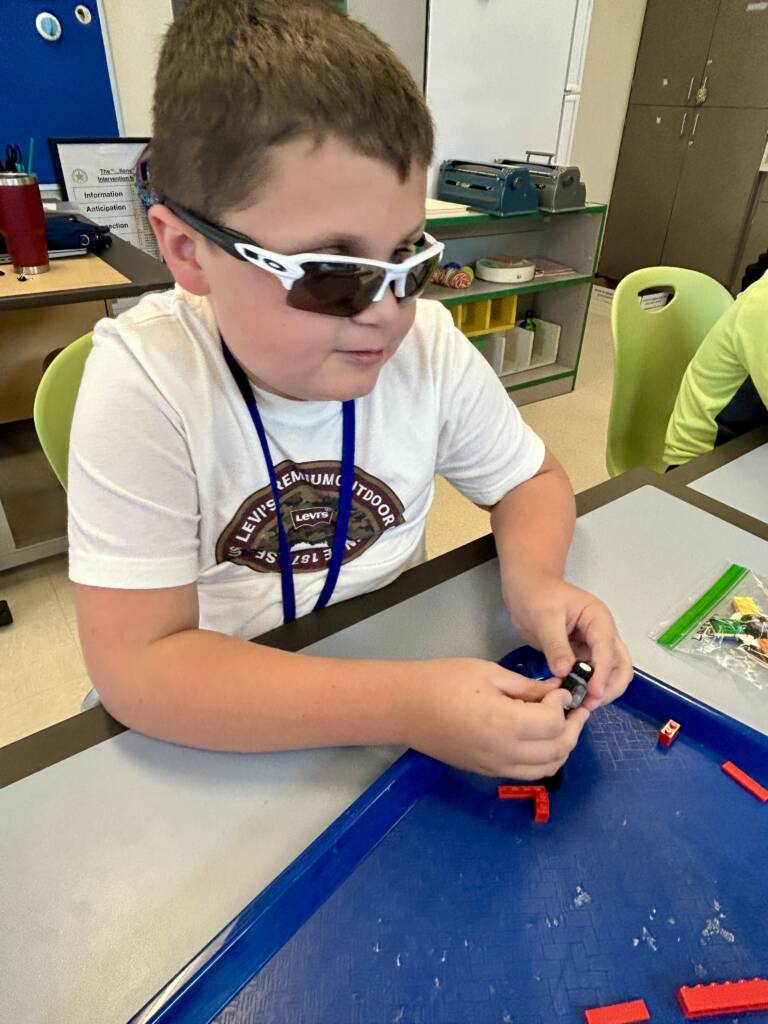
After creating the tree, I then created the labels in large print (18 point font) and braille using the vocabulary words the teacher wanted the students to learn. This student is reading uncontracted braille at the moment, so all braille labels were made with that in mind. Pictures show the student reading the braille labels as well as exploring the poster.

Following the exploration of the tactile poster, the student will be reintroduced to the tactile worksheet. The nice thing about the poster is that the entire class is able to use it.

Collaboration and Next Steps
I am now working on the parts of a flower as that will be next in the teacher’s lesson plans.


The fact that the teacher and I speak regularly is extremely important. Our frequent collaboration and consultations help me to stay on top of what lessons are coming up and what adaptations are necessary for my student. Without this close partnership.mMy student would have failed her assignment, not because she didn’t know the information, but because she would not have understood the worksheet. Breaking down the steps in creating tactile images is can often help our students succeed.