Teaching letters is a foundation for learning to read. For a lot of our students we have to provide activities with letters over and over to create routine. Many students need intentional learning opportunities and it can take years on a daily basis. Students should be introduced to letters when it is age appropriate, assume competence.
In a lot of today’s curriculum, it is suggested that students learn their letters in everyday activities. This is difficult for some students, but memorization with flashcards helps to lay the baseline. And yes, you can make this fun!
Play games with the flashcards to make it feel like “play.”
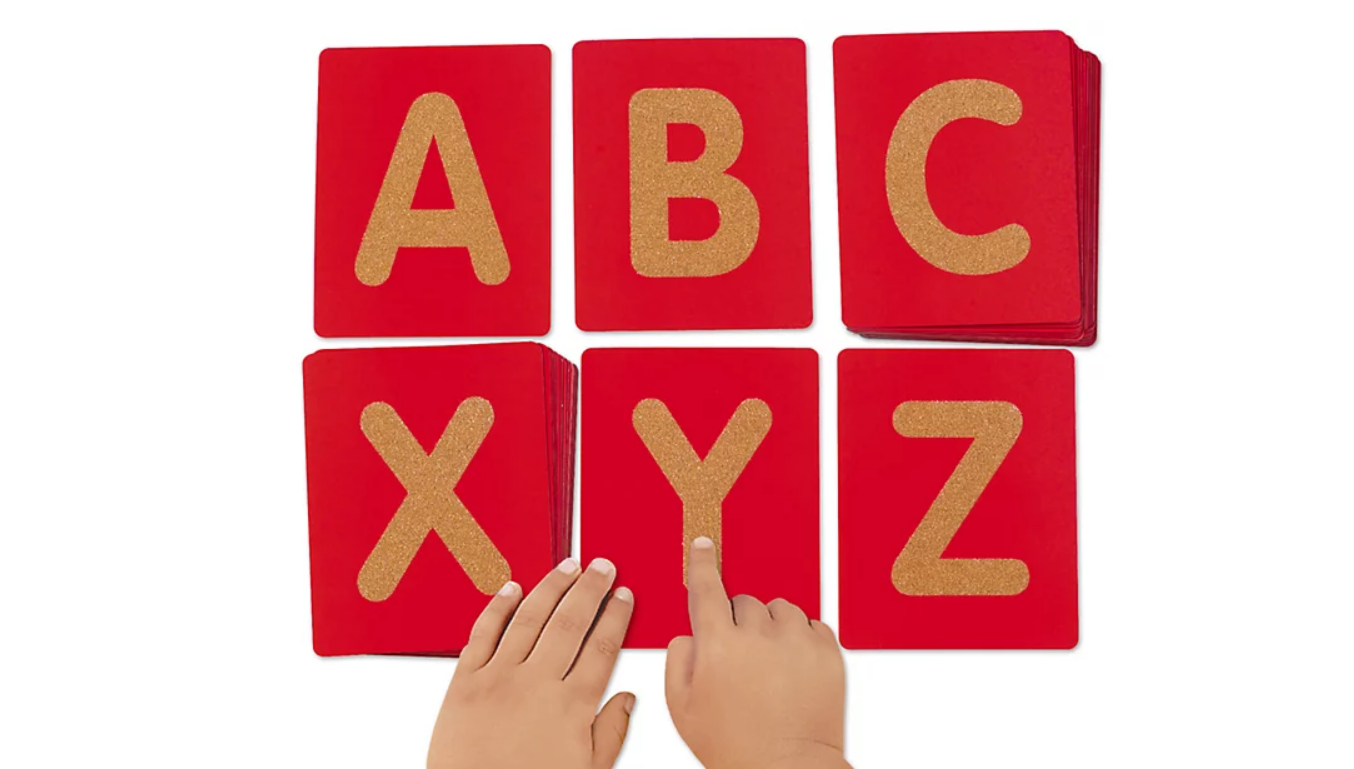
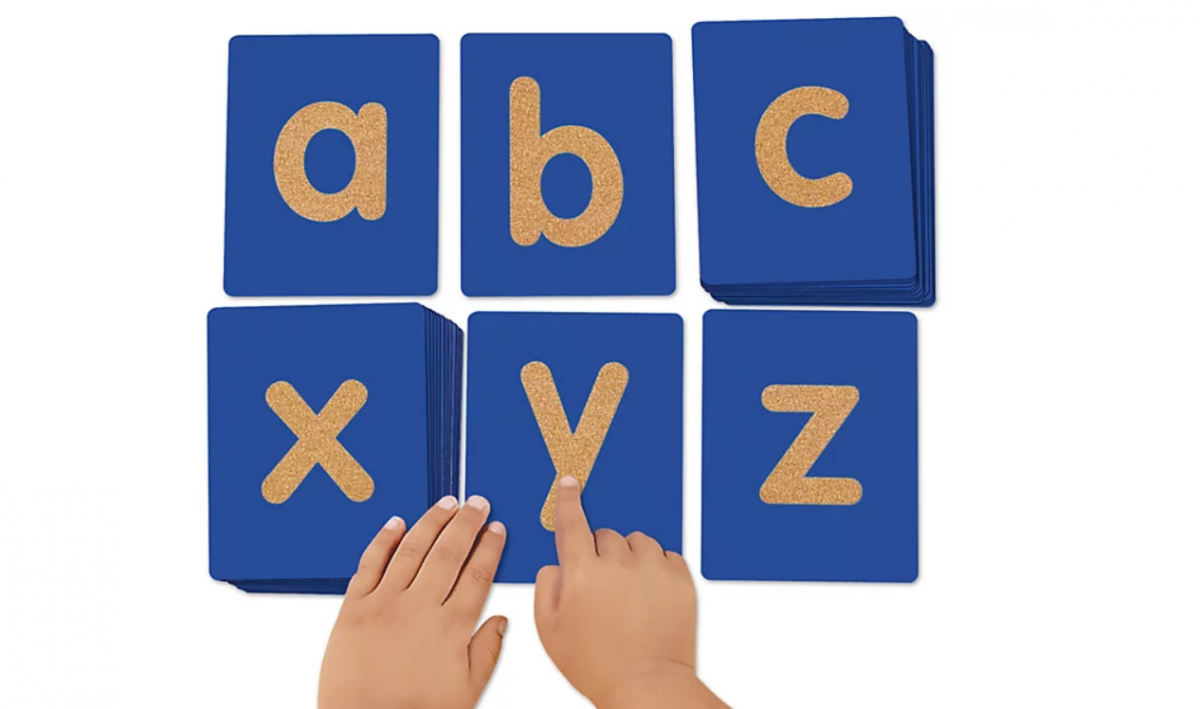
- ABC flashcards – It is very important to find the right flashcards for your student. High contrast, no crazy design around the edges, simple, and bold. We use the textured Lakeshore flashcards. They have been the best for many students’ visual needs. We also put ABC braille stickers on the top corner of each flashcard for duel learners and braille exposure.
- Black felt markers
- Cardstock paper – we like a pale yellow color
- Printed out sheets of the student’s first name in large font

Note: I believe that students should initially learn their first name letters with a capital and then all lower case. I have had this discussion with Occupational Therapists (OT) over the years who like to teach with capitals first. I disagree. When entering Kindergarten, they are to write it with a capital and then all lower case. I find that it is not ideal to switch but teach this way right from the beginning so students are familiar with the shape of their name, making it easier to identify in print.
Lesson 1: Identifying the Letters of Your First Name
Objective: The student will be able to identify the letters of his or her first name by pointing on request.
Note: If the student does not show visual interest in print at this point, keep doing the verbal ideas such as singing the letters of his or her name, as well as the alphabet song. I also recommend the talking LeapFrog Fridge Phonics.
In daily life parents and teachers should work as a team to point out the student’s first letter of their name in their everyday environments.
- Make up a little tune/song to spell their name and sing it throughout each day.
- Have the child’s name labeled on his or her items throughout their home and school environment, and take time to point it out and spell together using the song.
- Use the flash cards to spell the child’s name and only use these cards for the time being.
- Play a matching game to match the letters of the name.
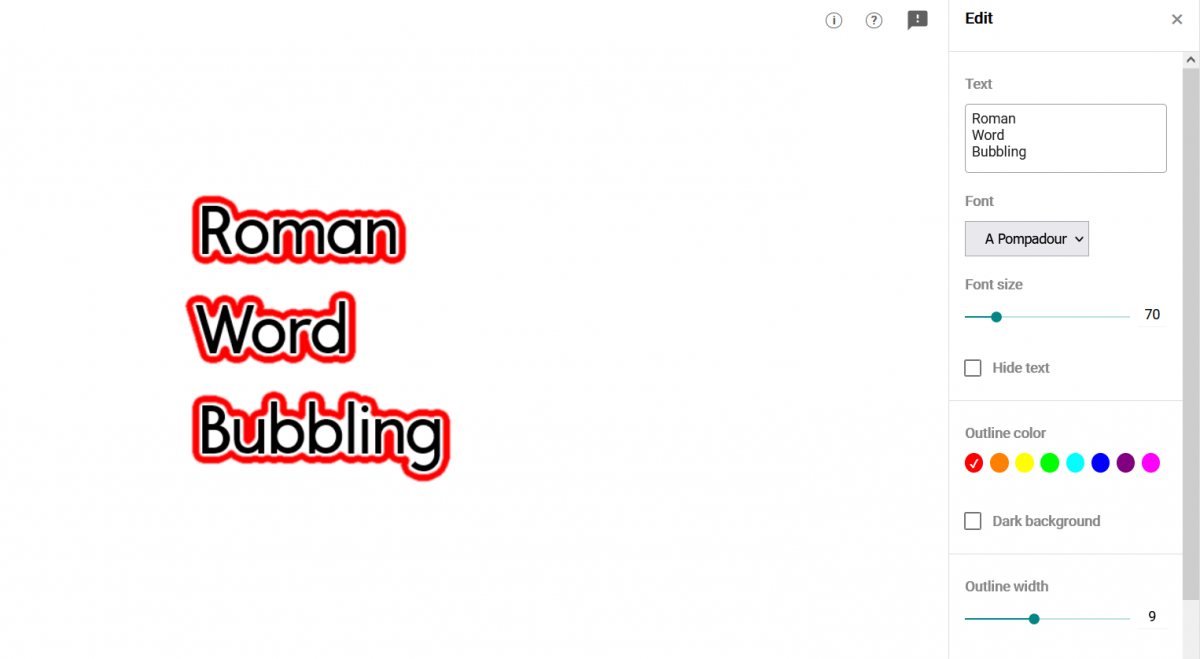
- Give Name with Bubble Letters as well since I have seen some students have better success through seeing the shape of the word. Talk about how it looks. This would also be a great matching game. Dr. Roman’s Word Bubbling Tool can be found here.
Assessment:
Students have mastered this skill when they can correctly take the letters and put them in the correct order to spell their name. Adaptation: Pointing to the correct letter in order when given the letters out of order.
Lesson 2: Learning to Identify Uppercase Letters
Objective: The student can identify the letters of the alphabet by pointing to the one requested when given a choice of three flashcards.
NOTE: I start with choices of two and then once we have success I introduce more letters. I find that a lot of the time, after you give the choice of more than 3-4, students have scanning issues, not recognition issues.
- Once the student can identify the letters of his or her name, more letters can be introduced. Pick a letter of the week to focus on, use a box and find objects that start with that letter.
- Continue to sing the ABC song daily
- Use the LakeShore flashcards and practice them. First the teacher says the letter, than the student. After many trials of flashcard practice, start to see if the student can name the letter without the cue. Keep data on this.
- Make it FUN!! We enjoy this learning game: If a student identifies the letter correctly, he or she keeps it. If not, you keep it. The person with the biggest pile at the end “wins” and I like to make sure it is always the student that wins.
Success with letters often comes when the student can associate it with their favorite people and items. This continues for quite awhile until eventually the student can memorize them all.
Some students will see these letters and not say the letter but the word he or she associated with the letter.
For example:
Pre-K, student, age 5:
A= Apple
B= Blue
D= Daddy
M= Mommy
Y= Yellow
Lesson 3: Learning to Identify Lowercase Letters
Learning lowercase letters usually goes a lot faster once the uppercase letters and name have been mastered. A baseline has been created. The student will have had a lot of exposure to lower case at this point and the routine of learning letters was already in place. I did the same way teaching lowercase as I did with the upper case letters, adjusting as needed based on each student’s individual needs.
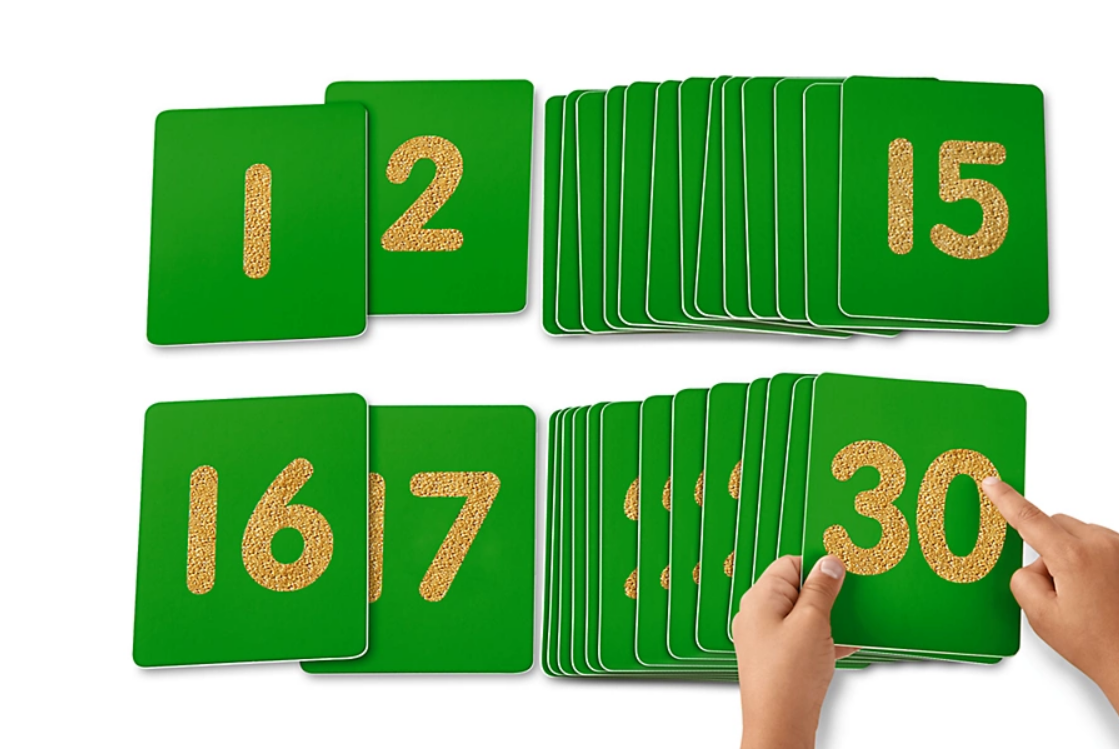
These flashcard ideas can also be used with numbers. Start with the student’s age number for initial recognition and motivation.