Make your TSVI dreams come true with 3D printing! Enhance learning opportunities, create exceptional tactile graphics, and make custom adapted devices, toys, and learning materials! Explore STEM concepts with your students, and introduce them to a rapidly growing field of technology!
In recent years, 3D printers have gotten significantly better, cheaper, and easier to use, but for those just getting started, it can still feel a little overwhelming. For all the educators hoping to start 3D printing this year, I’ve put together a quick beginner’s guide to help you start out on the right foot.
What should I expect?
Limitless potential! There is just so much that you can do with 3D printers, and it’s exciting and empowering to create custom objects to help you in your everyday life. You will be mesmerized by your printer as it completes its first dozen prints, and you will feel compelled to collect all the filament colors immediately after (I think that’s in the rules somewhere…).
But, 3D printing does have its challenges. 3D printers are still not as easy to use as ink printers (though some 3D printers are getting close). 3D printing can be a slow process, and many prints will take hours to complete. Some models will need to be cleaned up after printing, and, of course, there will be failed prints.
Fortunately, with a little know-how and creativity, these challenges can all be easily addressed, and the benefits of owning a 3D printer certainly outweigh the challenges. Still, it’s important to know that you may occasionally face some minor setbacks (even if they don’t feel minor at the time).
Getting started
3D printing generally follows a 3-stage process: find a model, slice the model, print the model. Each of these stages can be as simple or complex as you want, but here’s a simple overview of each stage.
Finding 3D Models
There are many 3D model libraries online where you can download all kinds of 3D models. I highly recommend starting with these sites.
- Thingiverse: The largest 3D model library with over 1 million free models. There are many excellent models available here, but the overall quality of the designs can vary. Most models will work great, but you might find some duds.
- My Mini Factory: The only 3D model library that test prints models before they’re posted to the site. There are many great models available here, and I particularly enjoy their Scan the World collection.
- Printables: This library has been rapidly growing in popularity and is quickly becoming the preferred site for makers to post their creations.
Don’t want to check all the individual libraries for a model? Use Yeggi or STLFinder to search multiple libraries from one website.
Slicing 3D Models
Once you find a model, you’ll need to “slice” the model on your computer before it can be printed. “Slicing” software separates 3D models into thin “slices”, or layers of plastic, and determines the most efficient process for printing each layer. The end result of the slicing process is a G-code file, which is basically 3D printing instructions for your printer. Once you have your G-code file, you can send it to your printer over Wi-Fi, or you can load the file on an SD card or USB drive and insert it into your printer.
Some printers have their own unique slicing software, but many printers utilize popular, open-source slicing software, like Ultimaker Cura or Prusa Slicer, which are both excellent options. Most slicers will offer a Beginner and an Advanced menu for slicing models, and it’s a good idea to start out with the Beginner menu. As you gain more experience, you can use the Advanced menu to reduce print times, make models lighter or stronger, and tweak settings to get the most out of your printer.
Here are a few key settings to understand when slicing 3D models.
- Layer Height: Smaller layer heights provide higher detail, but they extend printing times. A 0.2mm layer height is a great middle ground for most printers, but you should feel free to experiment.
- Infill: This controls how hollow your print will be, which can impact weight and strength. 20% infill is fine in most situations, but there may be times when you want your model to be hollow (0% infill) or completely solid (100% infill). Again, feel free to experiment.
- Supports: Supports are needed to print large overhangs or sections of 3D models that would otherwise be printed in midair. Extra material is printed alongside your 3D model to “support” these areas, and the material is manually removed after the print.
- Bed Adhesion: Some models may only have small areas touching the print surface, and these small pieces may get easily jostled out of place. You can use Bed Adhesion settings, like a “brim”, to help keep these pieces in place.
Printing 3D Models
With your model sliced and your G-code file sent to the printer, you’re ready to print. Just load filament in your printer, select your file, and you’re good to go! Loading filament can be slightly different from printer to printer, but there should be a “filament change” option in your printer’s menus to help with the process.
IMPORTANT! Before your first print, make sure your printer bed is level. Your printer should have a “bed leveling” option in the printer’s menus, and you should be sure to complete (and potentially repeat) this process before your first print. Without a level print surface, none of your prints will stick, and bed leveling issues can cause lots of other problems. When in doubt, repeat the bed leveling process!
Here are some printing tips to help you succeed.
- Keep your print surface clean: A dirty print surface will have adhesion issues. I use a little rubbing alcohol and a paper towel.
- Watch the first layer: The first layer is the most important layer in every print because a bad first layer will most likely cause your print to fail. If your filament isn’t sticking to the print surface during the first layer, stop the print, make any necessary adjustments, and start again.
- Adjust printing temperatures: Filaments from different brands may require slightly different temperatures for the nozzle and the print surface. If your normal temperature settings don’t seem to be working, try adjusting the value up or down by 5° until you get better results.
You don’t need to monitor your machine during the entire printing process, but I do recommend checking in regularly. Some printing failures can create issues if unaddressed for too long, causing damage to the machine or worse. As you become more familiar with your machine, you can choose to leave it unattended for longer periods, but plan on monitoring prints regularly while you’re starting out.
Happy Printing!
Those are all the basics you need to get you started on your 3D printing journey. I’m excited to see the creations our community develops to support blind and visually impaired students! There is always more to learn with 3D printing, so I thought I’d close with some miscellaneous tips and resources. Best of luck, and happy 3D printing!
Tips
- Check out Oregon’s BVIS Technology website for 3D printing examples and training materials.
- Start with a filament-based 3D printer, especially in an educational setting. Resin 3D printers are becoming increasingly popular, but they are not as well suited for beginners or for educational environments, due to fumes and post-processing steps.
- Start with PLA filament, and note which size filament your printer uses (1.75mm or 2.85mm). PLA is the easiest to print with, it’s tough enough for most purposes, and it’s cheap. Hatchbox, Jessie, and Polymaker filaments are all excellent, cheap options.
- Consider getting 2 printers (and consider a small printer). Having more than 1 printer will help reduce printing times, and it will allow multiple users to print models simultaneously. It’s very likely that the majority of your prints will be relatively small, so you can save a little money by purchasing a smaller 2nd printer.
Resources
- Check out this Thingiverse collection of 3D models that are well suited for BVI students.
- ANZAGG (Australia New Zealand Accessible Graphics Group) has done tons of incredible work around 3D printing for people who are blind or have low vision. On their site, you can find links to 3D models, tutorials, design guidelines, and more.
- Need a model printed but don’t have a printer? See3D prints and ships 3D models for blind students for free! You can visit their website to submit a request.
- 3D Printing Braille: The Diagram Center published an excellent guide for 3D printing braille that I highly recommend.
- You can easily create 3D braille labels with TouchSee, though their labels are not quite perfect.
- I prefer creating braille labels with this OpenSCAD module, but it’s a little more complicated.
- The APH Tactile Graphic Image Library only has a few 3D models, but one of them is a swing cell replacement peg model, so you’ll never run out again!
- If you want to start creating your own models, you’ll need a 3D modeling program.
- OpenSCAD is, to my knowledge, the only 3D modeling program that is screen reader accessible. All modeling is done with text.
- Tinkercad is a really great 3D modeling tool for beginners. After completing a brief tutorial, you’ll be able to create your own models with relative ease.
- Fusion 360 is a great option for more serious 3D modeling. Personal, non-commercial licenses are free.
- Touch Mapper is a super easy tool for creating 3D tactile maps. Just enter an address, download your file, and you’re done.
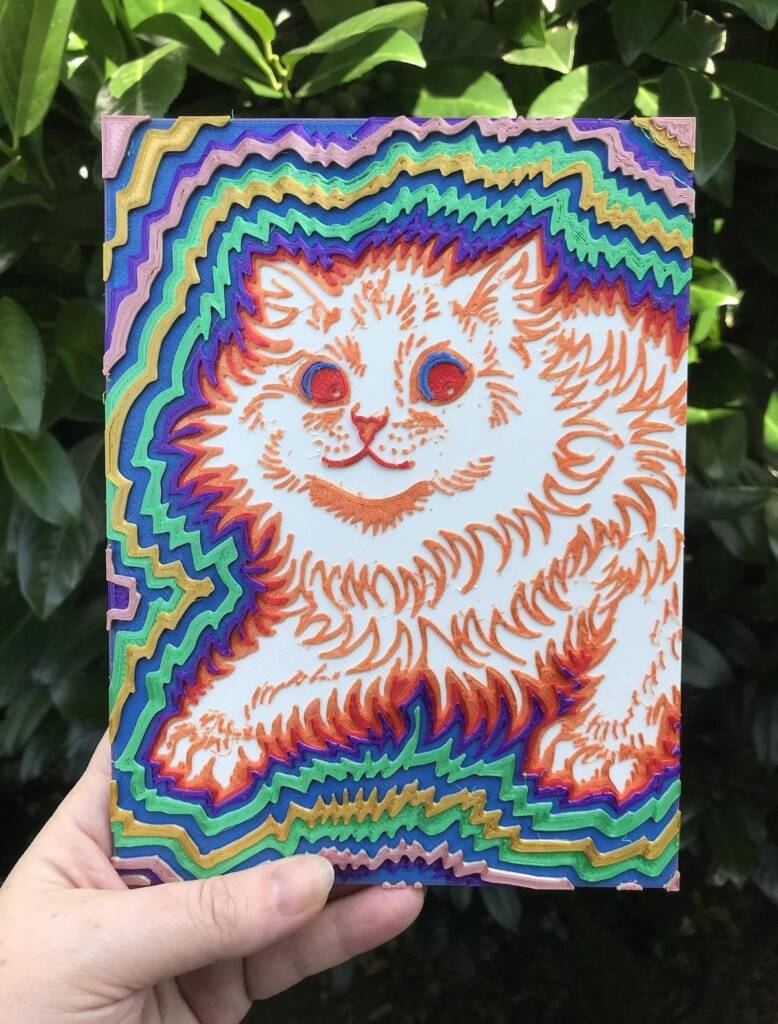
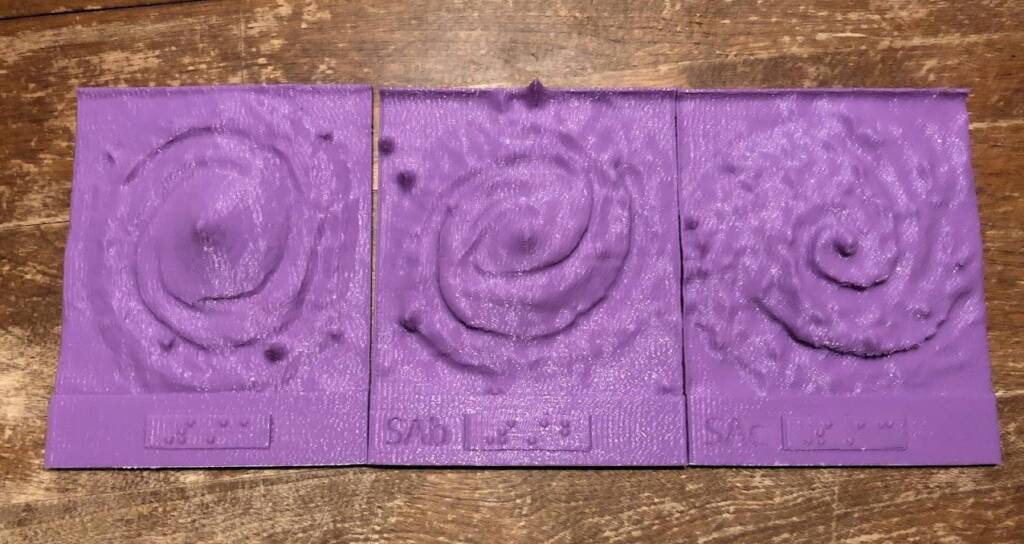
Note photo credits: The first 2 photos are by Madelyn Hampton. The photo of the galaxies is from the author, Michael Cantino. All the designs and prints are Michael’s. The cat print is a Louis Wain piece that is now in the public domain.