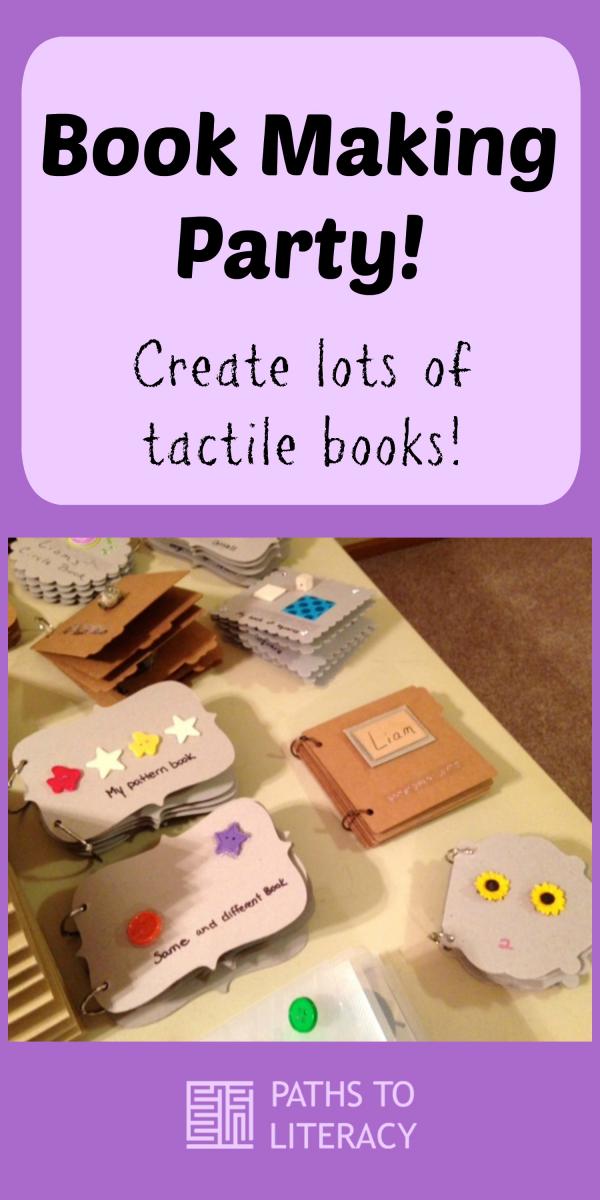
Enlist the help of friends and family to make these tactile books!
The purpose of these books is to…
- create appropriate books, at Liam’s level, that he can read and enjoy independently.
- be used in classroom “book browsing time” and also some set aside for him to check out during “library” time.
- give opportunities for Liam to read for pleasure and “view” a variety of texts.
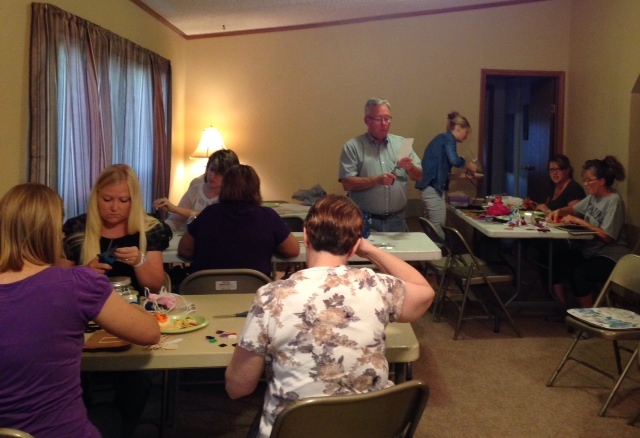
My son Liam is now a full day Kindergartner! He is absolutely loving school and thriving. (For those of you who don’t know, he happens to be deafblind.) There are not many books available for Liam that we can purchase that are at his level and hold his interest. (The few there are, are very expensive.) I had a vision of hosting a book making party where in one night we would gather friends and family and create a “bunch” of books for him! My goal was for every person to create at least 1-2 books. It was an ambitious goal, but we gave it a try!
I provided all the materials and the “titles” of the books with brief instructions on how to create each book. (Liam’s school helped purchase some of the blank books and friends also brought some fun tactile items to share and attach to the books.) 19 people gathered (including friends, family and past and present teachers who work with Liam.) We laughed, we created, we crafted and we brailled! At the end of the night our finished product was 2 overflowing boxes full of books for Liam!! He is going to be so excited to get his hands on those books! I was just blown away by the turn out for the book making party and amazed…so many people investing time and love into that sweet little Kindergartner.
It is so important to me that Liam has access to print and text just as his classmates do…this will take some work, but it’s possible! I am so thankful for everyone who was a part of making this a reality for Liam.
Suggested Materials Needed for a Book Party of Your Own!
- blank “chipboard” books (using a variety of sizes)
- glue guns (with refill glue sticks), duct tape, scissors, brailler (and someone who can braille quickly, if available! Liam’s TVI graciously came and helped us braille all the books) great variety of textured objects that can be glued onto the pages as “pictures”. (We literally had a table full of items!)
- A list of possible book ideas that fit the interest of your child that your guests can choose. (See the ideas we used below.)
- A list of instructions on how to make the books. (See a few suggestions below.)
- Fun snack items (What’s a party without food!!)
- Plenty of tables and chairs that have access to outlets for the glue guns!
Suggested Instructions to throw your own Book-Making Party:
- Choose a date and location weeks ahead of time so people have time to plan on attending.
- Generate a list of book ideas that your child would enjoy (and also a purpose for the books. Our purpose was to create browsing books and also “library books”.) Also create brief instructions for each of the books so the guests will have an idea of what to do.
- Use the list you generated to create a list of things you need to buy or collect for the party.

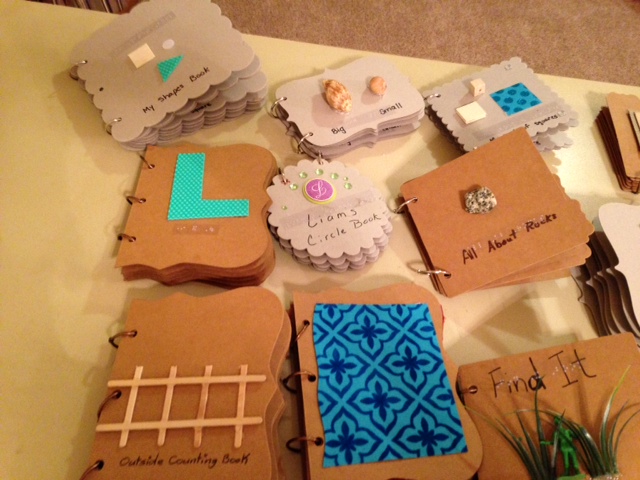
Sample Tactile Books
Here are a just a few samples of the book ideas that we used with the brief instructions I gave to leave room for creativity:
| Triangle book: create a book of all different kind of sizes and textures of triangles only. Label each page with the word ‘Triangle’. | Pocket book: Have a book that has all kinds of different pockets attached… you can put things in the pockets if you wish |
| Rectangle book: Create a book of all different sizes and textures of rectangles only. Label each page with the word ‘Rectangle’. | Tree book: Show the roots, branches, leaves, pine needles pine cones, etc…label with simple words. |
|
Rock book:
A book about rocks
Use simply phrases such as bumpy rock, smooth rock, little rocks, big rocks, flat rocks…etc.
|
 |
| Counting book: Create a book that encourages counting. Ideas: Could create a mini-abacus with beads if you want. You could put items under a flap to be counted with the number of items labeled on top of the flap. | Concept TOP vs BOTTOM Create in interactive book that teaches the concept Top vs Bottom I don’t have any more ideas or instructions on this one—be creative and feel free to use any items you see laying around for this Please keep the labels simple (using the words TOP and Bottom only) |
| Food book: Create a book using play food or items that could represent or feel like the food or smell? Label them simply with the name of the food. You may glue them on the page, Velcro, or use bags. | Shape book: 1 shape per page, labeled with the name of the shape each shape should be a different texture |
 | Jesus book: – Glue different textured crosses – Simple phrase, such as “Jesus loves you” – hands for praying – any other symbols that may represent Jesus or the Bible |
| Concept HARD vs SOFT Create a book where one page has a texture or item that is soft and the other page has an item that is hard. It would be nice if the textures could almost fill the page! Use simple labels with the words HARD or SOFT only. | Toy book: Attach different toys to a book and label them with the names of the toy. They could be attached with glue or Velcro or baggies. |
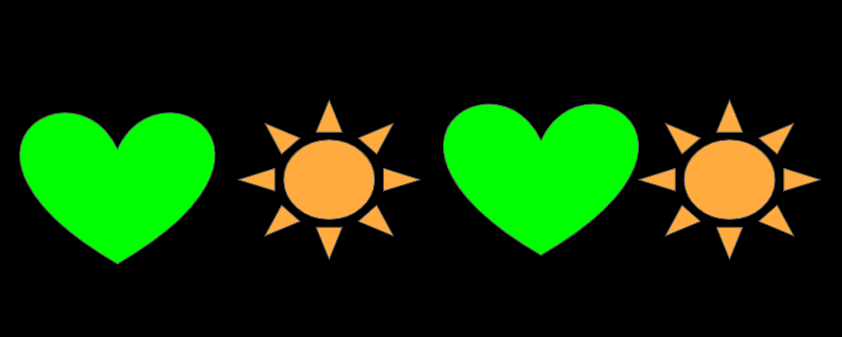
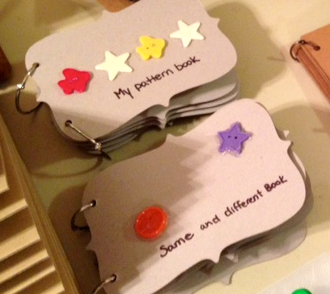
| Pattern book: Create a simple pattern on each page with a place for Liam to Velcro the final piece to the pattern (for example: heart, star, heart, star, heart)… maybe you would include a pocket or a place on the corresponding page for Liam to store the detached final pattern piece. | Number 2 book: Glue two of the same items on each page…for example, 2 pennies. Label only with the number 2 |
| Number 3 book: Glue three of the same items on each page…for example, 3 pennies. Label only with the number 3 | Concept book: SAME vs DIFFERENT: On one page have two items that are the same size and same shape. On a different page have two items that are different (maybe the same size but different textures or maybe just two items completely different from each other) Continue with this pattern…one page has items that are the same, and one page has items that are different. Label simply “same” or “different” |