Over the summer months I take the opportunity to make/adapt materials for my students based on their IEP objectives…not just my objectives, but the ones their classroom teacher wrote for them involving learning about transportation. Where to start?
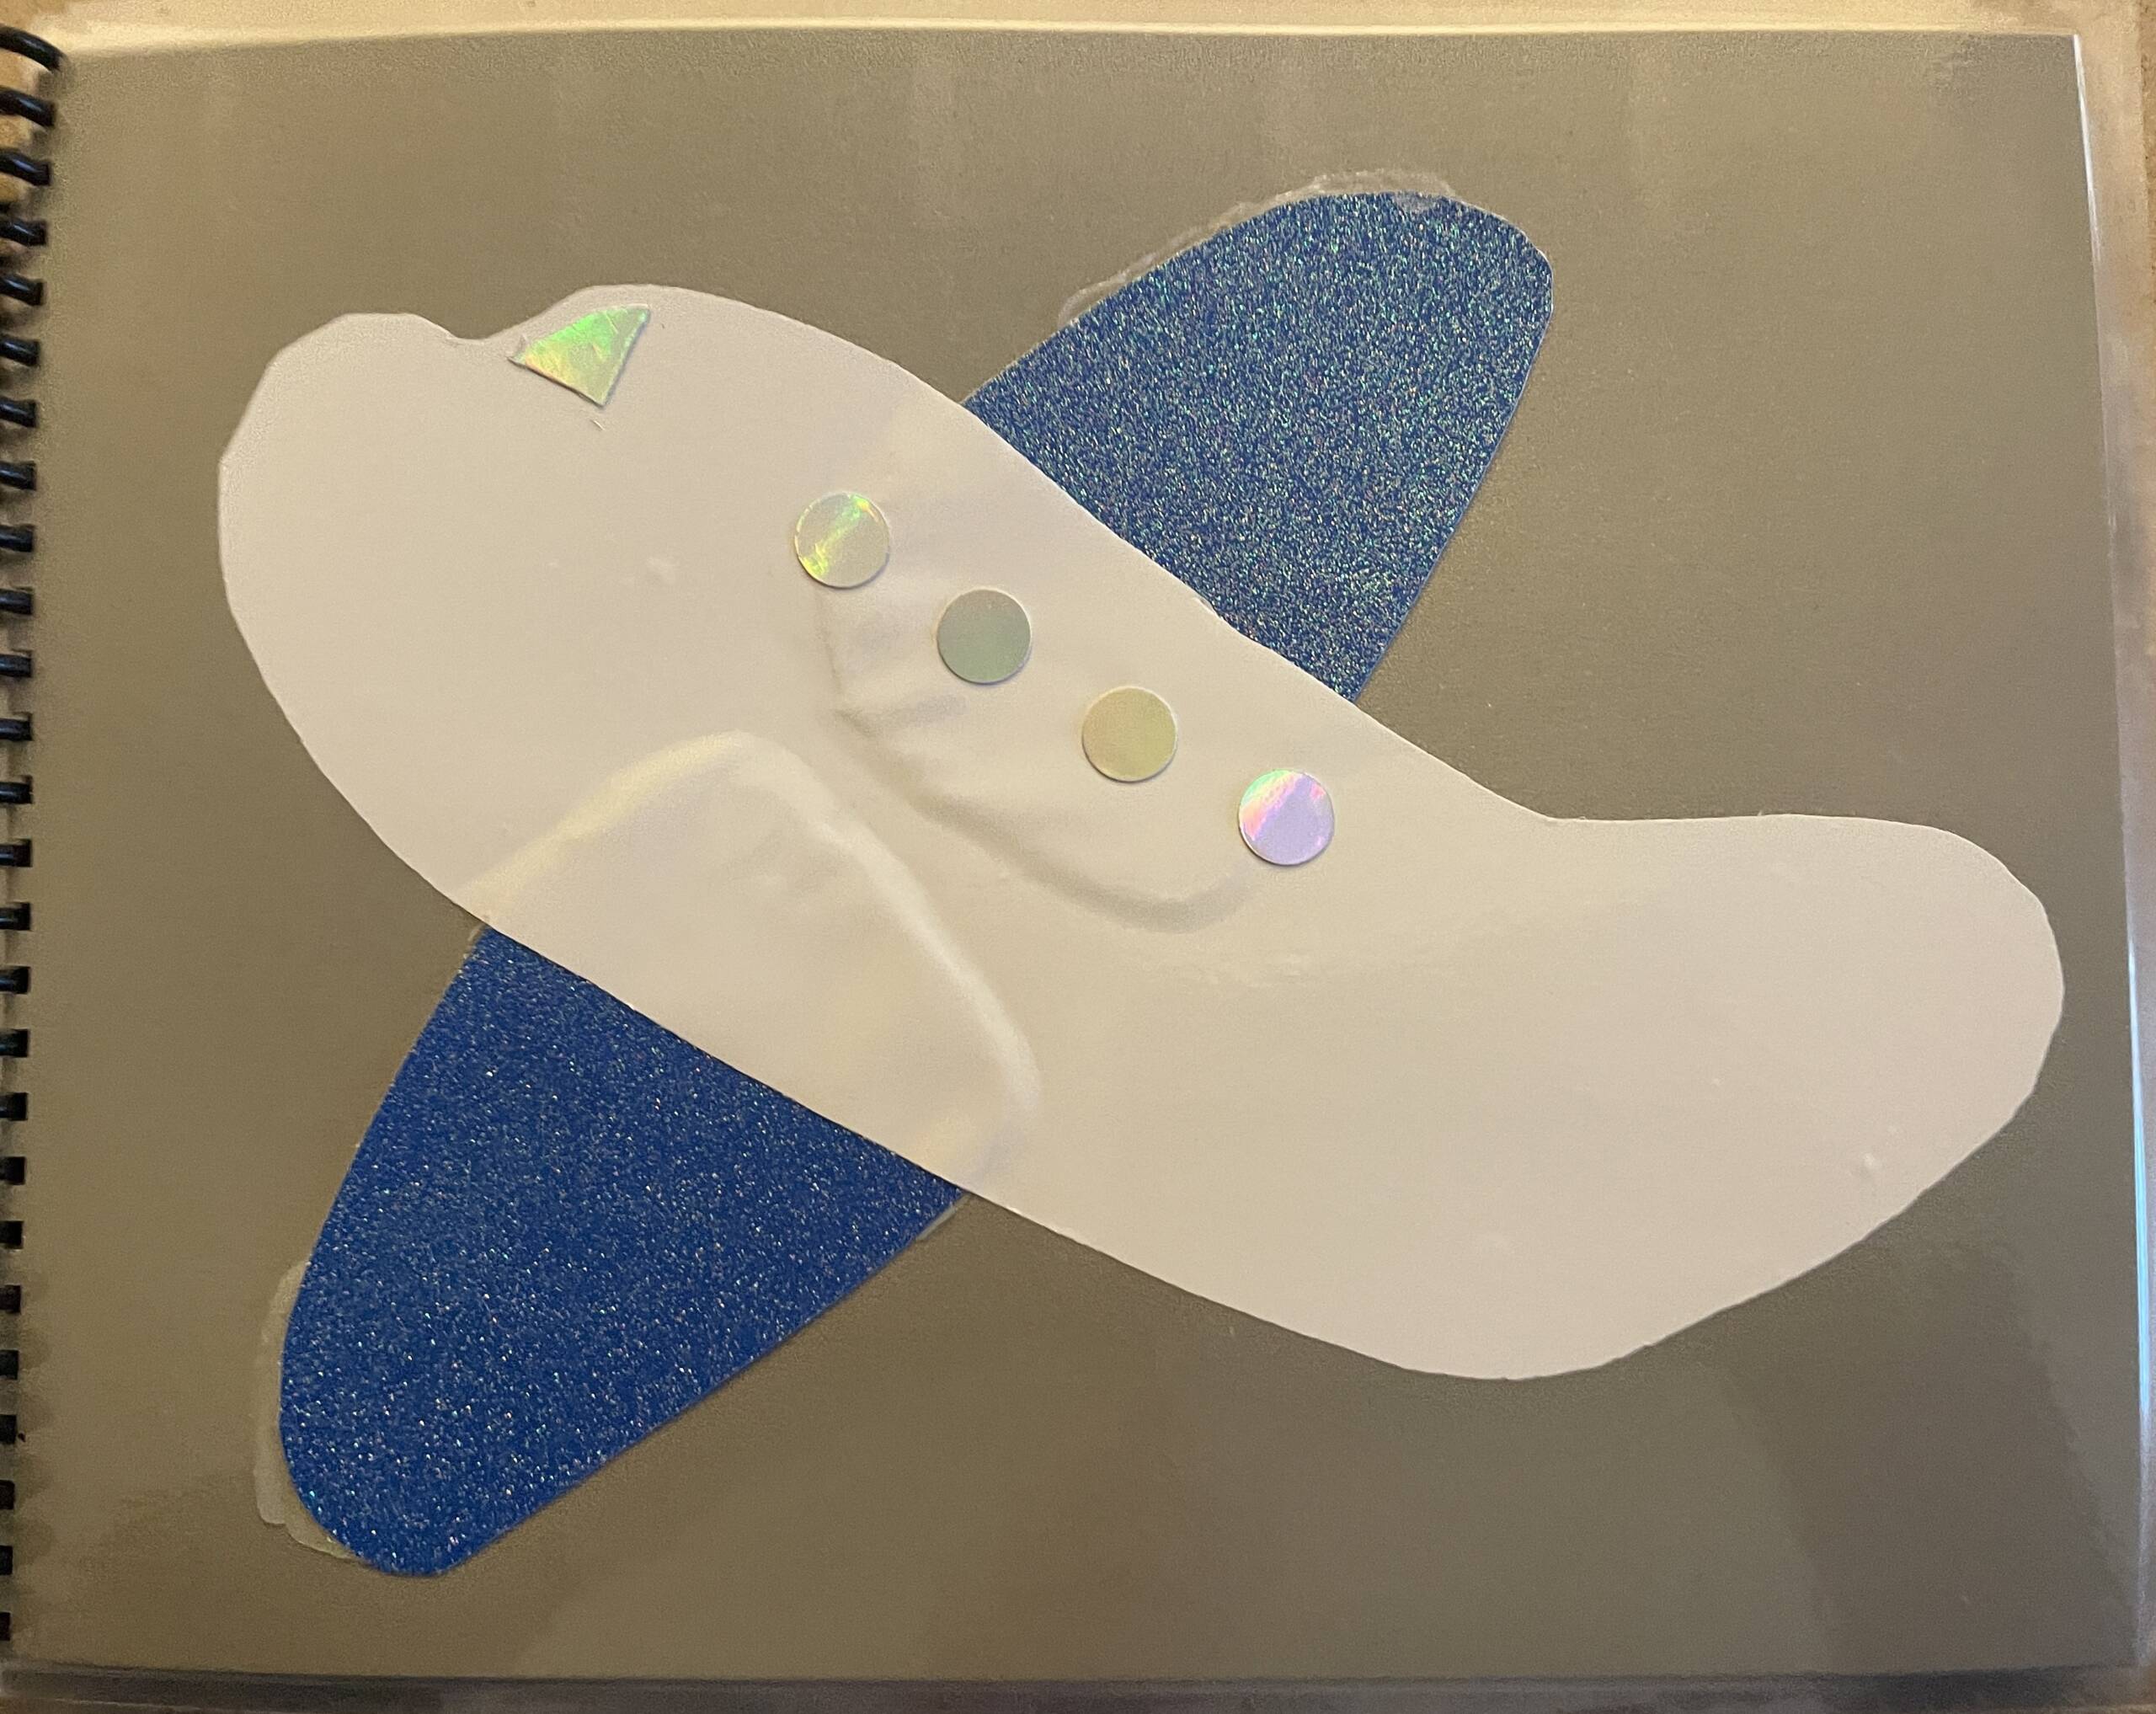
I follow Crafting Jeannie and she had a blog post earlier in July on transportation where she posted links to vehicle templates. She also has an AMAZING tip on her templates to staple the template to several pages of construction paper, cardstock, etc. Then cut! In this video, Airplane with cutting tip, you can see her tip in action as she makes her airplane craft. This doesn’t work well for the thicker textured paper however. I recommend testing it with several different types of paper.
One mode of transportation, the motorcycle, was not available on her website. So, I did a search on a motorcycle color page. Color pages make GREAT templates! I found one called Motorcycle Craft – Printable Cut & Paste. This one costs $3.00 from the Simple Mom Project.
On Crafting Jeannie’s blog site, she has a links to her Transportation Crafts. I selected the ones I wanted for the transportation book and after printing them, the hunt was on for the textures for the pieces.
The first place I looked was APH’s Carousel of Textures as there is a wide variety of ‘Feel ‘N Peel’ sheets to choose from. But not enough for my needs. Wandering through the local craft store was my next stop.
Once I had my textures and the pieces for each vehicle trimmed out and ready for assembly, I needed to consider the ‘story’ to go with the book. I contacted a speech therapist I work with and she created the story line. Her focus was on associated verbs and adjectives. I have the ‘story’, but I need it translated into Spanish for one book as it will be left at home with the family. Google Translate is great, but not always perfect. I used it to translate the story and then sent both the English and Spanish wording to a former student of mine for her to edit for authenticity. I want to ensure this accuracy for the family.
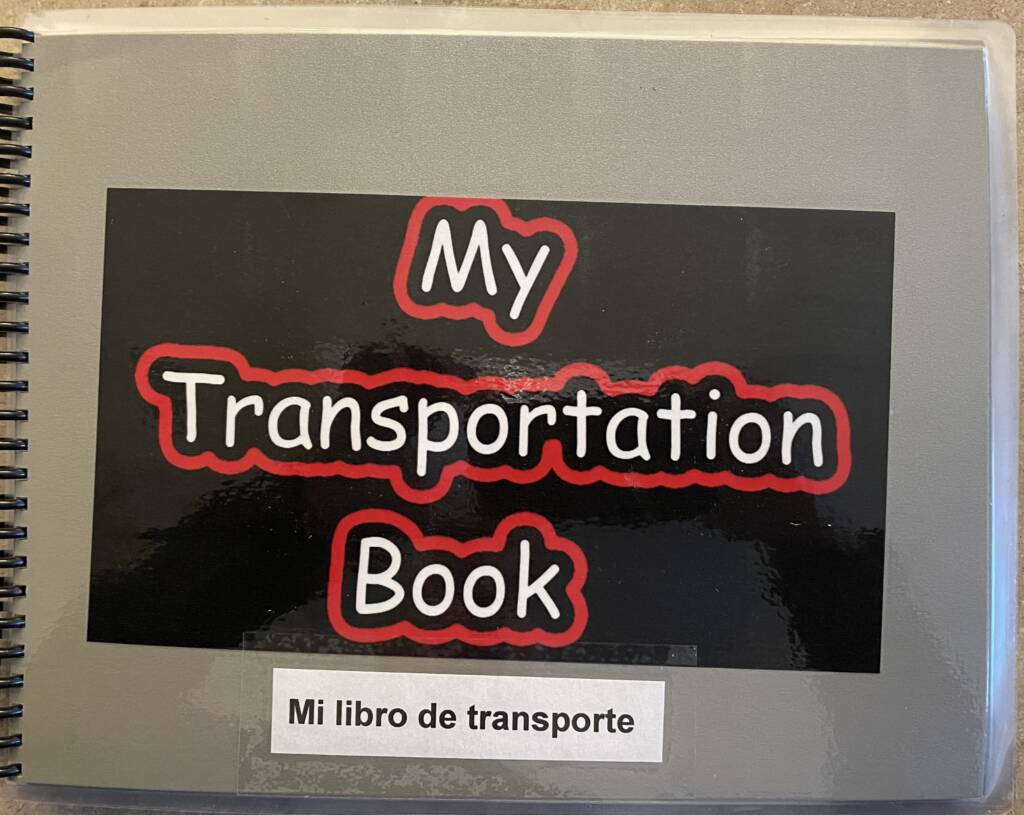
The title and cover images were my next consideration. I decided to go with something simple “My Transportation Book” was a perfect title for my needs. I used the Roman Word Bubbling site to create the title. The last consideration I had was if I put the name of each vehicle on the
corresponding page. Would the word be a distractor or not? I chose to leave the vehicle name off as the image was quite large and I felt the word would be a distractor.
Having a toy vehicle that is the same as the image on the page is also helpful.
Students are frequently playing with these and being able for the student to make the connection between the toy and the image on the page is priceless! The Speech Therapist is an excellent partner in this activity to help with verbiage. I tend to take notes on the verbiage used so that I can continue the lesson when the therapist is not around.
How to keep each of the parts of the vehicle separate once I cut them out was not as tricky as I thought it would be. I used a container that can fit 8×11 paper. As I made more than one of these books, all the pieces of one vehicle were cut out at the same time. Once I had all the pieces cut out…and there were a lot of them, I put them in the container and divided them by a sheet of paper. I made sure to include a picture of the vehicle with the pieces to help me remember how to assemble the pieces. In the corner of the templates’, Crafting Jeannie has a small picture which made the sorting of the items easier.
Tips:
- When I have a lot of materials to cut out/prep/etc., I solicit assistance
from high school organizations that need volunteer hours or
parent/teacher organizations. You don’t have to do it all alone. I just
do a demo video and email it after delivering with the materials that
are needed to be cut. - When using glue, I like to put parchment paper and something of
weight on top of the finished design and let it sit overnight. The next
morning, I carefully remove the parchment paper to allow the glue to
finish drawing. This helps from the paper textures from curling and
keeps the textures flat. - Ensure that the textured image doesn’t fill the entire page as it might
become an issue when trying to bind the pages into a book.