You can reuse your cardboard loom as many times as you’d like but eventually it will start to break down.
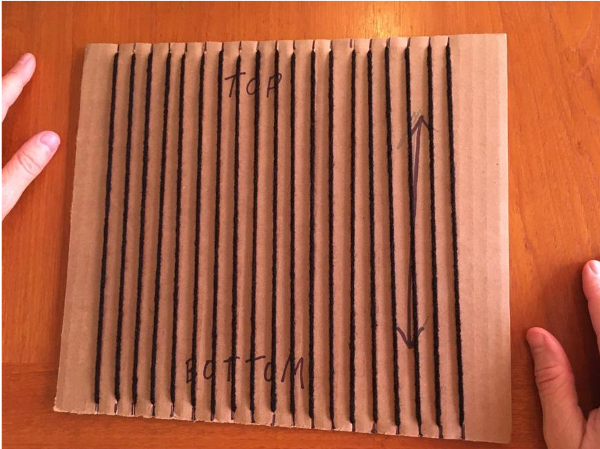
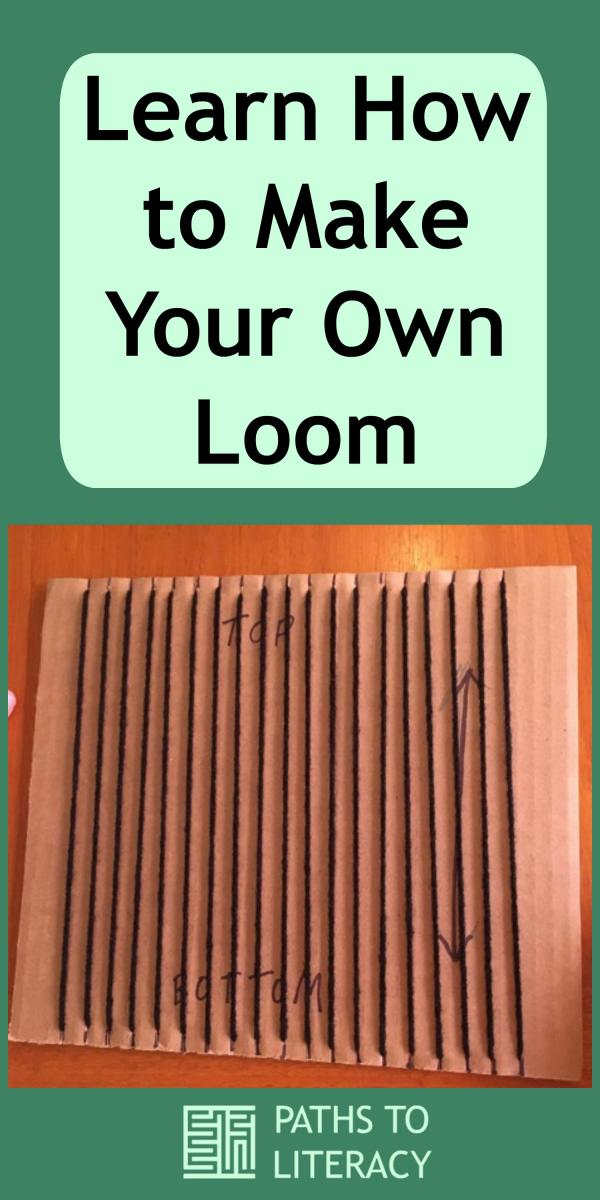
- To make your own cardboard loom, use cardboard from a box instead of throwing it away and make it any size you want.
- Measure out ½ inch lines and mark on the top and bottom of your loom.


- Trim those “tabs” with scissors on both top and bottom

- Put on the warp yarn by taping it to the back of the loom first, then running it to the front through the first slot of the tabs.


- Holding the warp yarn taut, run it through the slots and around the back of each tab, top to bottom and back up again until the warp yarn is threaded onto the loom.


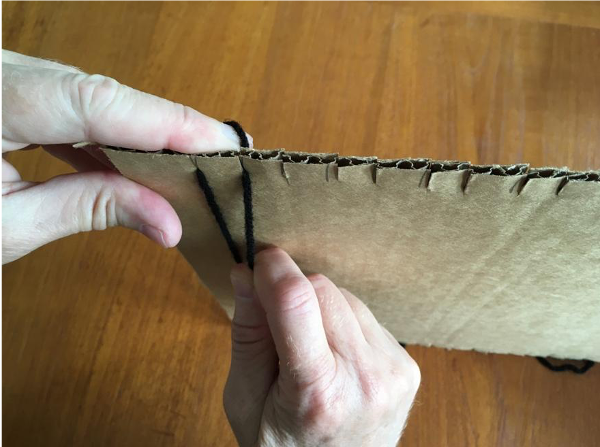

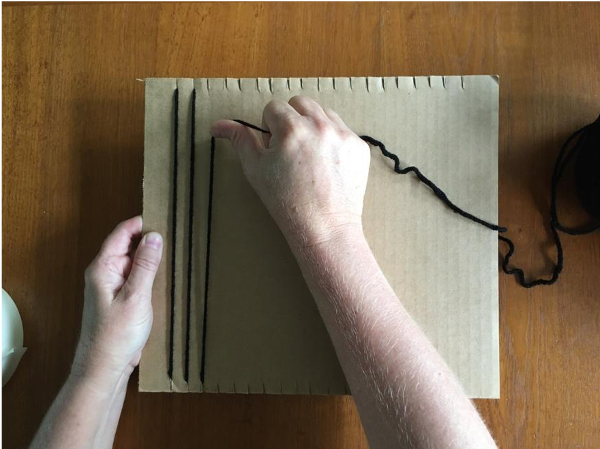
- Tape the other end of the warp thread to the back of the loom when it is completely finished.


- You have now prepared your new weaving loom. It is ready for you to weave with your weft yarn.

- If you want to be creative with your loom, you can make a loom using a picture frame, a box, an old book, a door, etc. You don’t have to use cardboard. What you use is up to you!
- Have fun and challenge yourself to be creative and think of something new.
Here is a website that also has great explanations for weaving. Check it out. It also explains other weaving techniques.
Once you have made your own loom, follow these instruction on learning to weave at home.
- Other Ways to Play with Words
- Learn How to Make Your Own Loom
- Learn to Weave at Home!