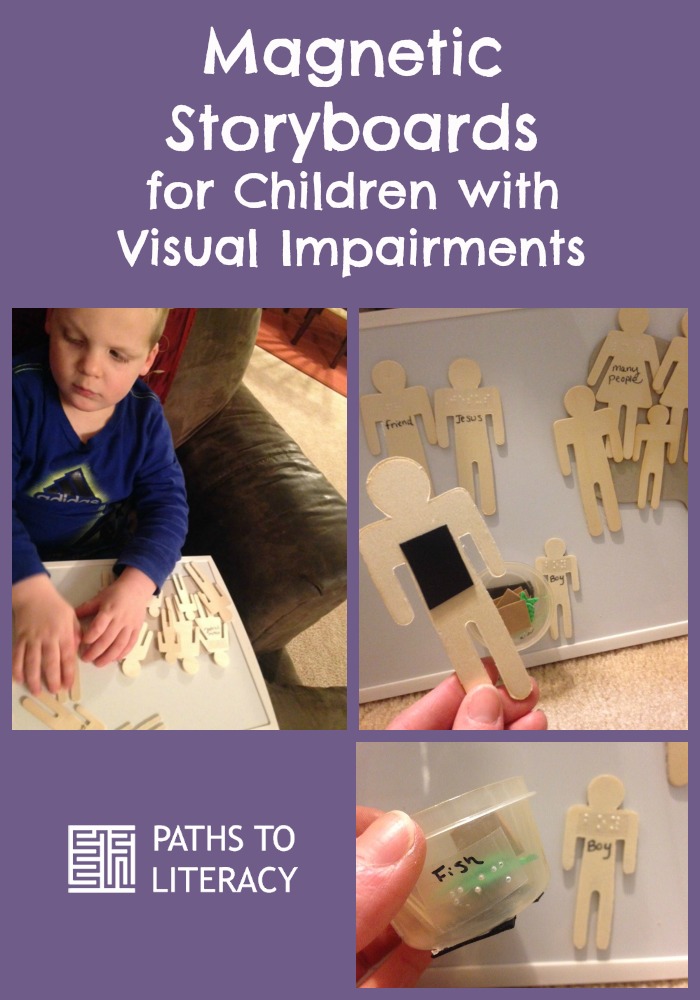
I was in need of some updated “accessible” Bible story material for my son Liam (age 6, deafblind) to be used at church. I have been telling Liam the story about Jesus feeding the five thousand as one of his bedtime stories. Inspired by the old “felt board” stories from Sunday School I remember from when I was a young girl, I wanted to make a tactile and magnetic version of that for Liam that would tell the story of Jesus feeding the 5,000. This is a story he is familiar with.
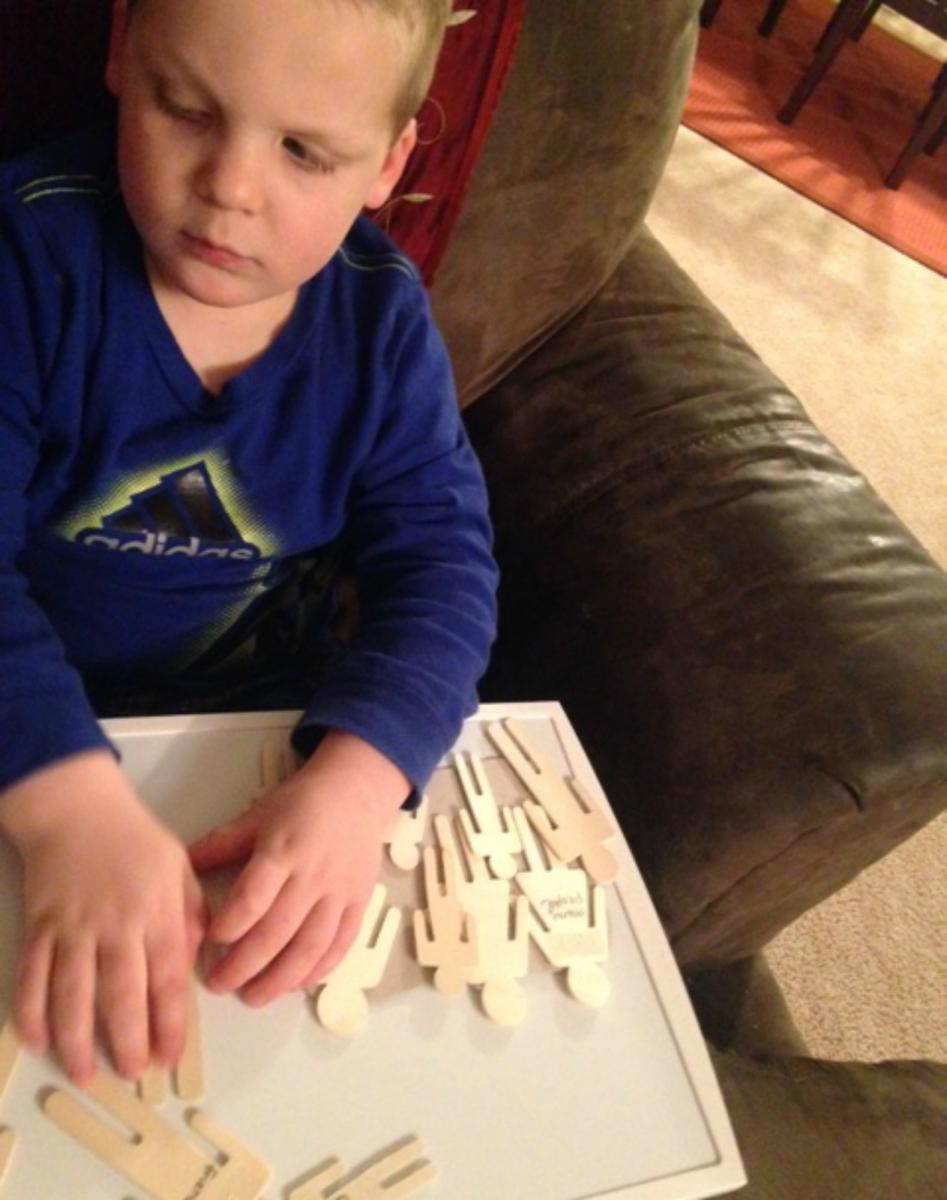
It was so neat to watch him when he first got his hands on the magnetic storyboard. He enjoyed finding all the characters and pieces (they were labeled in braille). It was fun to act out the story together as we placed the magnetic pieces onto the board. He even asked for another story so I think “Noah’s Ark” will be next on my “to-do” list!
Materials
- Magnetic board (The one we use is a magnetic marker board that Liam received from his TVI as part of his Christmas gift. You could also use a cookie sheet that you already may have at home.)
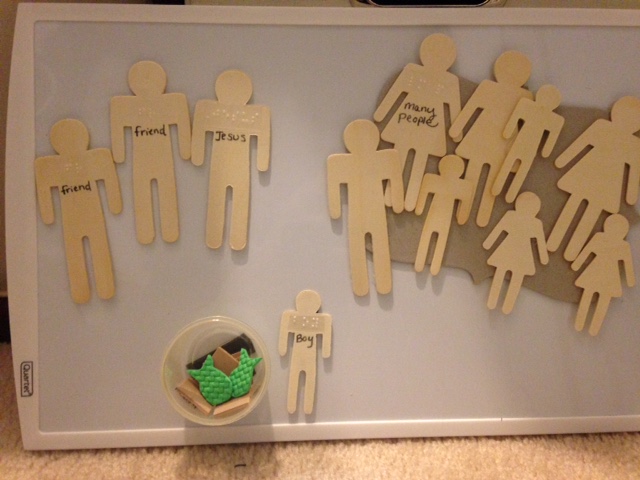
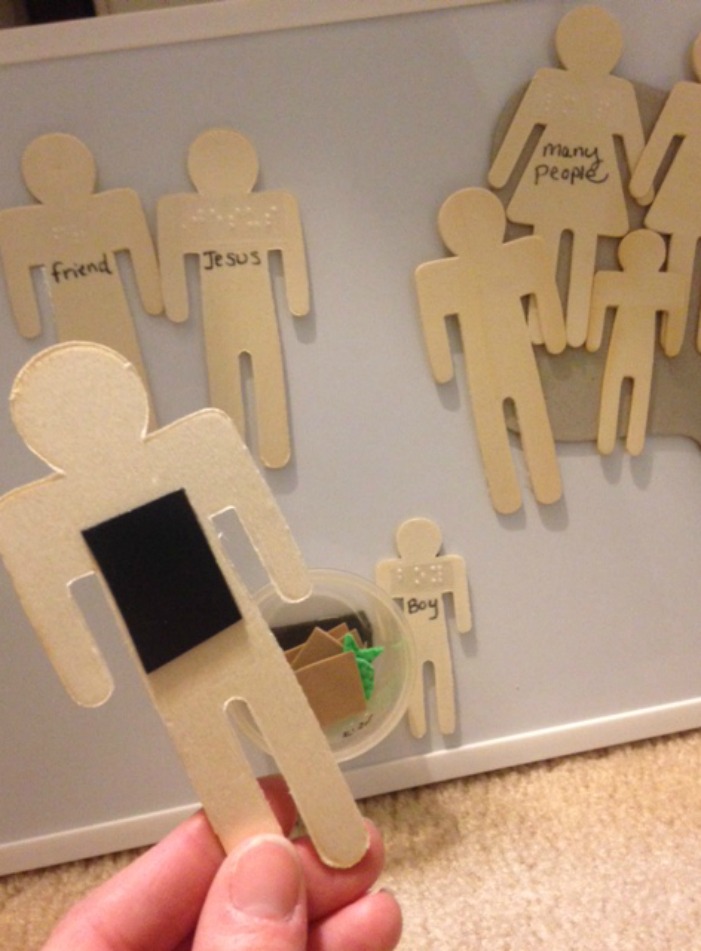
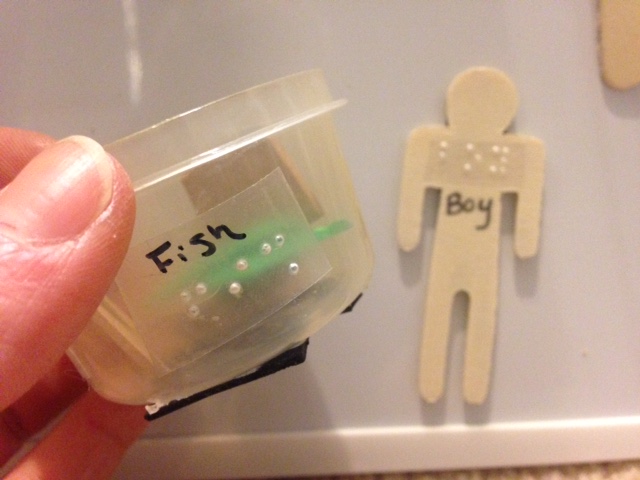
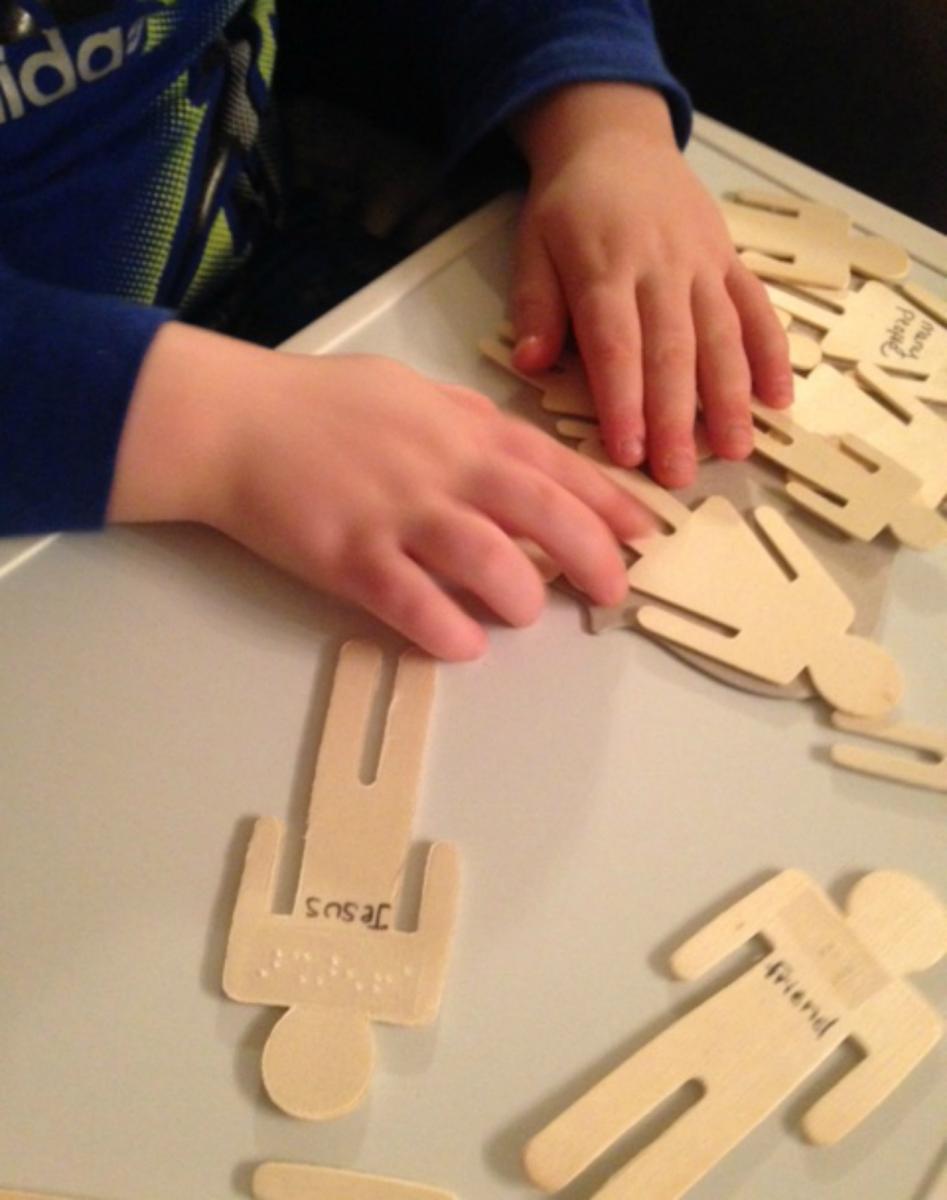
- Lightweight tactile representations (tactile graphics): I used flat wooden people to represent the characters in the story. I purchased them at Hobby Lobby. I also used textured foam to represent the fish and the bread.
- Magnetic strips Braille labels: I labeled all of the pieces for the story.
Procedure
In addition to using the magnetic storyboard to tell the story, other possible uses include:
- Child can re-tell the story using the magnetic pieces (sequencing practice-Beginning, Middle and End).
- Characters: Ask questions such as “Can you show me who the main characters are?” or “Which character felt sad at the end of the story?” etc.
- Use the same board for other stories.
- Magnetic sentence strips that use large print or braille that the child can use to create sentences that match the story.
- Children can use the idea of a magnetic story board to create their own stories!
- Use the magnetic tactile graphics to check for comprehension when discussing the story.
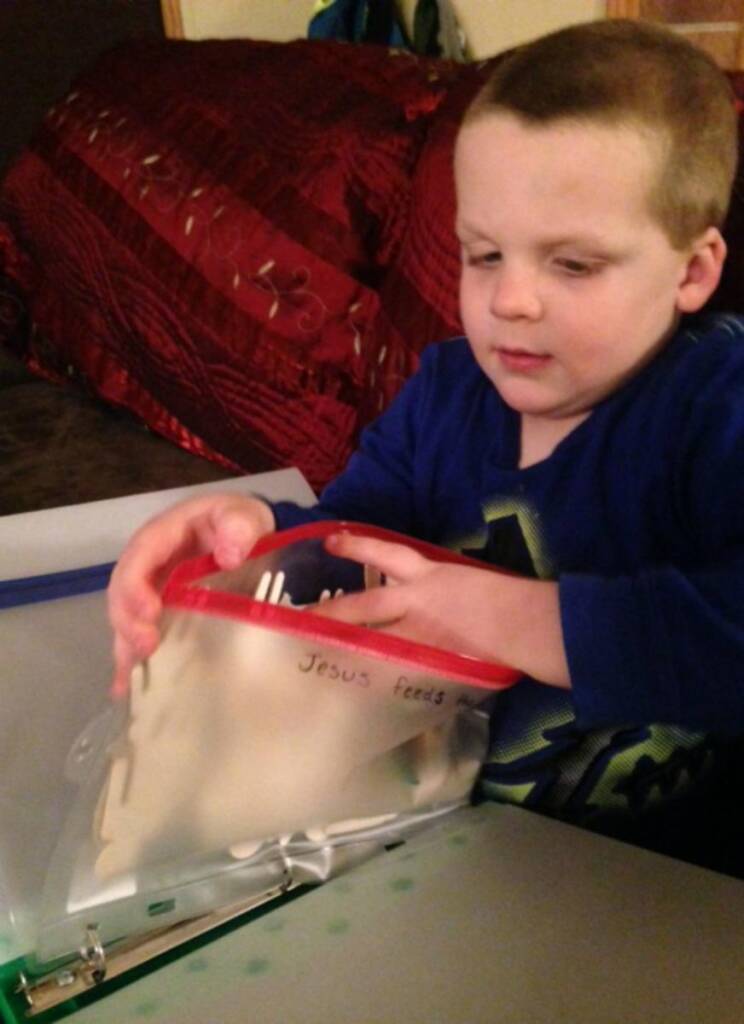
Storage tip:
Store the pieces in separate pencil baggies that are labeled. I will keep all the different magnetic stories in a binder so my son can choose which story bag he wants to use!
Note:
It is important when using tactile graphics to discuss with your child what each graphic represents. You want to make sure your child is ready to move away from real-life objects (which are best when possible and could still be used with the tactile magnetic storyboard if desired).
When I introduced this story board to Liam I allowed him to explore all of the pieces (the tactile graphics). We discussed what all of the pieces represented. I assisted him in setting the scene in a way that would be easy and predictable for him to follow when telling the story.