- Before initiating this section of the assessment, open a prepared word processor file with the text displayed at 12 point in the preferred font of the student. This file will need to contain several paragraphs, enough to fill up about 3/4 of the screen.
- The examiner will also need to open an application that will display a graphic, picture or map.
- Finally, open the screen magnification program. During this section the examiner will need to switch between the two applications, the text displayed in the word processor and the graphics displayed by the other program to demonstrate the flexibility of the various features of the screen magnification software.
- Leave the computer display set on the graphics application for now.
- Have the student sit up straight in the chair with their back against the back rest of the chair.
- Measure the viewing distance to insure that the student is approximately 13 inches from the display.
- After the stage is set, so to speak, switch the computer to the word processor application.
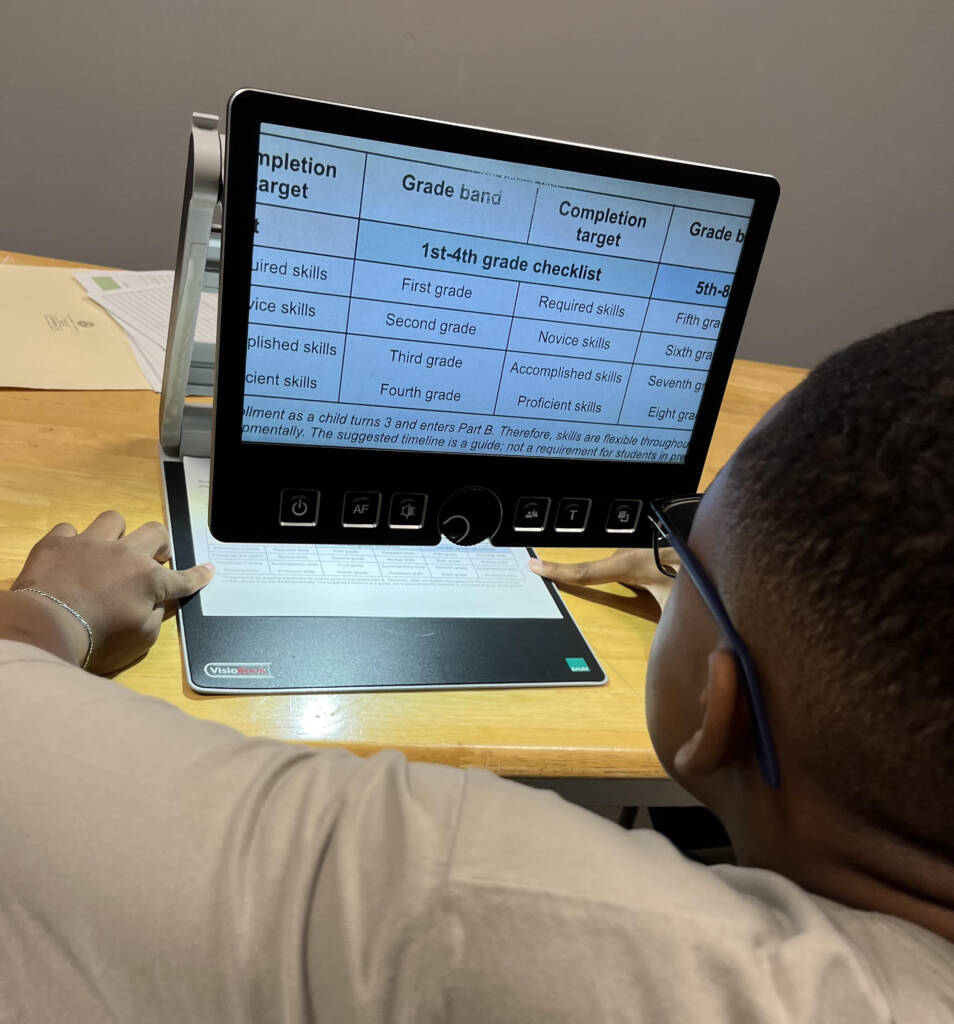
- Adjust the magnification of the image until the student is able to read the text and view the material without having to lean forward.
- Demonstrate the polarity options and ask the student if he/she prefers black text on a white background, or white text on a black background.
- Note the magnification size and any polarity preference on the checklist.
Most screen magnification programs offer several different viewing modes or ways in which the enlarged image can be displayed; full, lens, area, horizontal split, etc. Demonstrate the different viewing modes offered by the program and explain to the student how these effect spatial orientation. When the image or text is enlarged, only a portion of it can be viewed at any one time.
- A full screen viewing mode at 2X magnification will only allow the user to view 1/4 of the unmagnified image. Ask the student to move the mouse around to change the image being displayed and notice how only part of the paragraph is viewable at any one time..
- Ask the student to move back to the left edge of the screen and read a line of the text. Note if there is any difficulty in locating the left edge and how well he/she is able to track across the line of text.
- Ask the student to find the beginning of the second paragraph. Note the strategy he/she uses to locate it. Does he/she get lost or can he/she reorient themselves.
- Move the mouse so that the display is in the middle of the line of text and about ½ way down the unenlarged screen of text. Explain to the student how easy it is to get disoriented and that when using this type of computer access program the user must reorient themselves by returning to a known point such as the top left corner of the screen.
- Ask the student to use this strategy and then move to the beginning of the third paragraph. Note their ability to maintain or regain their orientation.
- Switch to the graphics application.
- Ask the student to again navigate around the image and verbally identify the information being displayed.
- Ask the student to locate specific parts of the image: top right corner, bottom left corner, middle of image, etc. Again, note their ability to stay oriented.
- Change the screen magnification software to the lens setting. The lens mode will display the entire image, but only a small rectangular area will be enlarged. Point out to the student how much easier this is for navigating around the graphic image.
- Switch to the word processor program and ask the student to read a line of text. Note how much more difficult it is for the student to stay on track.
- Change the screen magnification software back to the full viewing mode.
- Instruct the student to open menus and select items from it, choose items in a dialog box and select icons on a toolbar.
- Finally, set up the parameters for the review or panning mode for automatic reading and have the student read paragraphed text. Adjust the speed so that the student can read the text easily. Note the speed setting for this option. (This may be one of the steps in which the examiner will wish to have completed by the AT specialist.)
This document was developed by Ike Presley, American Foundation for the Blind, (100 Peachtree Street, Suite 620, Atlanta, GA 30303). Permission to photocopy is granted for non-commercial purposes if this credit is retained.
This article was originally published by Texas School for the Blind and Visually Impaired (TSBVI) and is reprinted here with permission.


