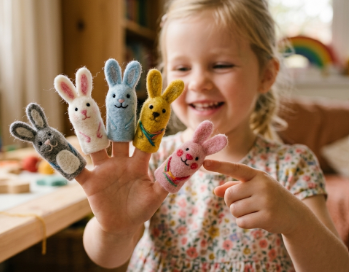
Systematic building of skills in toddlers and pre-schoolers will facilitate learning to read and write braille in the future! Skills to build include: concepts such as same and different, tactual awareness and perception, and fine motor such as exploring objects with hands and using hands cooperatively.
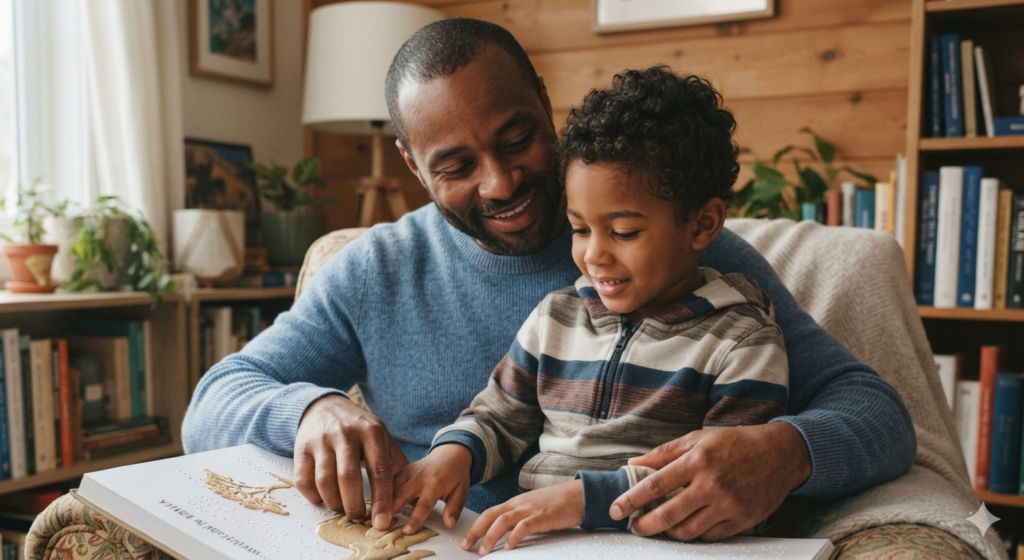
Pre-braille skills are skills designed to increase tactual awareness and perception in individuals who will learn to read and write braille in the future.
The concept of same or different should be the last concept that you teach.
I. Teaching Rough or Smooth
To teach rough or smooth, begin by gathering items that are rough and smooth and placing them in a container. Many of the objects that are rough or smooth can be found around the house or school and are not items that need to be purchased.
Items that are rough:
scrubbing pad for pots and pans
steel wool
textured fabric like canvas or some upholstery fabric
textured wall paper
sandpaper
the edge of a key
You can also use items located in the classroom:
carpet
concrete walls
rocks in the classroom aquarium
corrugated bulletin board border
You can also go outside:
tree bark
sand on the playground
pavement in the parking lot
bricks on the school building
Items that are smooth:
piece of felt
satin ribbon
keychain
candle
plastic cup
dinner plate
In the classroom:
the top of a table
a door
the side of a filing cabinet
the front of a book
Outside:
the side of a car
the slide on the playground
a leaf off of a tree
To teach this concept:
Start by introducing the idea of rough. Show your student all of the rough items in your bag.
For each item talk about how it feels bumpy and scratchy. Use lots of descriptive words.
After showing the student rough, introduce smooth.
Show the student all of the smooth items. Talk about how the objects feel slick to the touch and how your fingers glide over the object without getting stuck.
After you have introduced both rough and smooth separately, then mix up the items and present one item at a time and have the student identify the items as either rough or smooth.
II. Teaching Soft or Hard
The idea behind teaching hard or soft is that the child can feel the difference between something that is hard and something that is soft. The child needs to understand that when we push on something hard it doesn’t give while pushing on something soft does. Teaching soft or hard often involves the child banging, slapping or hitting an object. Before starting hard or soft explain to the child that we need to be careful how we hit, bang or slap an object as it might damage the object but more importantly it might hurt us. Hitting an object that is hard with all our strength will cause you to hurt yourself and maybe even break a bone.
Items that are hard:
dinner plate
a fork, butter knife or spoon
measuring cups or spoons
the remote control for the television or stereo
a picture frame
You can also use items (and associated actions) located in the classroom:
slap the top of a table
slap the top of a class book shelf
try to mash a library book
bang on the door to the classroom
the child’s cubby
stomp on the floor
You can also go outside:
stomp on the parking lot pavement
slap a car hood or door
bang on the playground slide or monkey bars
Items that are soft:
a pillow
a stuffed animal
a blanket
a nerf ball
a winter coat
couch cushions
sponge used to wash cars or dishes
In the classroom:
cushions
pillows in the reading center
beanbag chairs
sleeping mats in the kindergarten classroom
Outside:
any of the tumbling mats used in the gym
leaves on trees
the seats in a car
the cushions on a bench
sand around the slide or playground equipment
To teach this concept:
Start by introducing the idea of hard. Show your student all of the hard items you can think of.
For each item talk about how it feels. Use lots of descriptive words. For instance, it hurts when we hit it. It doesn’t move, when we push against it. It is hard because when we touch it, it doesn’t give way.
After showing the student hard, introduce soft.
Show the student all of the soft items you can think of. Talk about how the objects feel. Again use descriptive words. Talk about how it is different from hard. When we feel something soft, it is easy to push. It gives when we lay on it or hit it. It also doesn’t hurt when we hit it.
After you have introduced both hard and soft separately, then mix up the items and present the student with both concepts and have them identify the items as either hard or soft.
III. Teaching Small or Big
When you first begin teaching small or big, make sure the size difference is extremely different. For instance, use a matchbox car to show small and then go outside and touch a regular car to show big. As the student understands the concept and his or her tactual skills improve, your student will be able to tell the difference between objects that quite close in size. It’s also important to mention that size is relevant, especially when comparing objects. If you ask a child if a couch or a chair is smaller, s/he is going to say that a chair is small even though many chairs found in a home are big.
Items that are big in a home:
a book shelf
a car
the couch
a rocking chair
the television
the kitchen table
Items that are big in the classroom:
filing cabinet
teacher’s desk
teacher’s chair
a storage closet
a table
the area rug the children sit on for circle time
Items that are big outside around the school building:
find a tree that is too big for the child to reach around and have them try to give it a hug
walk around the outside of the school and see how long it takes
walk around the play area
Items that are small in a home:
a DVD
a game system remote controller
the remote control to the television or stereo
car keys
a cookie
a package of fruit snacks
Items that are small in the classroom:
a book
items from the living or house center
play food
a cell phone
a camera
a book bag
different containers from around the class
kid’s chairs for the classroom
Items that are small outside around the school:
a plant or flower
a container for a plant
the door handle of the building
a single brick on the outside of the building
To teach this concept:
Start by introducing the idea of big. Show your student all the big items you can think of.
For each item talk about the size. Talk about how it’s hard to wrap our arms around (hug) something that is big and that it takes a long time to walk around something that is big.
Next introduce things that are small. Here is a case when it is okay to present the small items and show the big items (once the child understands big) at the same time. One of the easiest ways for a child to understand small is to compare it to an object they know is big.
Once the child understands the difference between big and small, begin to refine the concept by presenting items that have a smaller difference in size.
Remember to revisit this concept from time to time and continue to refine the child’s ability to differentiate between objects where the size difference is smaller and smaller. This is an extremely important skill as the difference in size between a penny and a nickel can be measured in terms of millimeters and your student will need to be able to make that distinction if they are ever going to reliably make purchases by themselves.
IV. Sorting by a Specific Characteristic
If you have taught the concepts of rough/smooth, hard/soft, and big/little, then you have done most of the work for this area. When we sort by a specific characteristic, we are only asking the child to make a pile of objects based on our desired characteristic. In sighted children, we ask them to sort objects based on color. For a child who is working on increasing tactual perception we might ask them to sort objects based on whether the items are paper or plastic.
Ideas for sort objects by specific characteristic:
paper or plastic
paper, metal, plastic, wood
shape
weight
length
soft or hard
big or little
hard or soft
rough or smooth
To teach this concept:
Make a bag or container with lots of items that have a common characteristic but are not the same. For instance in your bag of paper or metal, have lots of items that are paper such as wrapping paper, construction paper, tissue paper, paper towel, toilet tissue, and Kleenex. Then add some that are metal such as aluminum foil, screw, nuts and bolts, measuring spoon, and a spoon. It is okay to place several of the same items into the bag. Instead of having one cut square of tissue paper, have 3 or 4 squares of tissue paper.
Give the student a sample item of both paper and metal. Talk about the differences between how they feel.
Ask the student to reach into the bag and pull out an object. Have them identify the object as either paper or metal.
Although you may have 50 items in your bag, start with having the student identify 10 to 15 items at a time.
As your student is able to consistently sort items by a characteristic into 2 piles, add an additional characteristic to sort by. For instance have the student sort items into paper, metal or plastic.
V. Teaching Same or Different
This idea is different from sorting by a specific characteristic although it may seem similar. To sort by a characteristic, the students are sorting items that have a characteristic in common but are not the same item. For instance, they may be pulling items out of a bag and identifying if the item is paper or metal. The paper items in the bag are not going to be all the same. They will be all kinds of paper products. When teaching same and different, the objects the student is sorting need to be the same exact object.
You can use lots of different items to teach same and different. Since many students have difficulty grasping the concept of different, begin by teaching the concept of same. Gradually introduce the idea of same and not the same. Then go to same and different. Start with 3D (dimensional) objects. Then gradually move to objects that are glued to a paper.
There are different programs available for moving from real objects to paper and tactile drawings. All of these programs involve the student identifying tactile drawings of the shapes circle, triangle and square. If you have not taught these shapes then now is a good time to start.
To teach this concept:
Begin by sorting objects that are very different such as counting bears and blocks. Have them put the bears in one container and the blocks in another container.
It is easier to sort objects that are 3D than those on a paper. Don’t talk about the idea of same and different at this time but build on the idea that they are sorting objects because these are alike. Many kindergarten classrooms have tubs of manipulatives. Use some of those items during this stage.
Give the student an object, then place 2 objects in front of the student and ask them to pick the one that is the same. If the student is having trouble identifying which object is the same, have them feel the object and talk about how the objects are alike. They are both …. They both have …. This object isn’t alike or it isn’t the same as these other 2 because it is ….
As your student begins to consistently identify items that are the same, you can begin to give them an object and ask them to identify which one is different from the other 2.
To teach different, provide the student with 3 objects (2 of which are the same) and ask the child which one is not the same as the other 2.
Begin to change your language from “Not the same” to “Different”.
Gradually you can give the student an entire bag of items and they will be able to match all the objects in the bag as alike and different.
Once your student is consistently identifying same and different, you may elect to use several of the available programs that teach tactile awareness and perception.
Tips to teach same or different:
Go to the craft cabinet and pull 15 to 20 items and glue them to note cards to make tactile cards that the students can match.
Use objects and talk about the characteristics and attributes of each objects. Say these are the same because they are both …
The only good way to teach this idea is to go over the concept everyday.
Commercially Available Programs for Developing Pre-Braille Skills
This program is designed to prepare children before they begin braille reading. It helps build a child’s auditory, tactual, conceptual, and language skills. The emphasis in this program is on exposure to a variety of common childhood experiences.
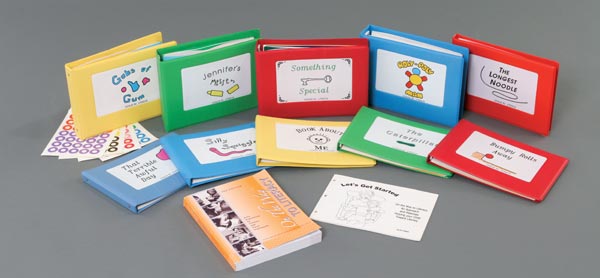
This is a classic set of braille reading readiness books. It consists of three volumes with tactile pages and regular print instructions. Volumes I and II introduce embossed hands and geometric forms, while Volume III introduces braille dots.
This handbook and print/tactile storybooks help young children who are blind or visually impaired develop emergent literacy skills.
This article was originally posted on the BrailleSC website, which was funded by a grant from the US Department of Education with support from the University of South Carolina Upstate and The Maryland Institute for Technology in the Humanities.
 Systematic building of skills in toddlers and pre-schoolers will facilitate learning to read and write braille in the future! Skills to build include: concepts such as same and different, tactual awareness and perception, and fine motor such as exploring objects with hands and using hands cooperatively.
 When you first begin teaching small or big, make sure the size difference is extremely different. For instance, use a matchbox car to show small and then go outside and touch a regular car to show big. As the student understands the concept and his or her tactual skills improve, your student will be able to tell the difference between objects that quite close in size. It’s also important to mention that size is relevant, especially when comparing objects. If you ask a child if a couch or a chair is smaller, s/he is going to say that a chair is small even though many chairs found in a home are big.