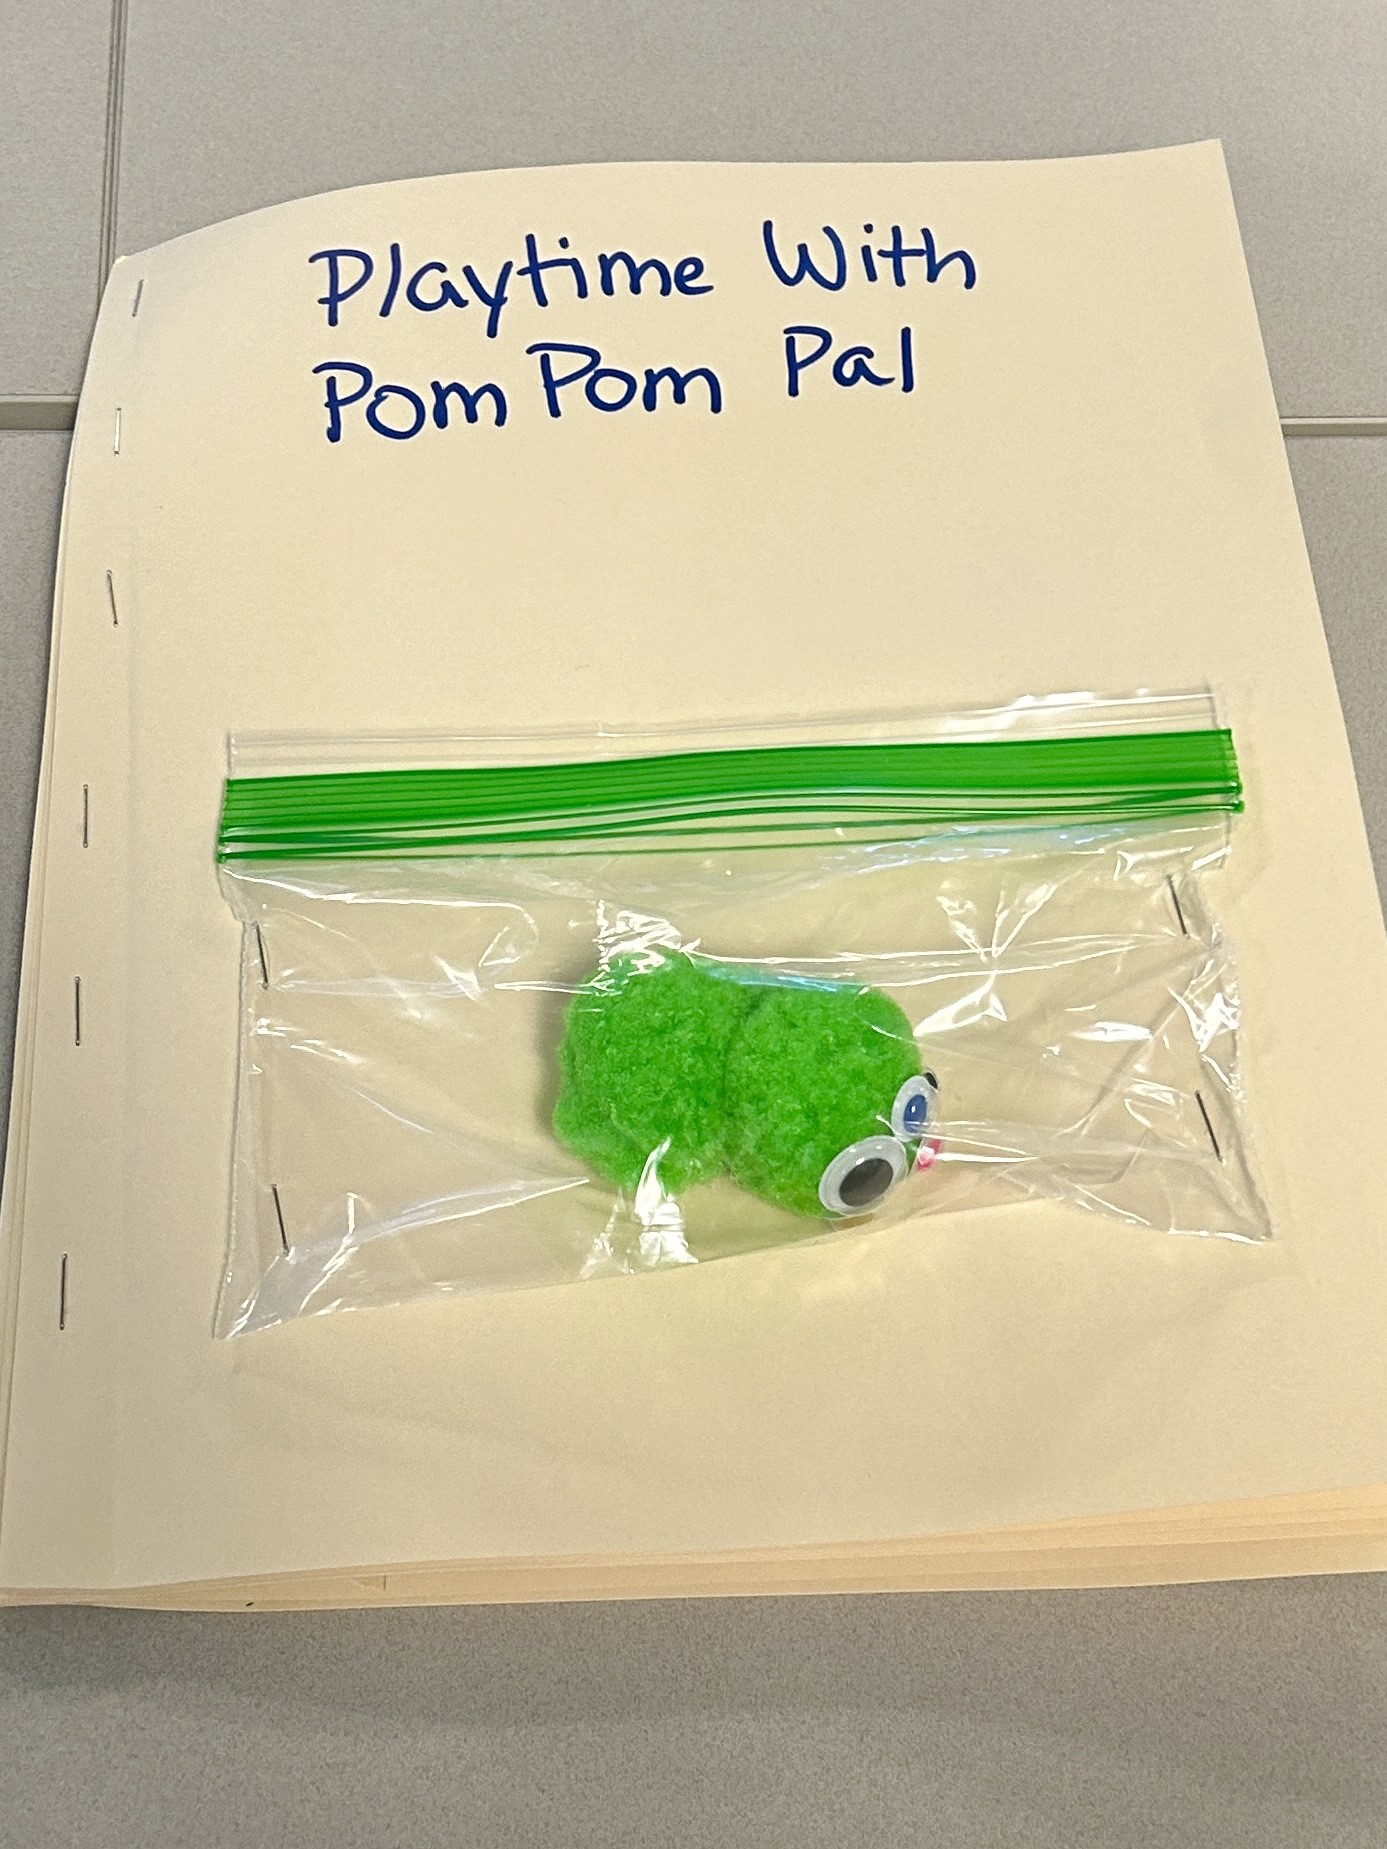
My coworker Emily and I recently gave training on multisensory literacy activities to a group of TVIs in Texas. One of the make and take activities we included was this 5 minute concept book that we called “Playtime with PomPom Pal.”
Many students with visual impairments who are working on early literacy skills need extra practice and instruction in concept development related to books. This activity, using a teacher made book, allows students to practice concepts while exposing them to book skills like turning pages and moving from left to right across a page. Using very simple materials allows teachers to create this book in a short amount of time with items they probably already have access to.
Materials Needed
- Braille Paper
- Stapler
- Straws
- Tape
- PomPoms
- Wiggly Eyes
- Ziploc bag
- Tacky glue or hot glue
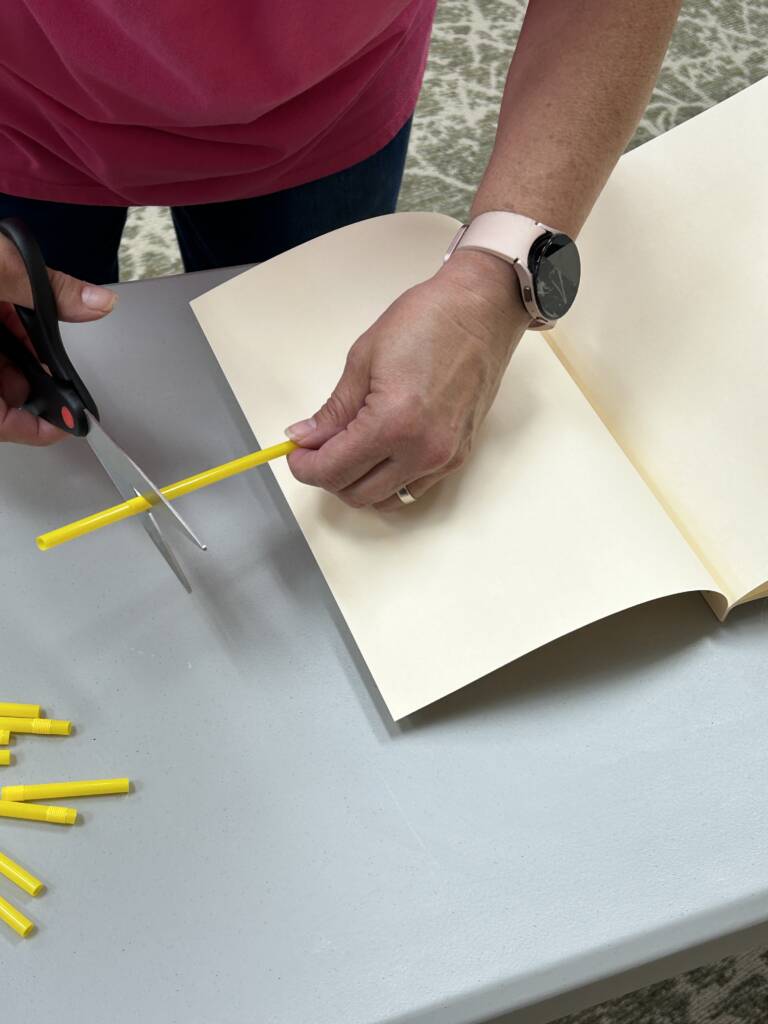
- Scissors
Procedure
You can use these materials to make just about anything you like, but I’ll describe what we asked the participants in the training to make.
- I began by stapling my six pages together. I have learned over the years that when I’m making a tactile book, it’s much easier to line the pages up before they have things attached to them. If you decide to add any braille, you will want to do that first, or use braille sticky paper to add the braille.
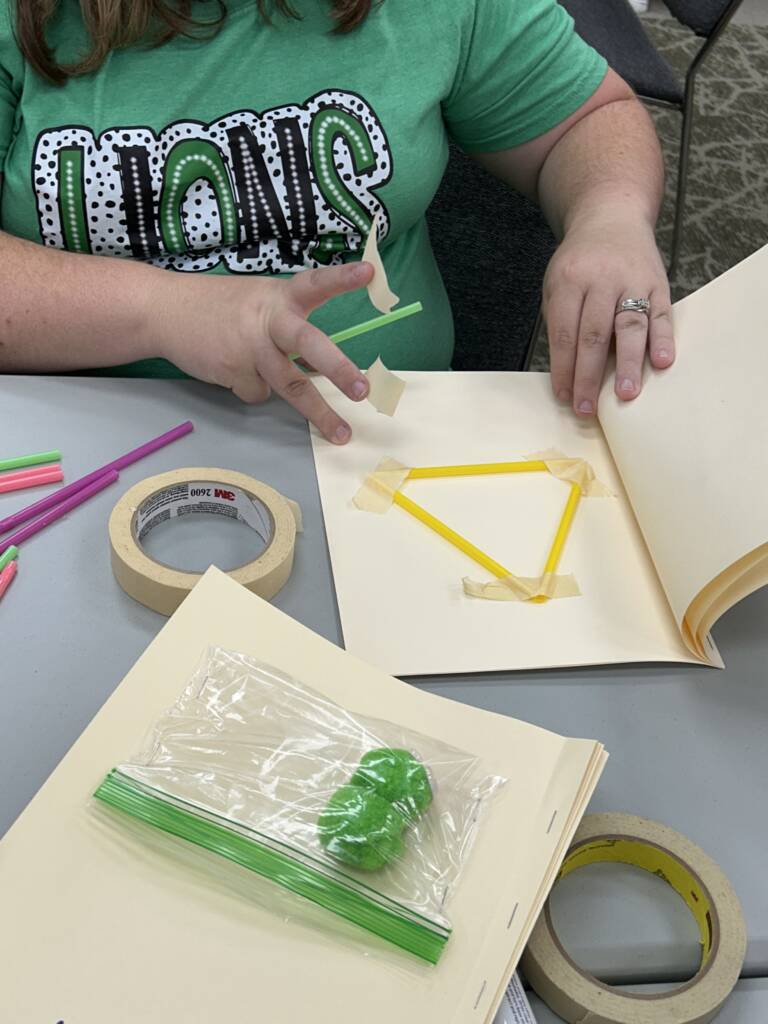
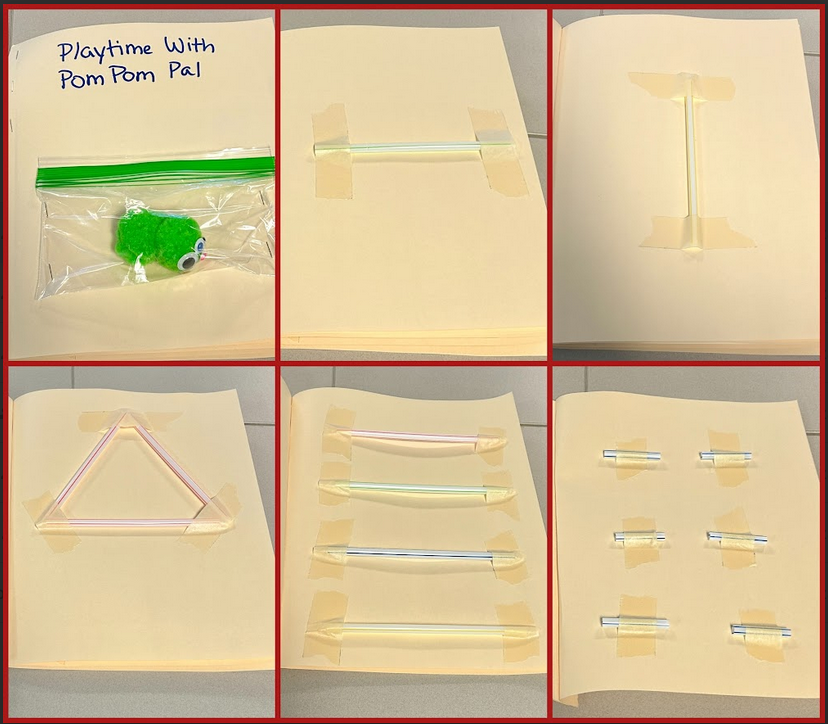
- Create the title page. I titled my book “Playtime with PomPom Pal,” but you can call your book anything you like. You can even make the book with students and ask for their input. I stapled a snack size Ziploc bag on the front so that we could store the pompom pal that we will use in the book.
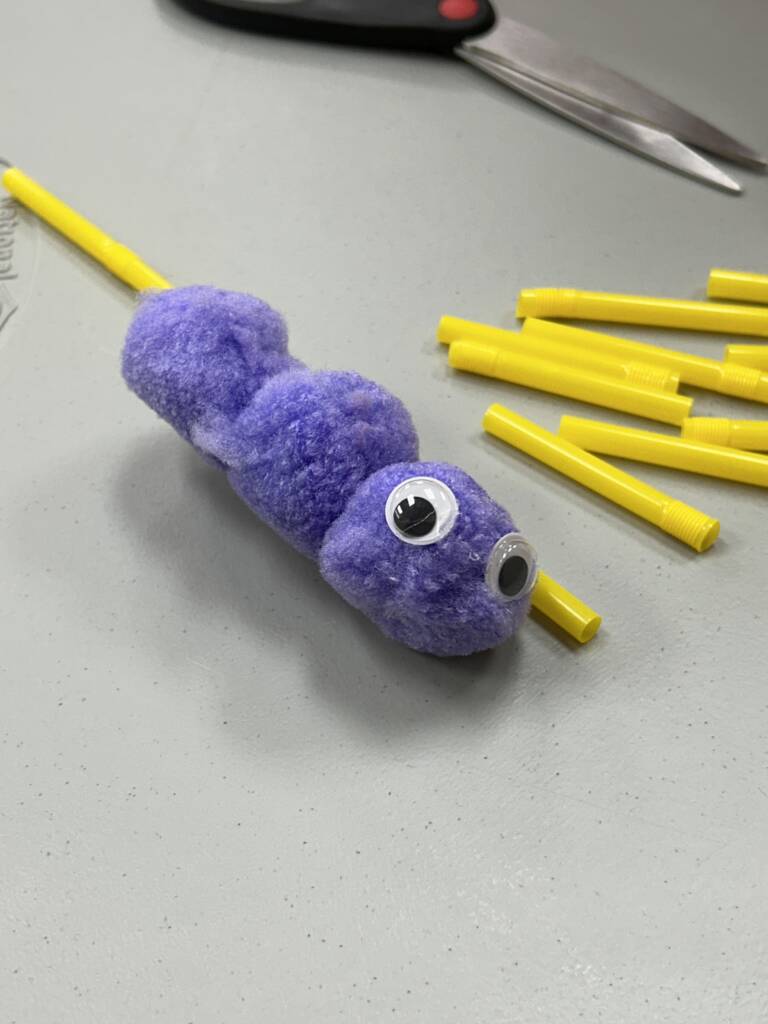
- Make your pompom pal. Using large pompoms, googly eyes, and some glue, I created a critter to use in my book.
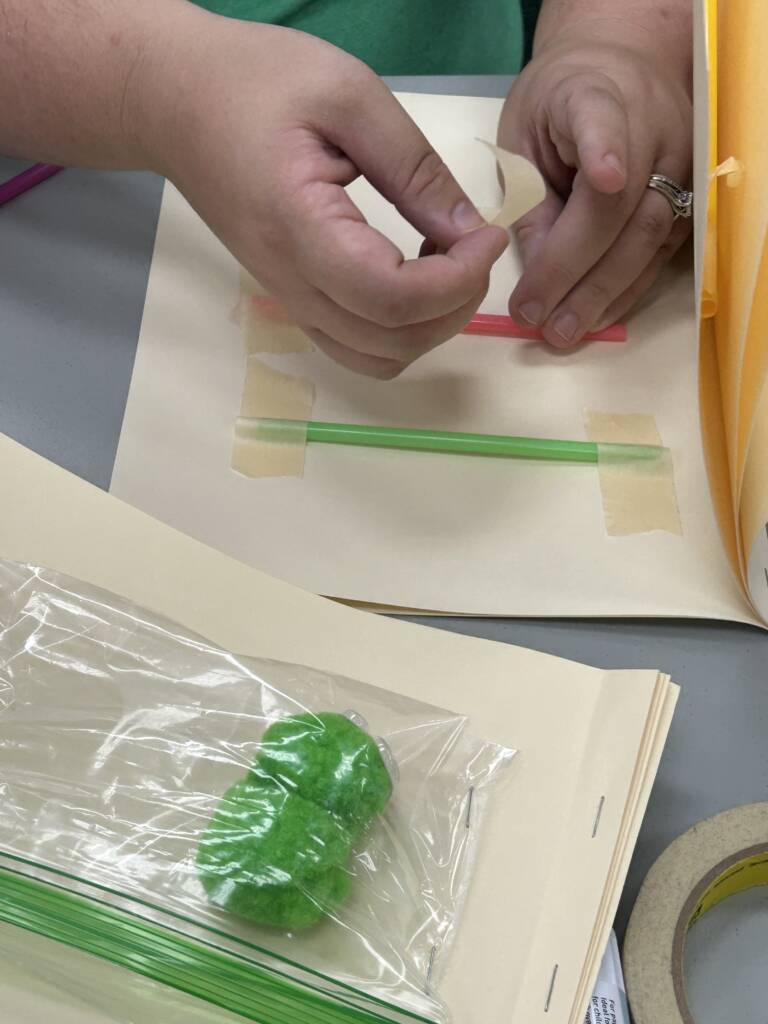
- Create the other pages. Using straws and masking or painters tape, make 5 pages where your students can practice some directional and positional concepts.
- My first page has a straw taped horizontally on the page so that students can practice putting their pompom pal over, under, on, off, above, or below the straw. They can also practice putting the straw at the top, bottom, and center of the page.
- My second page has a straw taped vertically on the page so that students can practice putting their pompom pal to the left, right, above, below, on, or off of the straw. They can also practice placing their pal on the left or right side of the page. You can even include double directives like top left, top right, bottom left, bottom right, left middle, or right middle.
- My third page has the straws taped into a triangle shape. You could make a square or rectangle if you like. Students can identify the shape and place their pompom pal inside and outside of the triangle. You could practice some of the skills from the other pages as well.
- My fourth page included four straws taped horizontally on the page. Students can practice sliding their pal across each straw in a left to right, top to bottom reading pattern. Students can also practice tracking the straws with their fingers, counting the straws, or placing their pal on the first, second, third, or fourth straw to build those concepts.
- My fifth page included 6 short pieces of straws taped onto the page in a 2×3 configuration. Students could have their pal hop from one straw to another in a traditional reading pattern. They could also place their pal on a designated straw which could be labeled 1-6 as braille dots would be. You could also ask them to work on the same concepts from other pages like above or below.
These books could also be made and sent home to allow parents an opportunity to practice these skills with their children. Braille or large print could be added to the pages easily if desired.
Adaptations and Extensions
- Use solid colored straws and colored tape for students with low vision to increase contrast and visibility.
- Use colored card stock instead of braille paper to increase contrast.
- Allow older students to create these books for younger students to practice vocabulary such as vertical and horizontal.
- Ask students to tell you a story about their pom pom pal.
- Ask students to write a story or sentences about their pal.

