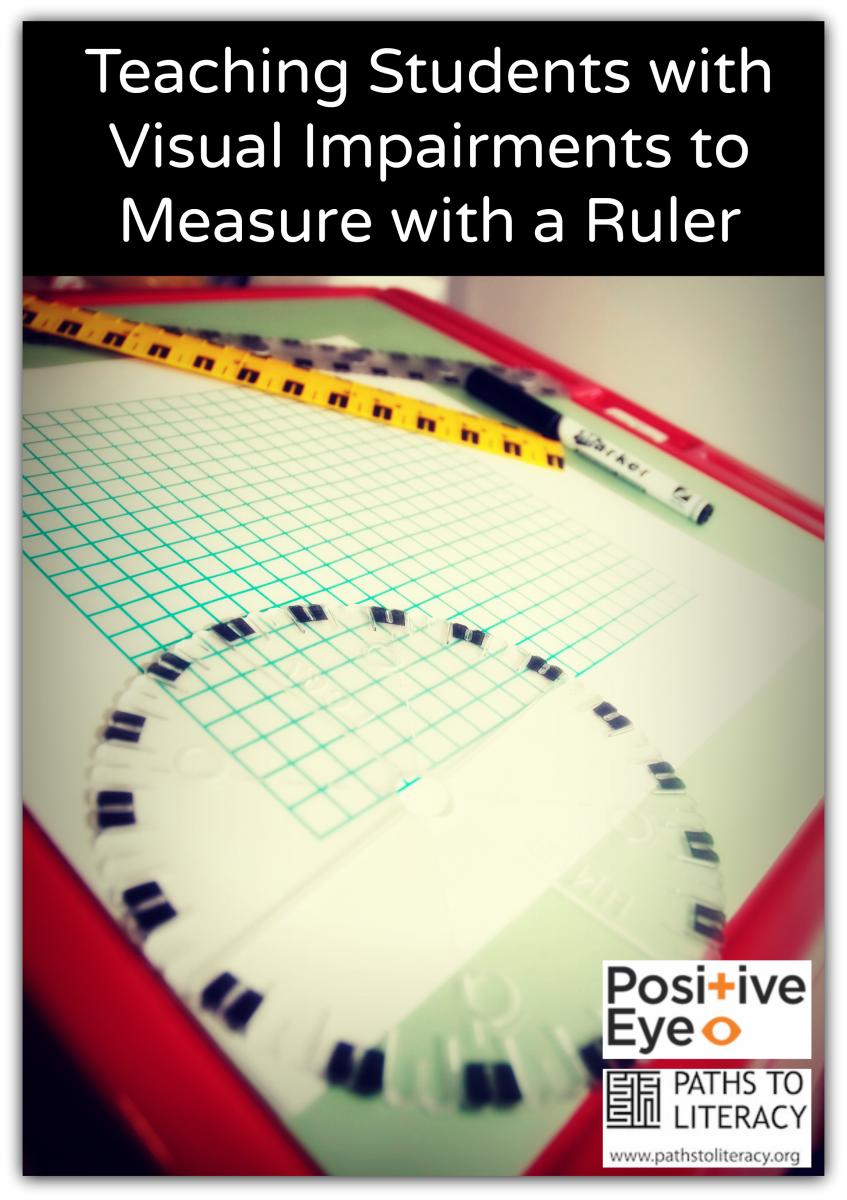
Try these tips to teach students with visual impairments to measure with a ruler.
1. Equipment
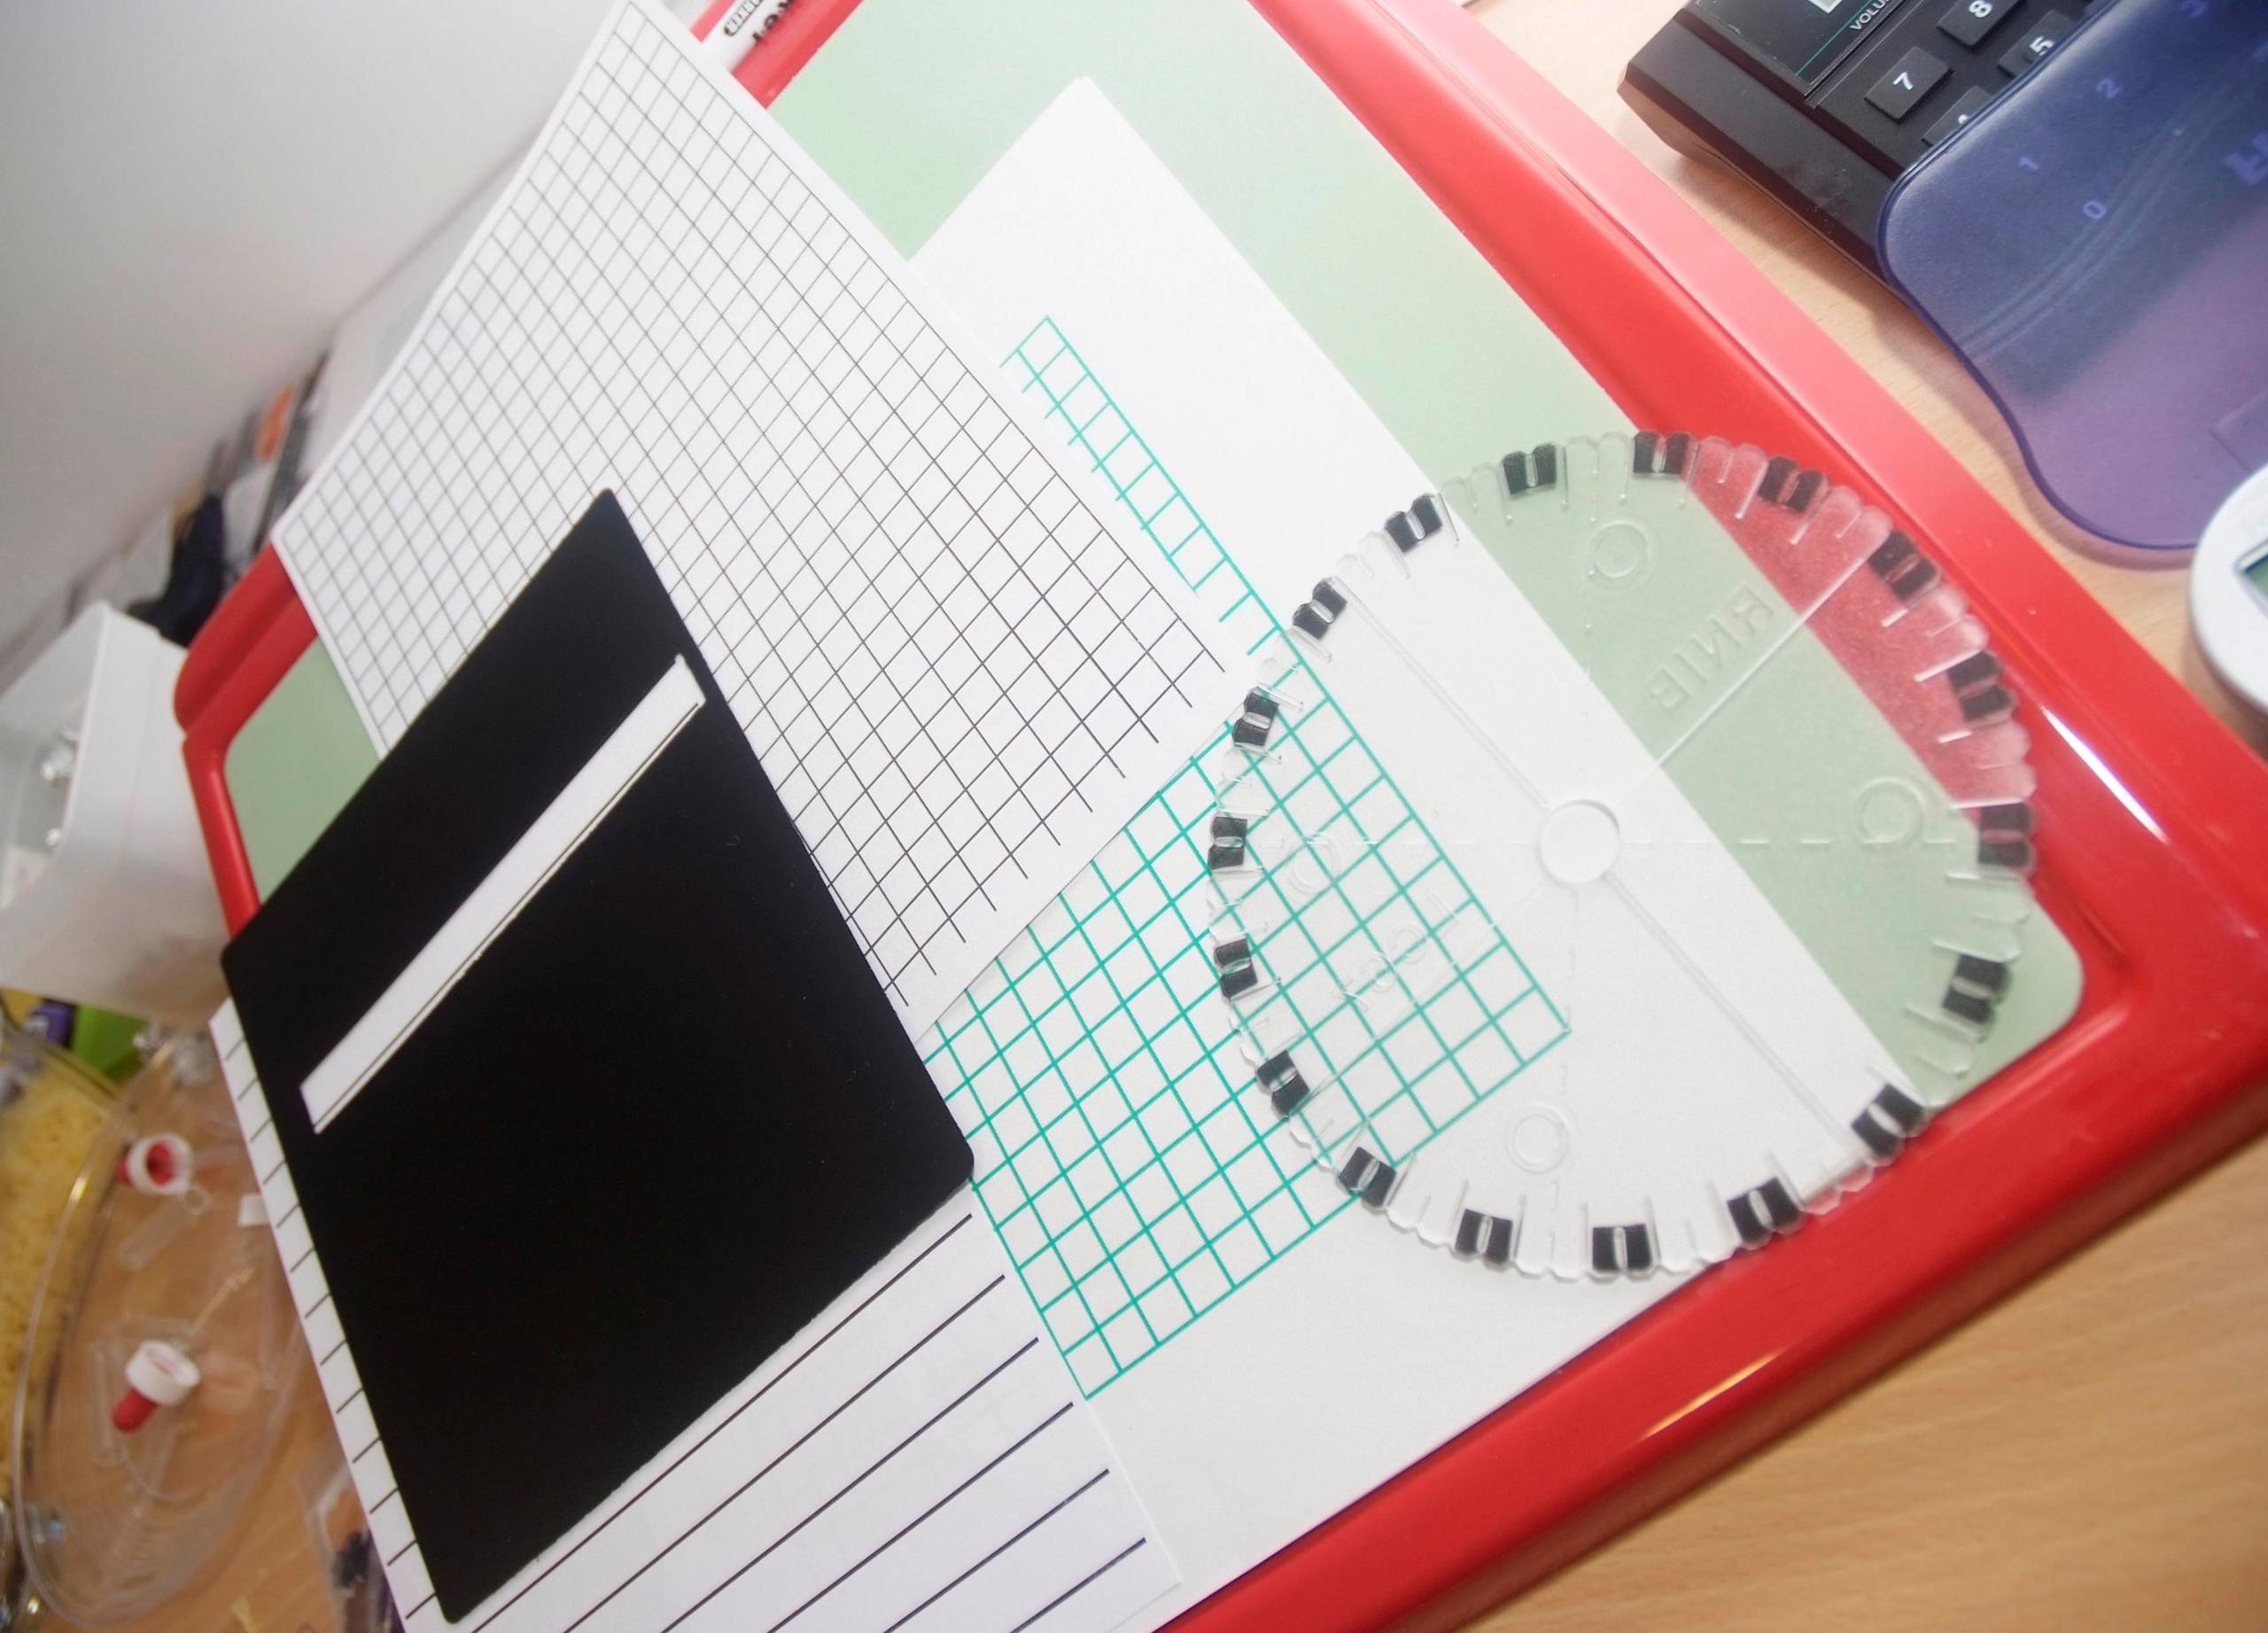
- Clear contrasting ruler with black markings on white background
- Use a ruler marked from edge of left end of ruler.
- Black pen or 2B pencil to mark/draw lines
- For children not able to measure accurately, a 0.5cm allowance is made in external tests and exams
2. Measuring a Line
- Provide black, well contrasting lines.
- Mark the beginning and end of the line to be measured with a black line marked through the line to be measured.

- Use Wikki Stix or a piece of string to measure the line/object, cut to size and then place/Blu Tack on top of the ruler to measure length.
- Hold ruler in place with Blu Tack to stop it moving around during measuring.
3. Drawing a Line
- Mark the starting point of the line with a black dot, or line, or Wikki Stix

- Child will measure and mark the finish point of the line by drawing a line/ marking with a dot they can see, above the ruler.
- Child draws the line joining the two points together.