One of my favorite areas of the Expanded Core Curriculum to teach is assistive technology. One of the first tools we introduce to our students with low vision is the hand-held magnifier.

Selecting an Appropriate Magnifier
Each one of our students have individual needs. A dome magnifier might not be appropriate for every student. This activity can work with any handheld magnifier. To determine which magnifier is appropriate for your student, I would recommend using the Envision II Kit from APH. This kit provides you with 5 near magnification devices to try.
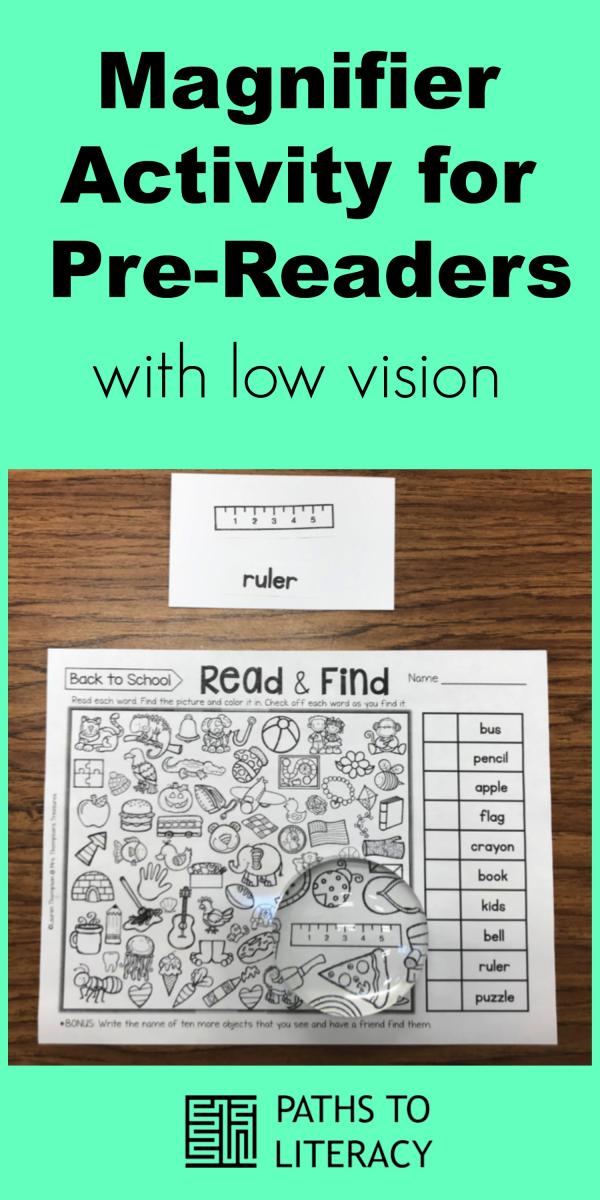
I have worked with many young students with low vision that were pre-readers. What are handheld magnifiers used for? To help magnify what you are reading. So, I needed an activity to teach my preschool students how to use the dome magnifier before they got to Kindergarten and started reading. I found a resource called Read and Find on Teachers Pay Teachers that was created by Mrs. Thompson’s Treasures. The objective of these worksheets is to search and find the specified images. I knew that I could adapt this product and use it with my students who are pre-readers. The product comes with a bundle of 20 worksheets, which means 20 different activities. The worksheets come in many categories including Back to School, Seasons, Holidays, Animals (Zoo and Pet), and many more. There is also a new product, Look and Find, which includes the alphabet, colors, and shapes.


The Activity: Dome Find
How to Make the Activity
- Step 1: Print off the worksheets on 8.5×11 paper. Be sure to keep this copy!
- Step 2: Enlarge the worksheets on Ledger paper (11×17). I set the zoom at 135% on the photocopier.

- Step 3: Cut out the images that are recommended on the side of the worksheet. Keep the list of words. (Why keep the words? We want to give our students exposure to the print words.)

- Step 4: Tape the images to a blank sheet of printer paper.

- Step 5: Enlarge the images and the words on ledger paper (11×17) using 135% zoom again.

- Step 6: Now that the images and words are enlarged, cut them out one last time.

- Step 7: Glue the image and the word to individual blank index cards.

Activity Directions:
Now you are ready to use the activity with your students!
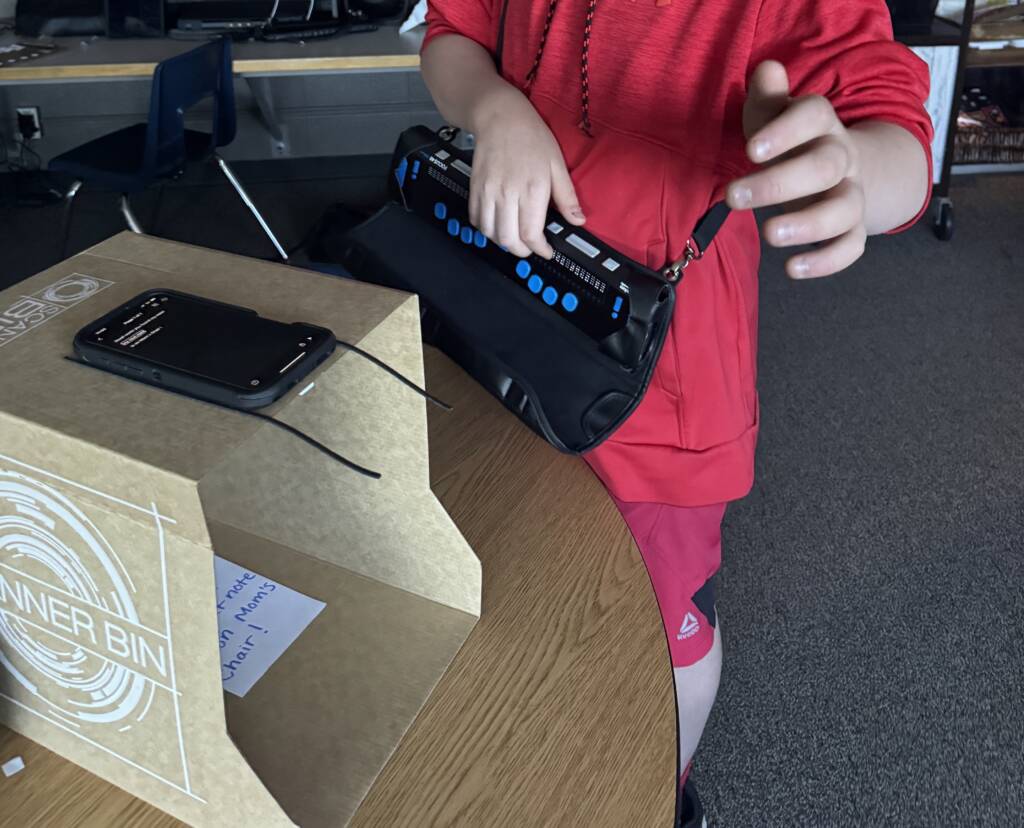
- Give the student their magnifier or ask them to take it out of its designated spot. For this activity make sure you are using the magnifier you determined as most appropriate for your student. I start every lesson by asking the student a few questions to review.
- What is this called? – A dome
- Do we use the dome to see things close or far away?
- When can we use our dome during the school day?
- How do we store our dome?
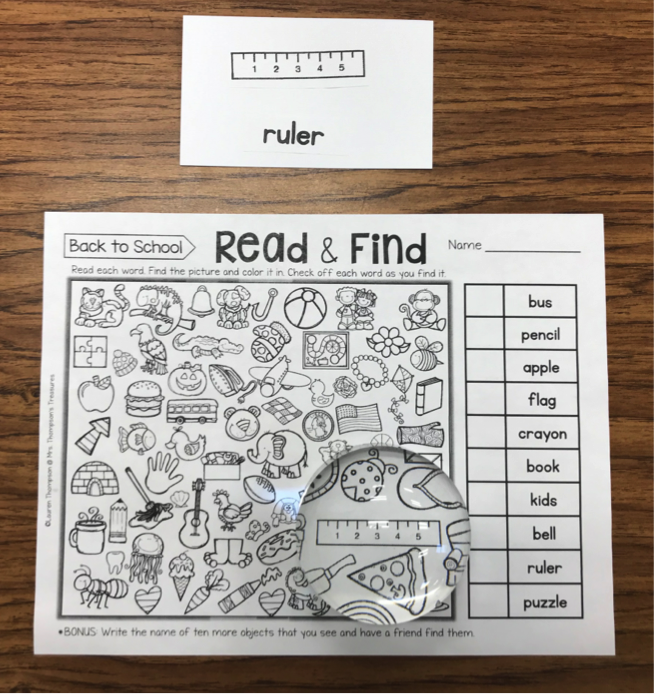
- Give them the worksheet. Be sure to give your student copy of the worksheet you printed on 8.5 x 11 paper.
Show them what they need to look for: Hand them one of the cards and ask them to find the image. When you are showing them the cards, ask them if they know what the image is. This is a good opportunity for you to assess on what common objects they know. If they don’t know the object, you can teach them what it is and if possible show them the real-life object.
- Teach them how to systematically scan to locate. This is a good opportunity for you to teach students how to systematically look. Teach them to start scanning left to right and top to bottom. By doing this, you will be teaching PRE-READING skills!
- Don’t forget to teach them the basics. I make sure I remind them to keep the dome flat on the table. That they are to use their dominant hand to move the dome and the non-dominant hand to stabilize the paper.