Last week, I visited a school in San Antonio, Texas to see a student with Optic Nerve Hypoplasia. The student was working on pre-braille skills, and one of the activities in his rotation was this super cool DIY sorting activity. The thing I loved most about this activity is that it was created using containers and boxes that you could find in any recycle bin.

Materials
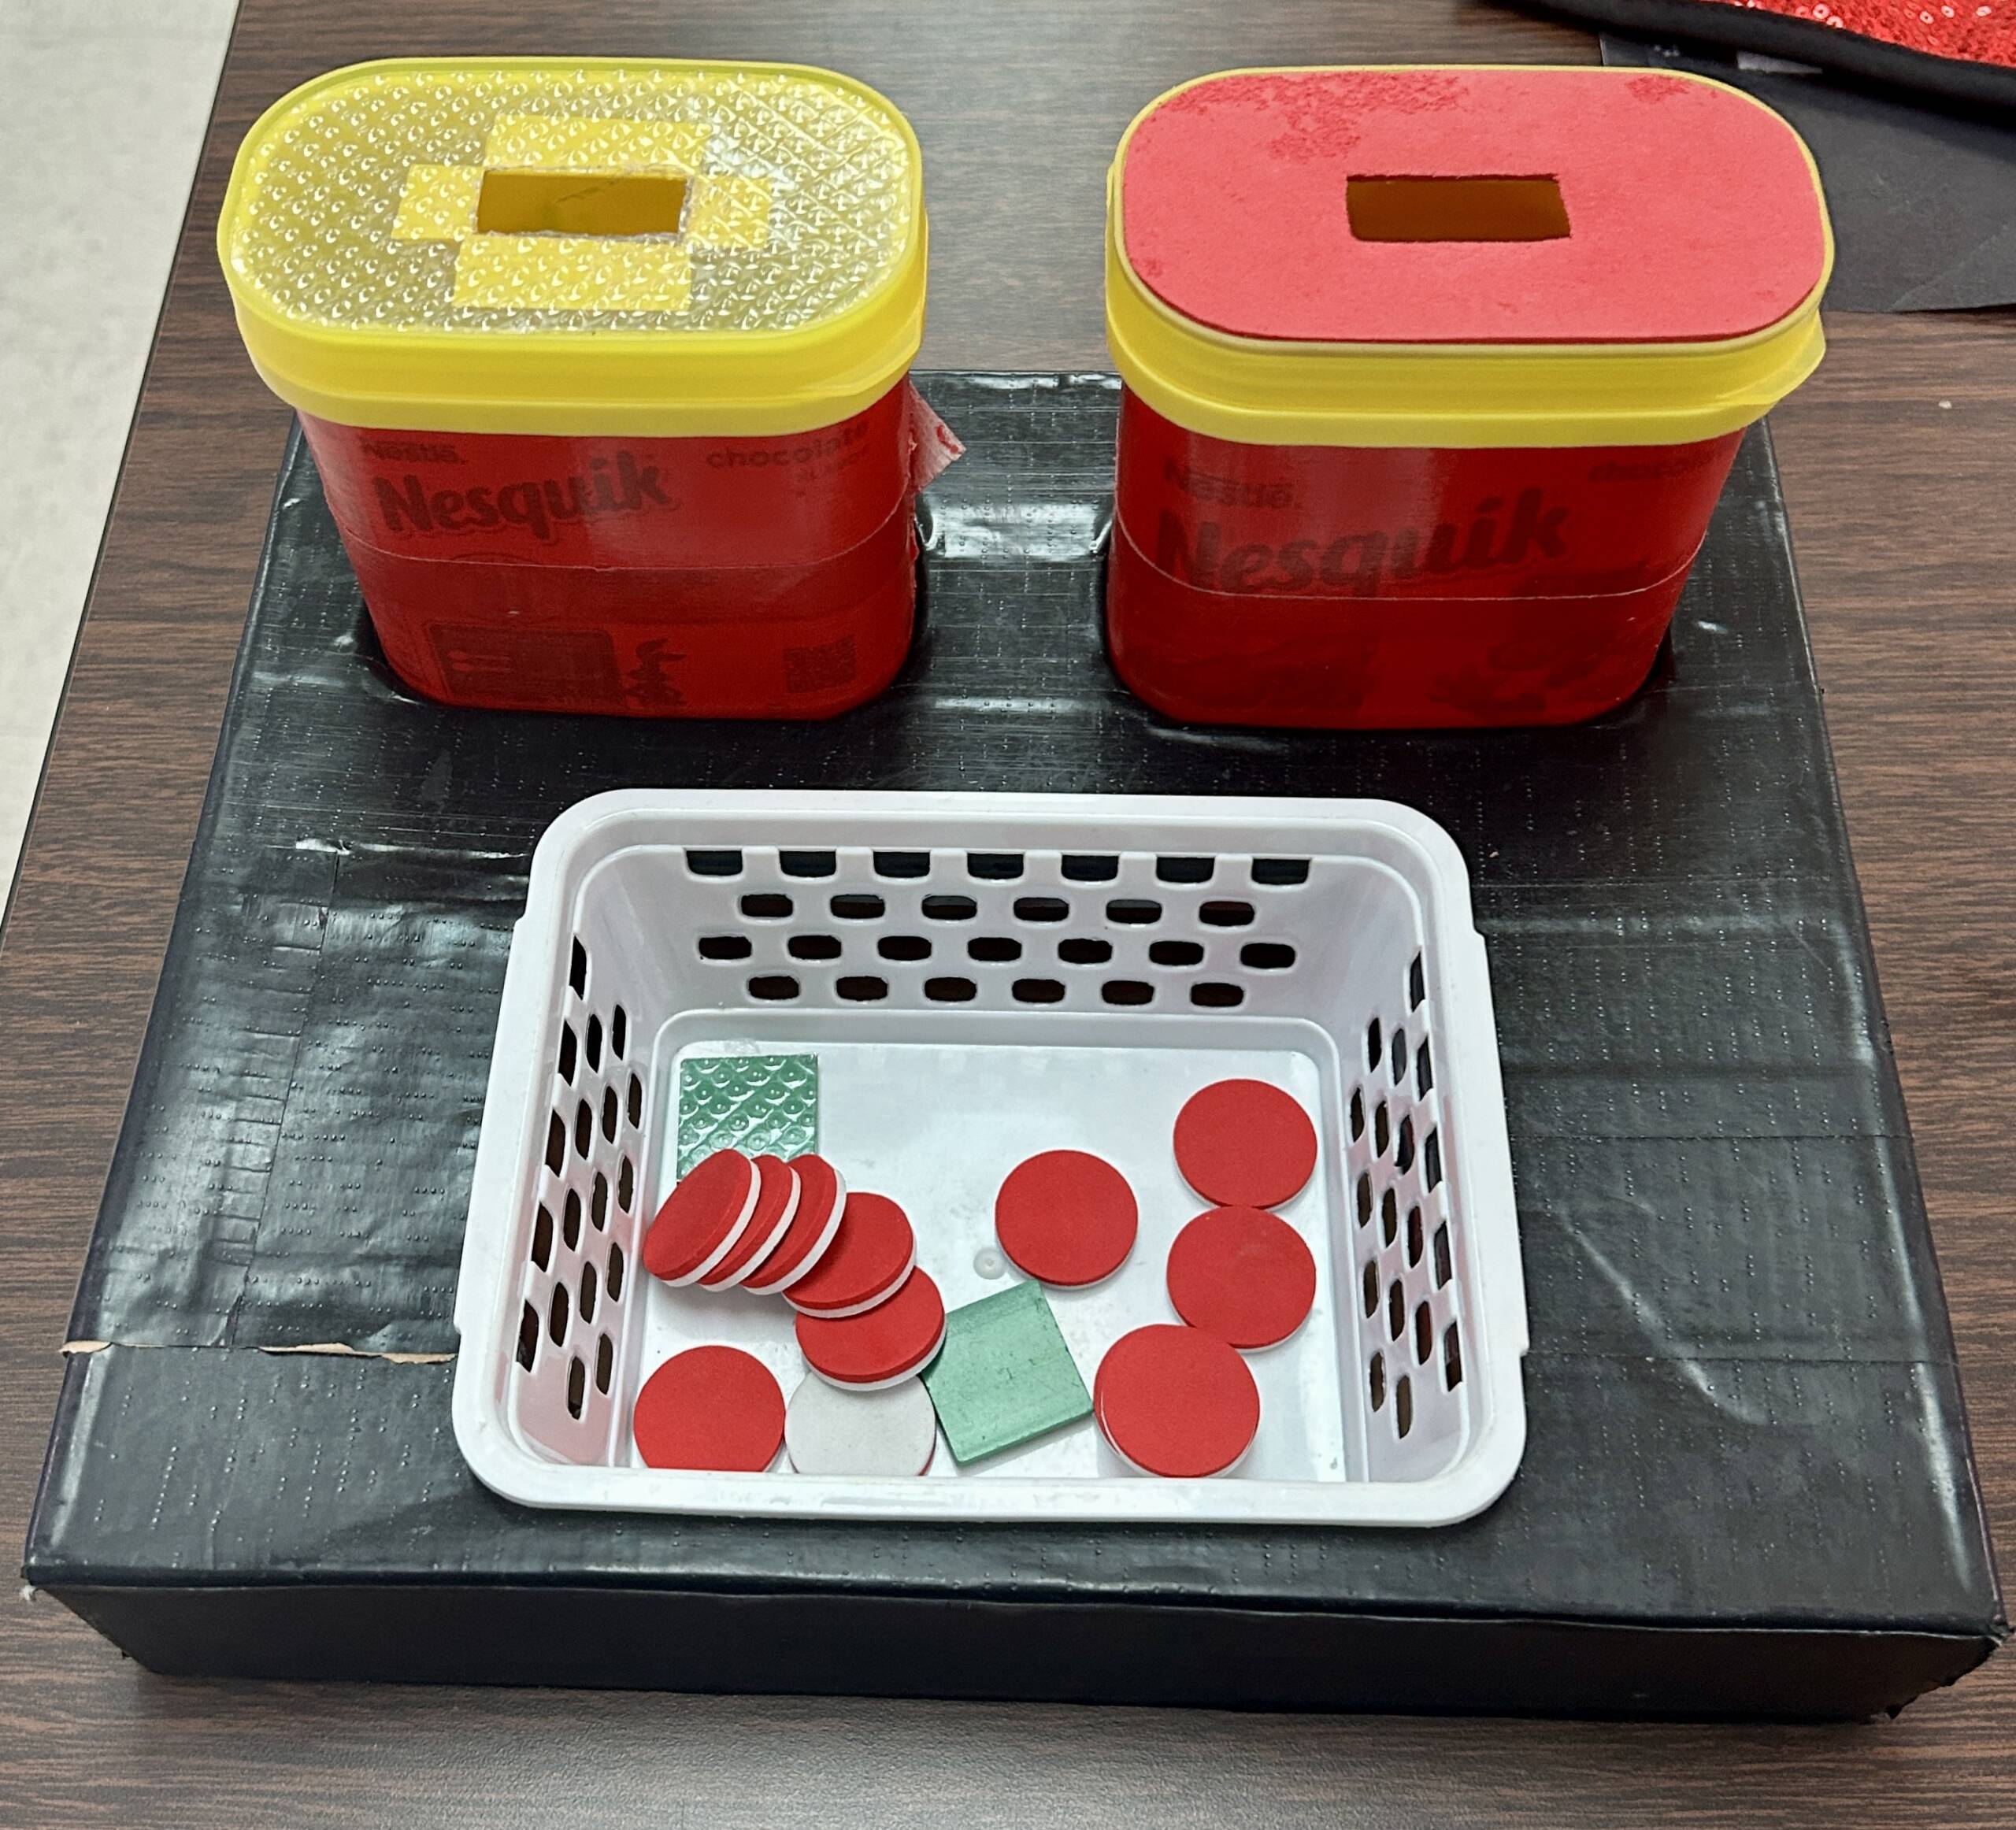
- 1 Shallow, cardboard box
- 1 small basket or container
- 2 chocolate milk canisters or any container with a flip-top lid
- Duct tape in various colors
- Scissors or X-Acto knife
- Bumpy and smooth sheets from the Carousel of Textures kit or from the craft store
- Matching bumpy and smooth counters to sort.
Procedure
- Close and secure the cardboard box, and wrap with duct tape. This person used black tape to contrast the yellow and white containers.
- Wrap each chocolate milk canister with another color of tape. This person used red to contrast the yellow on the lid.
- Measure and cut holes in the box so that the two chocolate milk canisters and the small basket have a spot to sit securely.
- Prepare the sorting canisters by cutting a slit in the top of each one and sticking bumpy plastic and smooth foam on top of each. You will need to leave the hole open for students to put the swatches in.
- Use smooth foam counters and wooden or plastic counters covered in bumpy paper to sort. **Be sure to cover both sides with the bumpy paper so that regardless of which side is touched, it will feel bumpy.**
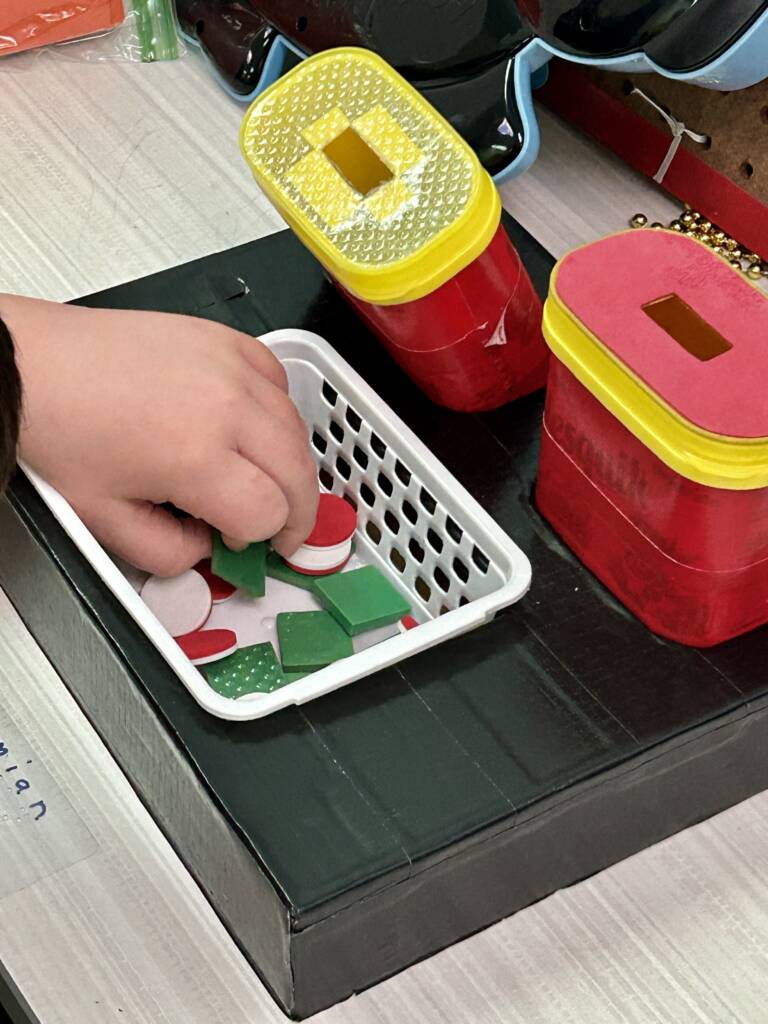
- Place the counters in the basket so students can sort them into the canisters.
- After the sort, open the flip-top lid, remove the counters, and begin again.
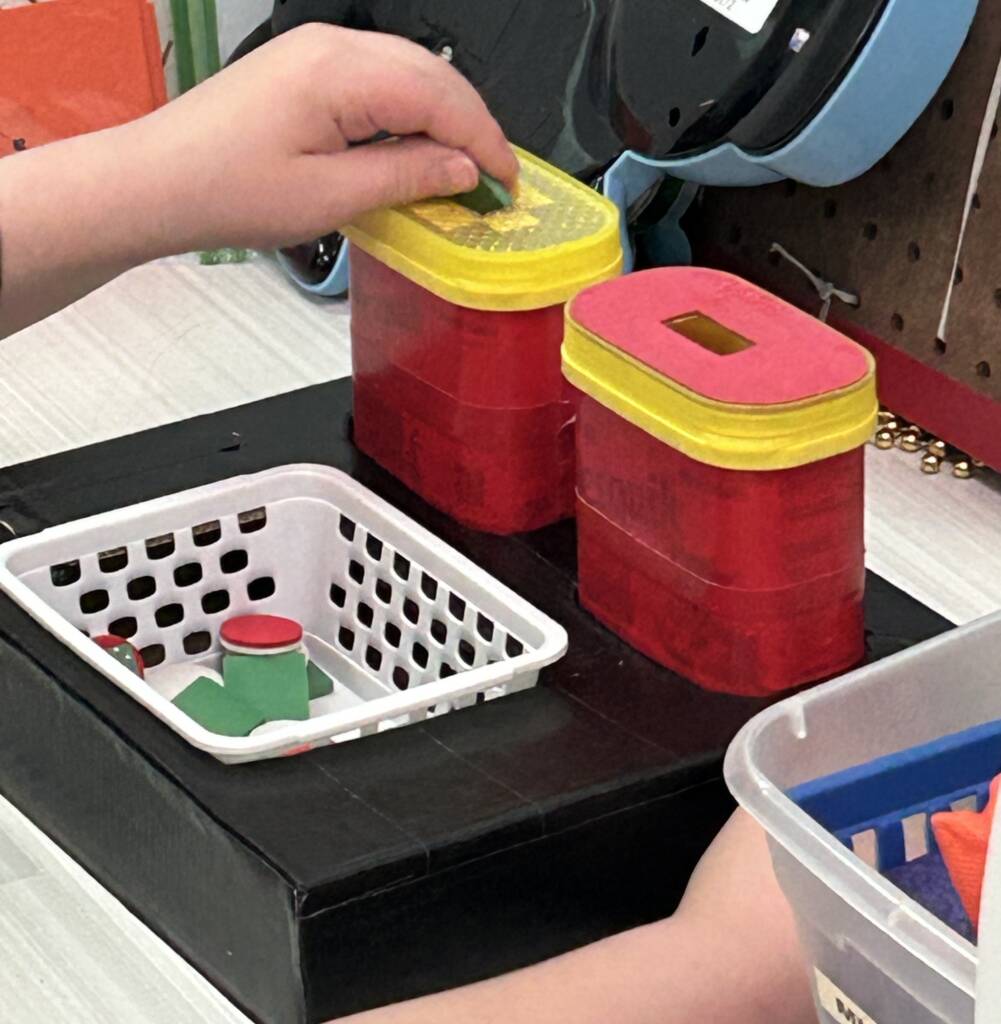
The student I was observing completed this activity independently. He found all of the bumpy counters first and enjoyed listening to the sound they made as they hit the bottom of the container. They were made of wood, so the sound against the plastic was appealing.
Extension Activities
- Encourage students to label each counter as bumpy or smooth before inserting it into the container.
- Encourage the students to count the number of items in each canister after the sort.
- Analyze the data in terms of which has more or less.
- Use directional language when locating the canisters and the sorting basket.
- Ask students to write number sentences with the counters in each canister.