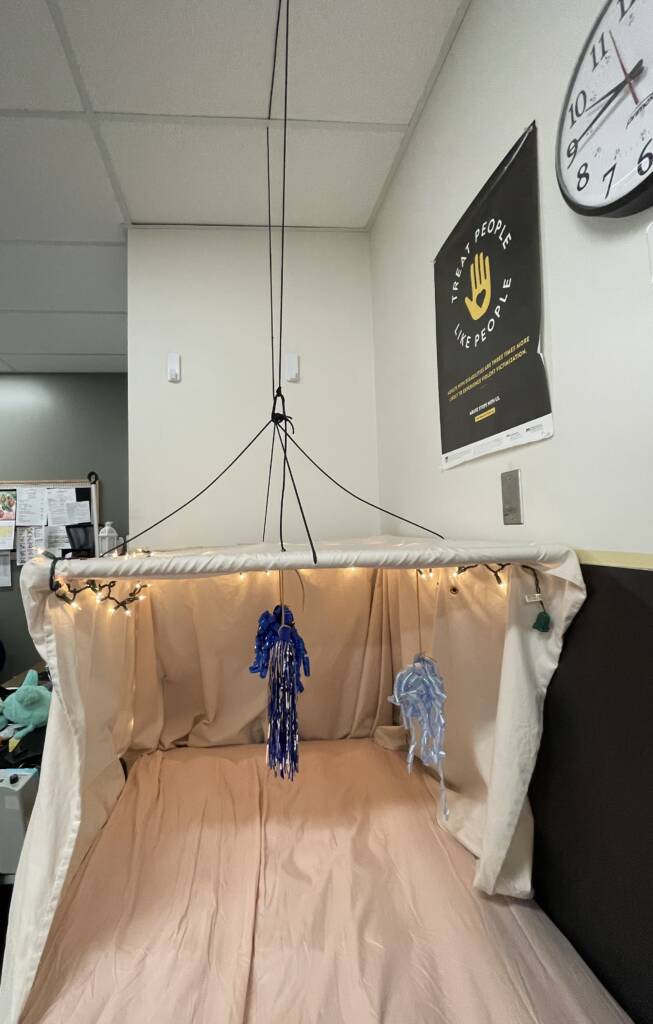
What is a “Little Room”?
A Little Room is a space in which a child can explore his or her environment safely. Toys and objects are suspended from the ceiling with elastic cords and the child is free to explore and experiment with what he or she discovers while moving hands and legs. Items should be sturdy and it is preferable to avoid plastic. Items made of wood, fabric, and metal are much more interesting than plastic and provide more sensory feedback. Many people prefer to use real objects, such as a cup, toothbrush, spoon, small bells, etc. For children with some vision, items can be brightly colored. Cardboard boxes should not be used to create little rooms, as it is crucial to be able to observe the child in the Little Room, as well as to provide adequate ventilation. Change the items to include theme based learning when storytelling, ECC (Expanded Core Curriculum), or during different seasons of the year.
Remembering Lilli Nielsen and her Legacy of Active Learning
Materials:
- (4) 33” lengths of PVC pipe (can be ¾” thick PVC pipe)
- (4) 90 degree elbows of matching ¾” thick PVC pipe
- Rope
- Full size plain light colored bedsheet (no pattern)
- Needle and thread (or sewing machine)
- Eyelet kit (make sure they will be big enough to put a rubber band through)
Directions
- Step 1: Find the center of the 33” PVC pipes and drill a hole all the way through on all four.
- Step 2: Put the elbows on the pipes and make a square. Make sure the drilled holes show through the top/bottom. (Do NOT glue the elbows to the pipes, so you can take the bedsheet off if you need to wash it!)
- Step 3: Pin the bedsheet onto the square PVC frame making sure two of the sides are even and one of the sides has the sheet wrapped around the front. There will be a lot of extra fabric on the opposite side of the front. You want the front to be this way so you can see the person who is using the little room and monitor them for safety.
- Step 4: Sew all the sides on, but make sure it isn’t too tight, so you could still slip the PVC pipes off if you needed to wash the sheet.
- Step 5: Put eyelets on the tops and sides so you can string toys through.
- Step 6: Make holes in the fabric where the drilled holes are so you can string the rope through.
- Step 7: String rope through each hole and tie a knot on the end. Each rope piece should be around 24” long. You can take a lighter and burn the knot if you would like it to be solid.
- Step 8: Tie each of the ropes into one big knot.
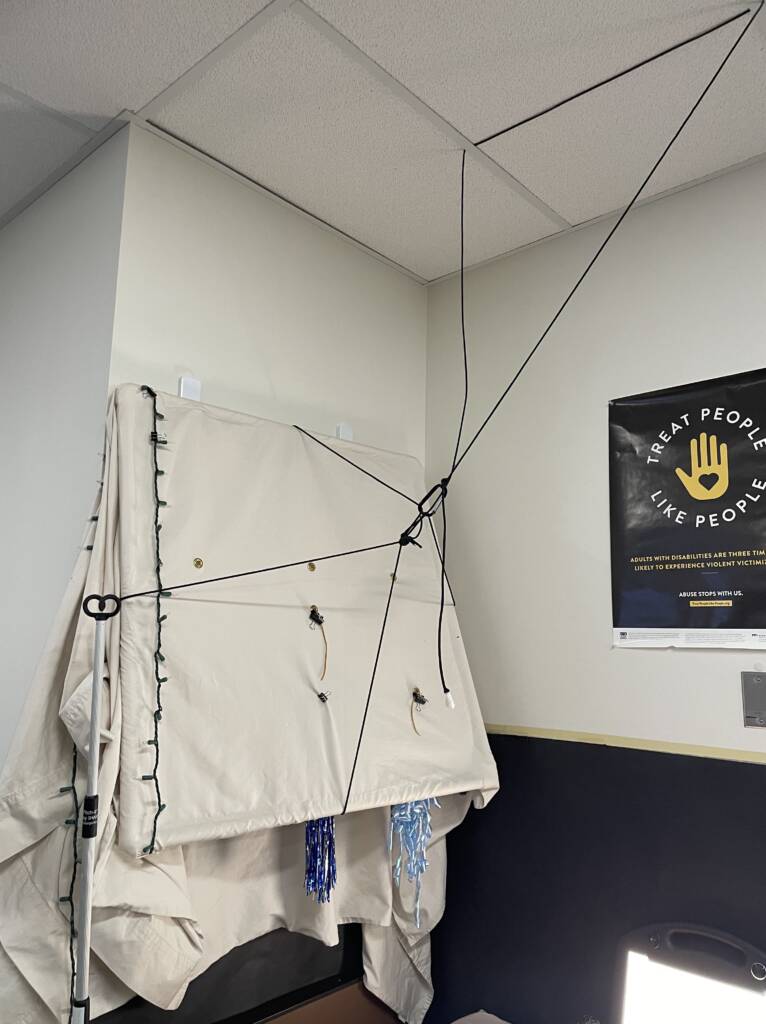
- Step 9: Tie another rope that is long enough to be the correct height from the student (they should have about 2 feet so there is plenty of air flow).
- Step 10: Attach it to whatever you are hanging it from. You may want to get some big command hooks so you can hang it up on the wall while it is not in use.
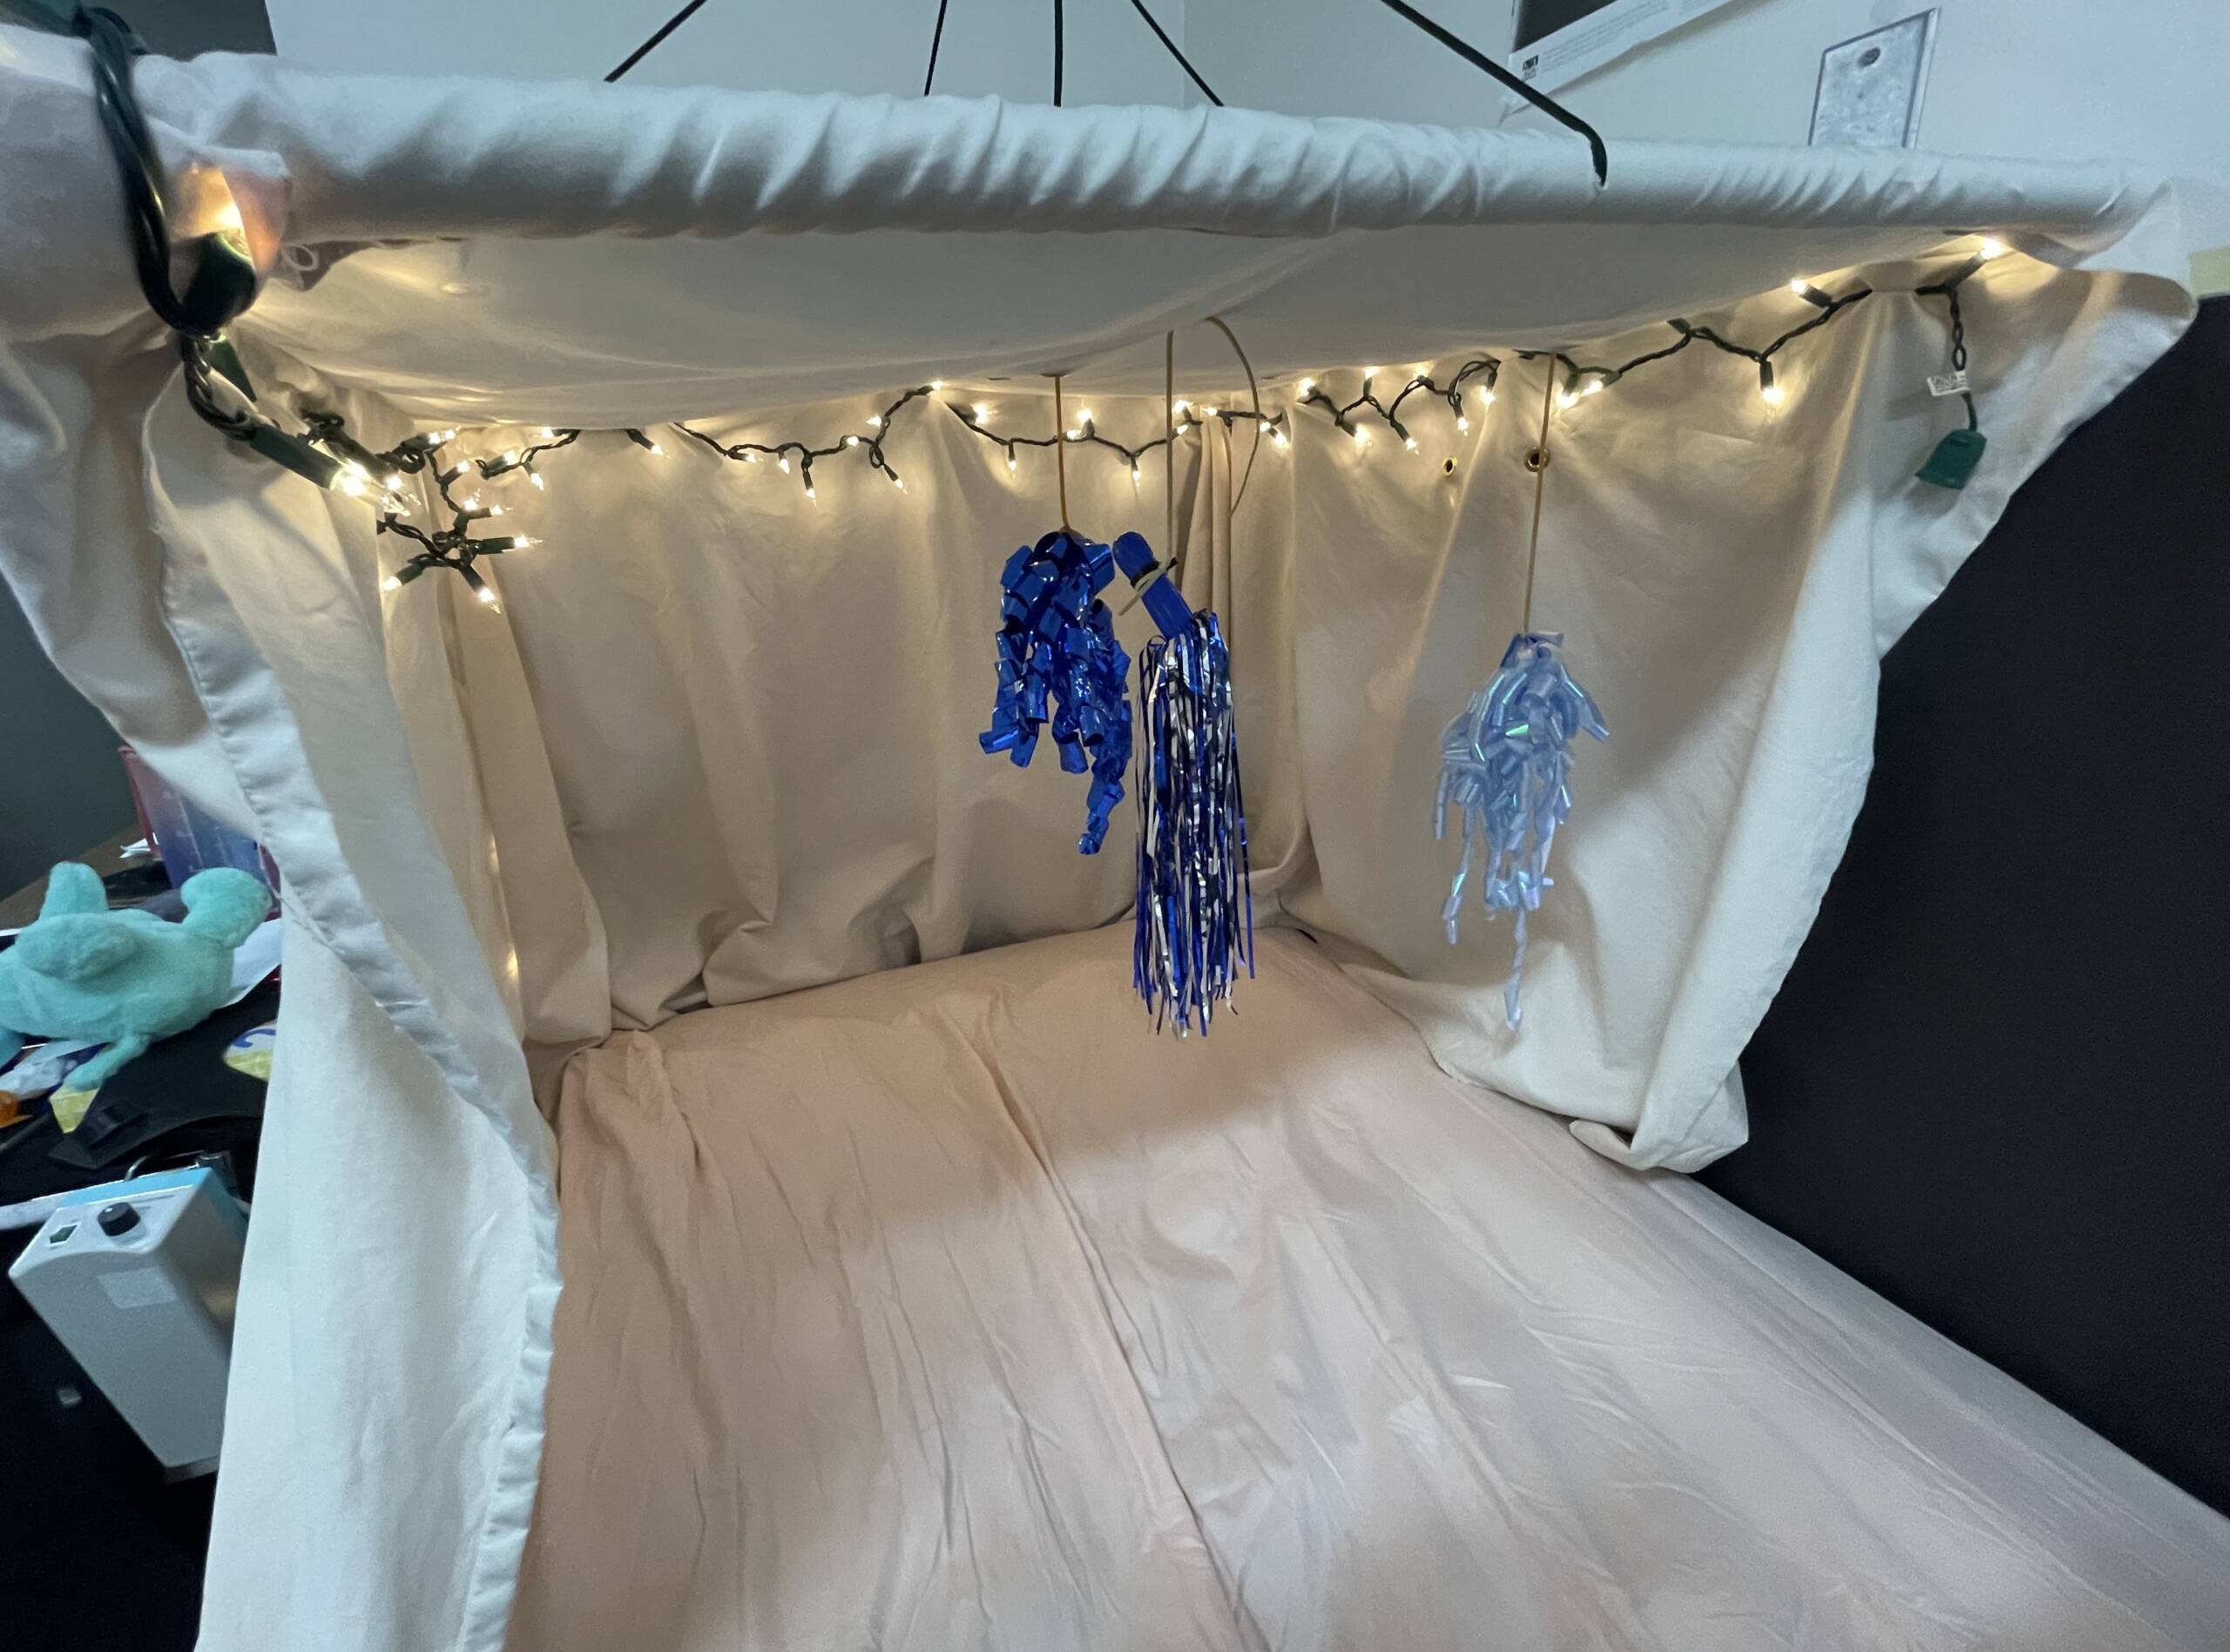
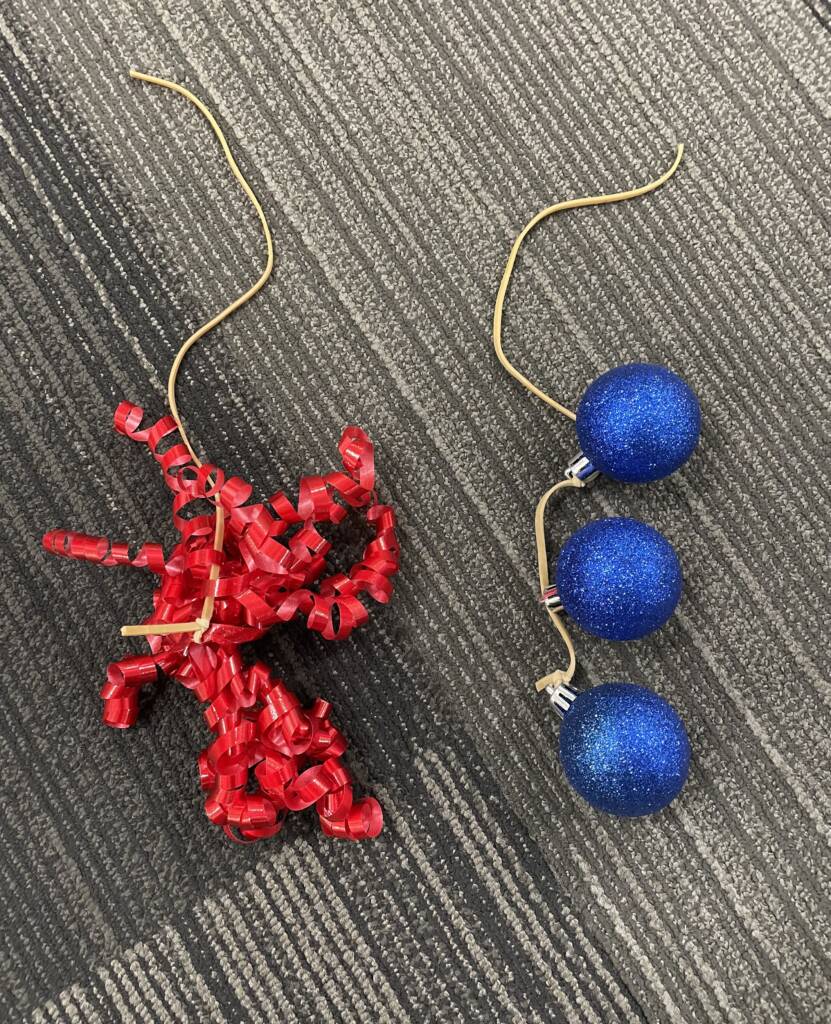
- Step 11: Gather your toys and tie a cut rubber band to them. String the rubber band through the eyelets. For easy removal and swapping them out with ease, you can put a medium sized binder clip on the end of the rubber band or you can pull the toy up on the rubber band and place the toy at the height you need it at. Have fun with it!

- Step 12: You can also string fairy lights on the inside to increase the light and reflective properties of the hanging toys. It’s easy to clip the light strings onto the bed sheet with small binder clips. Enjoy your hanging little room!