The original article by Chancey Fleet in Future Reflections, Fall 2023, is available here.
From the nfb.org Editor: Chancey Fleet serves as technology coordinator at the New York Public Library’s Braille and Talking Book Center. Through her work with library patrons, she came to recognize the widespread need for tactile literacy skills in the blind and low-vision population. In this article she shares ideas for preparing blind children to create, use, and enjoy tactile graphics.
A picture may be worth a thousand words, but my attention rarely stuck around long enough to find out whether that was true when I was in the classroom. When math and science books in Braille or audio formats served up a careful description of a graph or the parts of a cell, I often struggled to imagine the subject matter precisely. My interest dwindled when the descriptions went into extensive detail. Sometimes I even felt resentful. Why should I do this? Why did they bury me in words about an image that wasn’t there? At the time, I simply concluded that I wasn’t meant to enjoy math or science. I was in my thirties before I learned the truth: I’m a blind spatial learner!
The Right to Image Literacy
Most of us who are sufficiently immersed in the blind community understand our fundamental rights. We know that we ought to have access to braille, websites, and usable ebooks and technologies. When these things are withheld from us, when they show up late, or when they turn out to be of substandard quality, we know it’s time for us to fight. But most of us—even folks with advanced degrees and careers that depend on robust information access—don’t receive, and don’t demand, access to tactile graphics. This access can come in the form of raised-line drawings that are embossed, produced with raised ink by a Swell-Form graphics machine, or created by various other means. Subtly or overtly, most of us have been taught to sit out activities that involve drawing, graphing, collaging, or mapping. We live in a state of image poverty, a state we have quietly learned to accept.
As a technology educator I work with blind and low-vision kids and adults in a public library. The library is filled with print and media resources for sighted patrons, and these resources are rich with visual images. I believe that we, as blind people, can and should demand access to the images that are all around us.
Full literacy should include the means to explore, create, and think with images as well as words and numbers. Any blind person or sighted family member, teacher, or ally can learn enough about the art of tactile images to make a difference in a blind child’s life. When we help create an image-rich environment for that child, we open the way to spatial literacy. As with braille literacy, strong mobility skills, or any other pillar of a blind child’s success, education about what’s possible, high expectations are key, supported by high-quality resources and a can-do attitude.
Early Exposure
Blind kids can start working with images very early on. Some publishers of braille books for young learners, such as National Braille Press (NBP) and Sensational Books, offer a small but invaluable selection of books that include textures, shapes, and raised-line drawings. The American Printing House for the Blind (APH) provides a variety of educational toys and games that support image literacy and spatial learning.
Beyond these specialized resources, you’ll begin to notice tactile representations all around you: cookie cutters, embossed holiday cards, cut-out foam shapes, and stencils are just a few examples. These household objects can help any child, blind or sighted, learn that a three-dimensional object can be represented in two dimensions. Experiences with two-dimensional representations help children build image literacy.
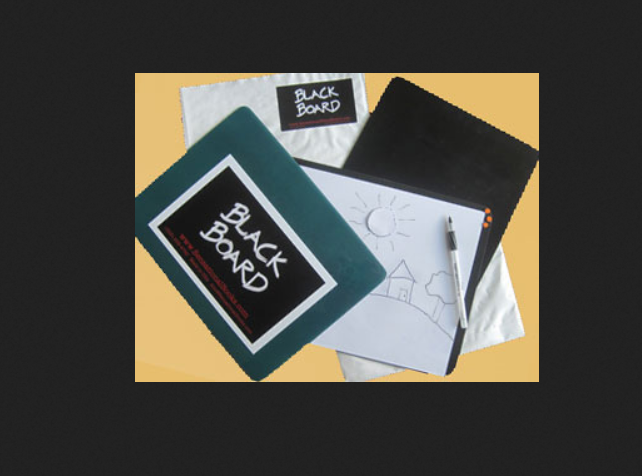
Blind children can and should draw and play with the world of figures and shapes. Wikki Stix, pipe cleaners, and boards with various magnetic shapes encourage spatial creativity. If you lay a standard sheet of paper over a soft surface such as a silicon placemat, drawing firmly with a pen or stylus will create a bold, tactile line on the flip side. Try putting a sheet of paper on a textured surface such as a piece of window screen. Draw on the paper with crayons to create tactile images. The wonderful Sensational BlackBoard, available from sensationalbooks.com, is a simple tool for creating tactile images quickly and easily.
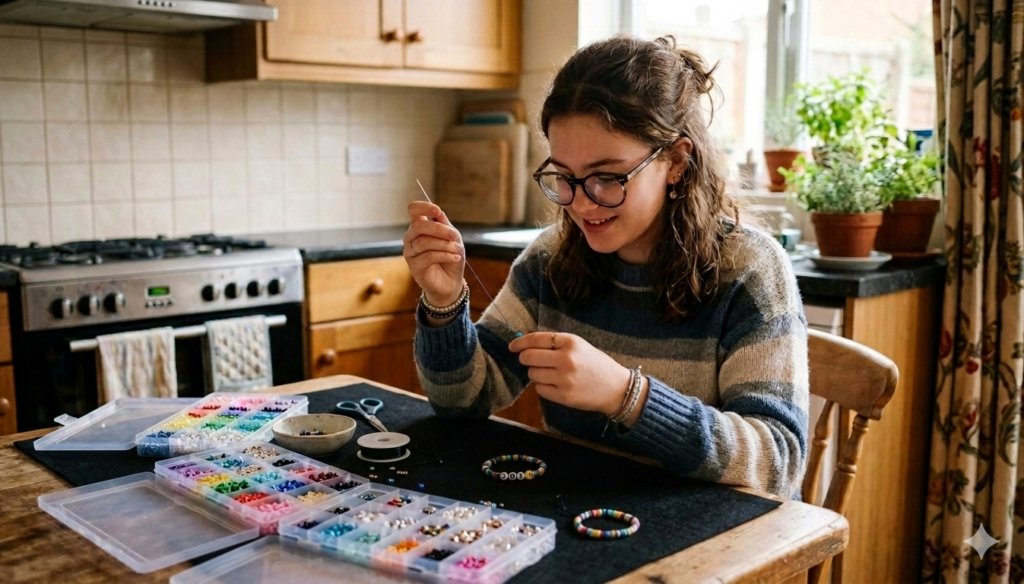
Kids and adults can work together to create interesting collages by using a variety of textured materials. These materials can include sandpaper, tissue paper, and construction paper, as well as fabric scraps, foil, string, and a host of other household items. Stickers with bold textures and distinctive shapes are great, too. Make sure that your blind child has access to kid-safe glue, scissors, and tape once those items are age-appropriate. Basic crafting skills are foundations of spatial awareness, creativity, and confidence.
Your blind child or student should learn about shapes, charts, maps, and other spatial concepts at the same time these materials are presented to their sighted peers. The only difference is that the material will need to be presented in a way that works well for tactile perception.
Create opportunities for conversation about the shapes, lines, and images your child encounters. Add to their knowledge by pointing out details they might not notice on their own. Point out the raised logo on a jacket, the embroidered butterflies on grandma’s linen table napkins, and the flower pattern stitched into mom’s leather purse. Image literacy is built through exploration and dialog.
Models, Drawings, and the Real Thing
Especially for young children and for any blind person who is new to tactile images, it’s helpful to touch a 3D model of something in addition to a raised-line drawing. Naturally, real objects are best of all, whenever they are available.
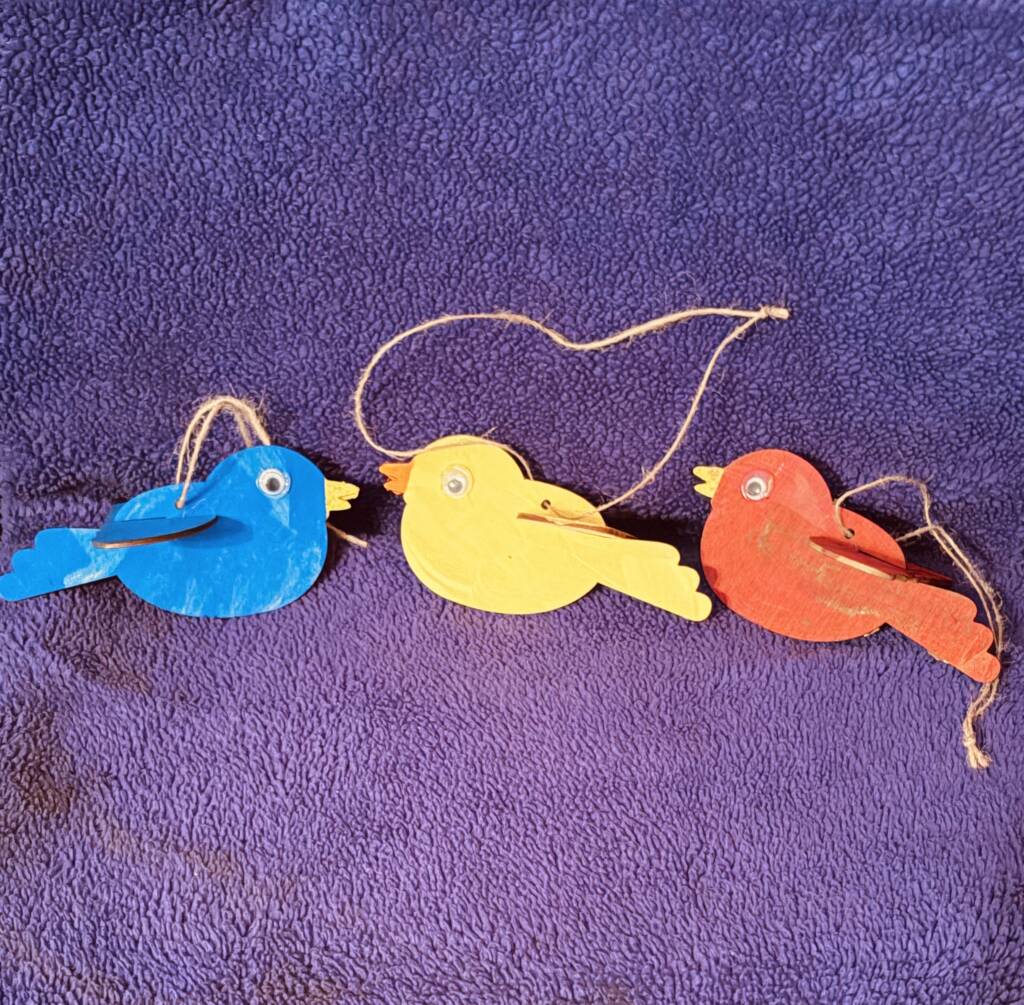
A toy duck is a more realistic, informative representation than the drawing of a duck. Look for toys that are realistic rather than Disney type representations wearing hats and floppy shoes. Blind children who have access to both models and drawings will learn to recognize 3D and drawn ducks in the future. Never pass up an opportunity to show your child a neat 3D sculpture, toy, or model! Every encounter with a new representation strengthens their spatial vocabulary.
When your child begins to encounter more complex spatial concepts—from spheres, cones, and cubes to the solar system—it’s critical that they can experience 3D models as well as tactile graphics. This doesn’t always mean that you need to find or buy something fancy. Get creative with everyday objects, clay, and craft supplies. Over time, your child will build associations between how 3D objects “really” feel and how they appear in a 2D, tactile graphic form.
Differences and Similarities
Tactile images and graphics aren’t identical to their visual counterparts, so it’s worthwhile to note a few fundamentals of good tactile design. Tactile perception works best when images are scaled up compared to how they appear visually. Usually, it’s best to leave about a quarter inch between distinct elements or lines, and to make sure that individual symbols are no smaller than a quarter inch on a side. When it comes to tactile legibility, clutter is the enemy! It’s helpful to use bold, minimalist forms and avoid unnecessary background. Line drawings tend to be easier to parse than filled-in shapes.
Tactile graphics need to impart information without the use of color. Rather than show a pie chart with red, blue, green, and yellow sections, you might use four textures such as open space, dots, parallel lines, and waffle grids. Or you might eschew textures and let Braille labels do the talking.
When you include Braille labels in a tactile image, create a small area of open space around them if they occur in the middle of a textured area. It’s very easy for Braille dots to blend in with whatever texture is close to them. Remember that Braille is larger than standard print (a 36-point font size), so not as much Braille as print will fit on a page. You may need to use Braille abbreviations—AU for auditorium, LR for lunch room. Then create a key on a separate page from the graphic, expanding on what each abbreviation means.
From the early grades your child’s braille textbooks should include some maps, graphs, and figures. Children will need support while learning to interpret these graphics, in the same way they need guidance while learning to read Braille. Make sure that exploring and interpreting tactile graphics is a goal on your child’s IEP and that their instructional team makes it a priority to help them understand maps and graphs when they appear.
Often your child will need or want to learn about something that’s not already available as a tactile graphic. There are a few ways to create a tactile graphic when you need one. To create your own, print the mirror image of the graphic that you need, making sure that the image you choose is scaled up and uncluttered. Place the image on a soft magazine, placemat, or stack of newspaper, and trace firmly with a pen or stylus. (For the absolute best line quality, use heavyweight or card stock paper). Flip the image over, and you’ll find a bold tactile version.
Embossing an Image
Many Braille embossers include the ability to create high-quality tactile graphics. The ViewPlus brand of embossers and the PixBlaster from APH render tactile graphics at an impressive 100 dots per inch. You can download ready-made graphics from APHs Tactile Graphics Image Library or the large, eclectic tactile library at BTactile.com. You can also use programs such as Paint or Inkscape to create your own graphics to emboss. Online you can find plenty of bold images on plain white backgrounds (such as coloring pages) that can be embossed exactly.
Another option for the creation of tactile graphics is a microcapsule fuser, sometimes known as a Swell-Form graphics machine. These machines are essentially heated lamps that accept a patented micro-capsule paper containing alcohol. You first run the paper through a LaserJet printer, or ink it by hand using a marker. Then, when you run the paper through the Swell-Form graphics machine, the carbon in the ink reacts with the alcohol embedded in the paper to create bold tactile lines. This method offers high-visual contrast along with tactile textures that are smooth and precise. However, the patented paper starts at over a dollar per sheet. Furthermore, most Braille readers don’t favor the Braille quality that results from this method, since the dots aren’t as crisp as those produced by an embosser. If your school only can purchase one method for making tactile graphics on demand, a graphics-capable Braille embosser is probably more cost-effective and versatile in the long run than a fuser.
Your child’s strong foundation in spatial literacy will enrich their life, no matter what path they choose. Recently I used tactile floor plans with architectural symbols—both exploring them and drawing them—as my husband and I planned how to remodel our home. I also rely on my tactile literacy skills to understand tactile street maps (available on demand at lighthouse-sf.org/tmap), understand circuit diagrams, and draw as a way to unwind and entertain myself. Other blind people use tactile graphics to solve the logic puzzles they need to pass the LSAT, succeed in data science, and excel in careers such as architecture and engineering.
None of us needs to live in a text-only world. Everyone has their own unique need for graphics and images, and images are for everyone.
Resources
BTactile.com
Offers a vast collection of Creative Commons images that can be downloaded and printed.
National Braille Press
nbp.org
National Braille Press offers some children’s books with tactile graphics as well as an extensive collection of tactile maps and other graphics created by the Princeton Braillists. Also has the free pamphlet, Because Pictures Matter, in English and Spanish.
See 3D
https://see3d.org
Provides 3D-printed models of animals, buildings, microorganisms, works of art, and just about anything else, on request and free of charge.
Sensational Books
sensationalbooks.com
Produces the Sensational BlackBoard and Sadie Can Count, a tactile picture book for beginning readers.
Tactile Image Library
https://imagelibrary.aph.org/aphb
An extensive collection of files that can be printed to produce tactile maps, charts, graphs, and images.
TMAP Tactile Map Project
adaptations@lighthouse-sf.org
Creates custom tactile street maps for any address.