He’s very cute and lots of fun and certainly means you no harm. But sometimes he acts really silly and wears a sock on each arm.”- Marie Blair, Bobby and the Monsters
With the rising cost of educational materials, creating engaging, tactile/low vision literacy experiences doesn’t have to drain your classroom budget or your wallet. One of the most effective ways to stretch your dollars is by turning to your community and embracing recycled materials. Everyday household items like cardstock packaging, plastic lids, bubble wrap, textured fabric scraps, ribbon, etc. can easily be repurposed into rich sensory tools and braille literacy crafts. Don’t hesitate to reach out – ask art teachers for leftover supply scraps, put out a call to colleagues for clean recyclables, and let neighbors or family know you’re collecting items for your students. People are often eager to support hands-on learning, and by raiding the recycling bin and tapping into local networks, you can still craft meaningful, literacy activities without spending a dime. I looked through my tubs of craft supplies in my garage as well as searched online for craft activities. Based on what I found in both places, I met with success! The book for this month is How to Catch a Monster: A Halloween Picture Book for Kids About Conquering Fears! by Adam Wallace. A sweet story where the reader spends the day with Tommy and Wendy learning about making friends with kids who see differently.
The book description: “Get ready to laugh along in this fun children’s monster book as a brave young ninja heads into the closet to meet the monster that’s been so scary night after night! But what if our monster isn’t scary at all? Maybe our hero is about to make a friend of the strangest sort….”
The skills worked on this month are many. Here’s but a few:
- book knowledge (i.e., title, author, page turning, image walking)
- use of low vision tools while reading the book
- develop hand and eye coordination
- turning pages
- soliciting assistance appropriately
- fine motor
- communication
- positional concepts
- choice making
Activity one
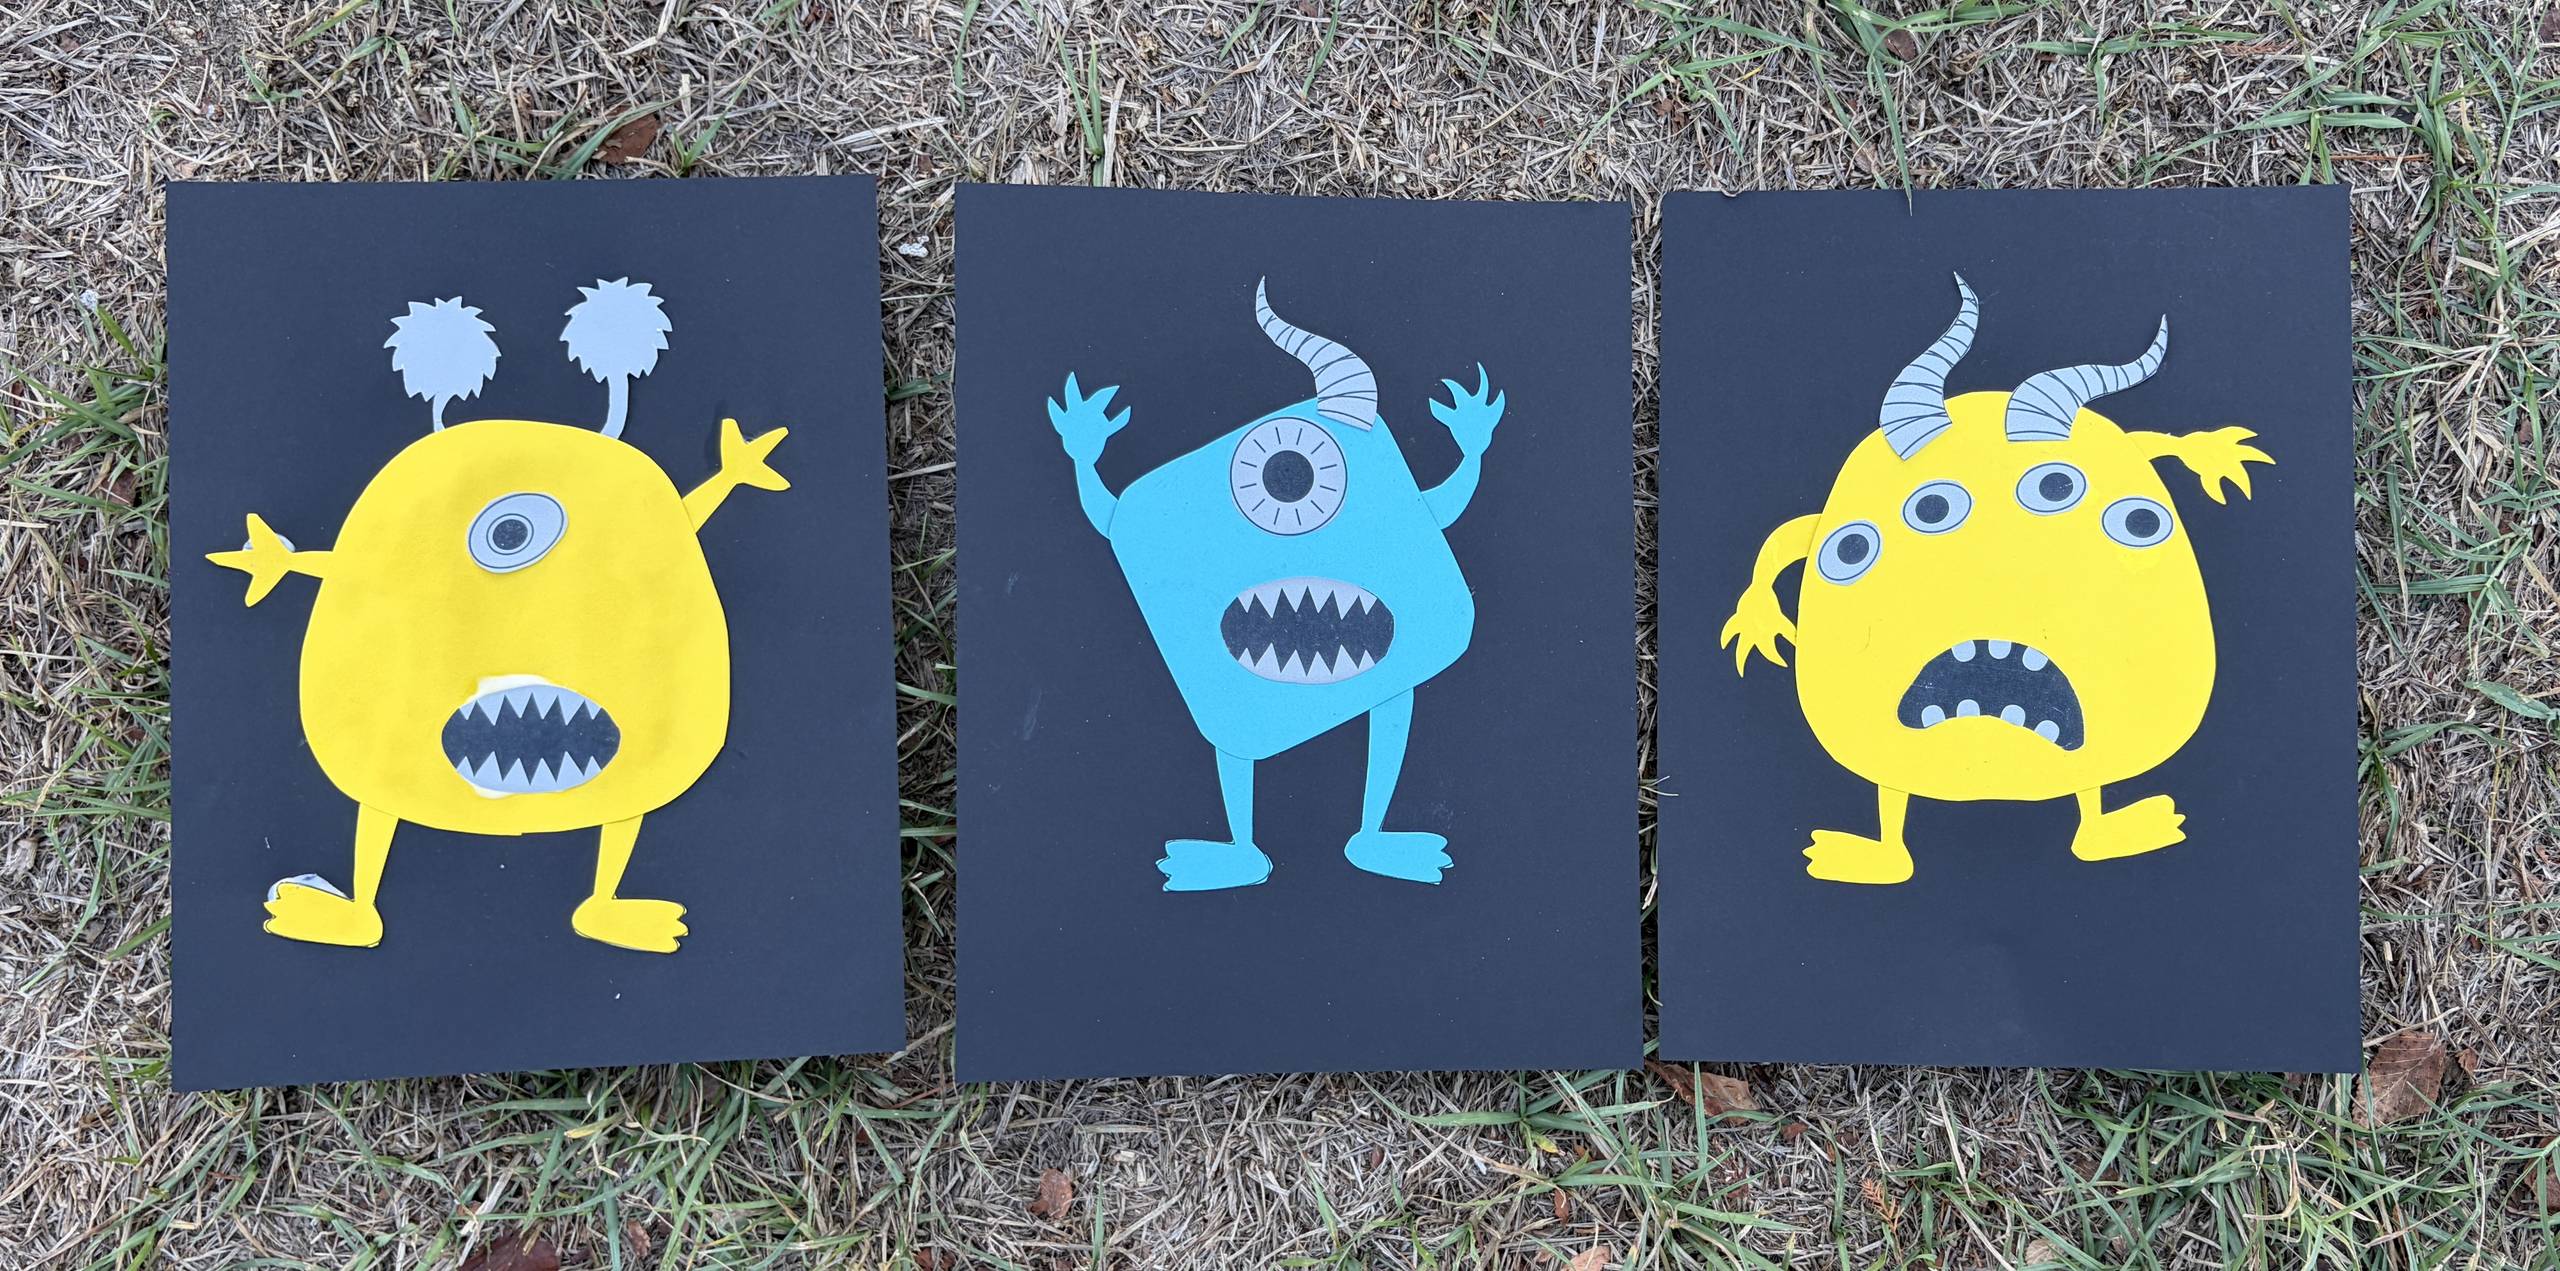
The Craft at Home Family has a blog post called Free Build a Monster Printable. The post has all the templates free to download. Not a lot of prep time is needed. I precut all the pieces myself and then put the pieces in different Ziploc bags for easy retrieval during the craft process. She has a simple step by step guide on how to make the craft.
I have several students who struggle with using liquid glue. If it gets on their fingers, they stop the activity. To help with this, I prepare them in advance that there will be glue with the craft. I have paper towels nearby so they can immediately wipe their fingers. One of my students I use disposable gloves with on one hand. Here one hand puts the item down and the other hand with the glove pats the glued item in place. I still have them practice wiping their fingers on the paper towel.
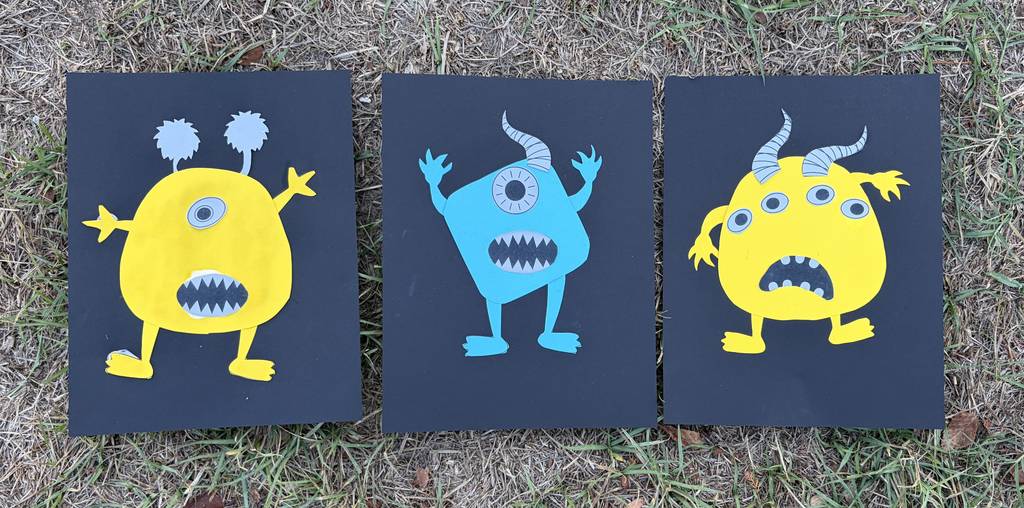
Items needed for the craft
- Black cardstock
- Different colored cardstock/textured paper
- Paper crimper
- Elmer’s glue
- Marker/pencil or name stamp
- Ziploc bags (sandwich size)
- Shipping Labels 2″×4″
- Disposable gloves – size small
- Paper towels
- Wipes to clean the table
Setting up the work environment required my students to assist. They had to open the different bags (arms/legs – each color had its own bag, mouth, eyes, horns/antennae) once they chose the body. All my students wanted the same-colored arms/legs as the body. The number of eyes used changed with each student as well. As we made our monsters, they told me stories about the monster they were creating based on questions I asked, such as:
- What is your monster’s name?
- Is your monster as tiny as a jellybean or bigger than a school bus?
- Does it change colors when it gets happy, excited, or surprised?
- Is your monster silly, shy, friendly, or a little bit scary?
- What kind of funny sound does it make when it giggles or talks?
- What is one thing that makes your monster feel brave? What makes it
feel scared? - What is your monster’s absolute favorite snack? (Does it eat pizza or
smelly socks?) - What is its favorite game to play at recess?
- Where does your monster sleep at night? (Under a bed, inside a
cloud, or in a volcano?) - How does your monster travel around—does it bounce, slither,
zoom, or stomp? - If your monster came to school with you for a day, what would it
do in the classroom?
The shipping labels were needed for my students to use to put their names on the back of their creation. As the cardstock was black, it was hard to write on it in anything other than a white crayon. I wanted my students to work on using their name stamps or their handwriting in a defined space without going over the designated area. This sticker label size works perfect for the name stamp.
Activity two
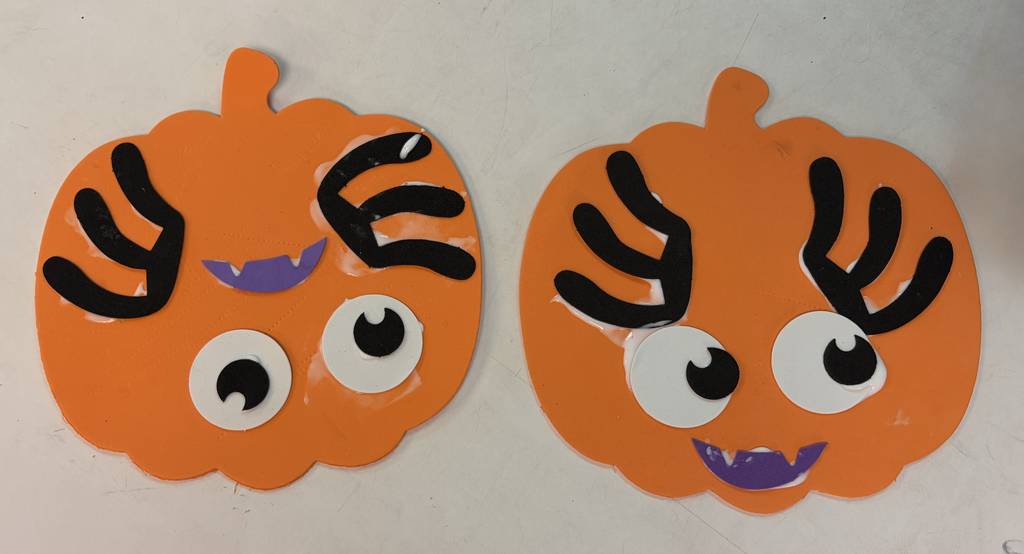
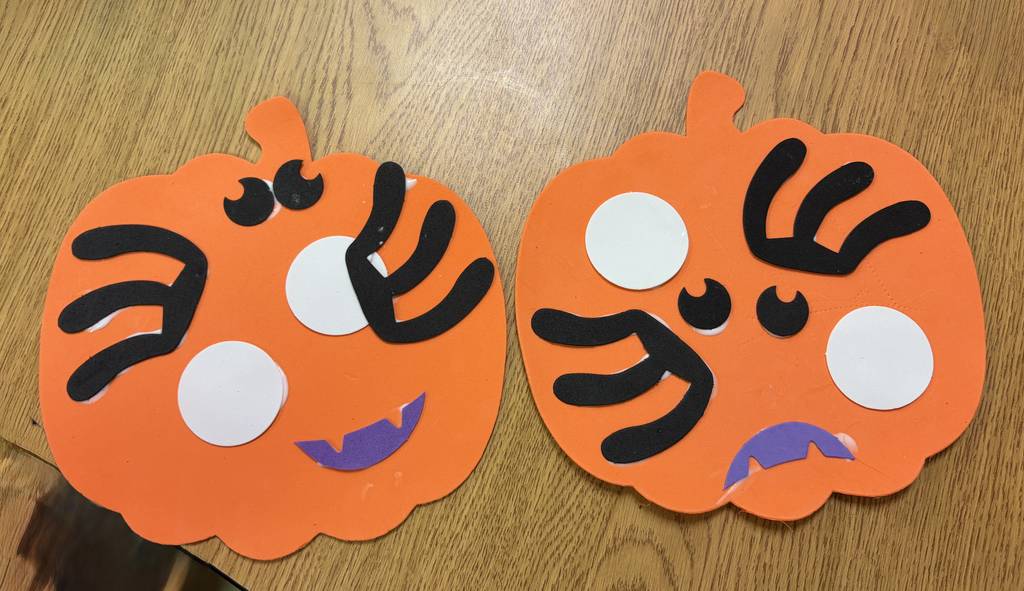
In a continued effort this month to not purchase materials, I dug through my fall containers and found foam pumpkin face stickers and orange foam paper. I also found some large foam pumpkin shapes I hadn’t used.
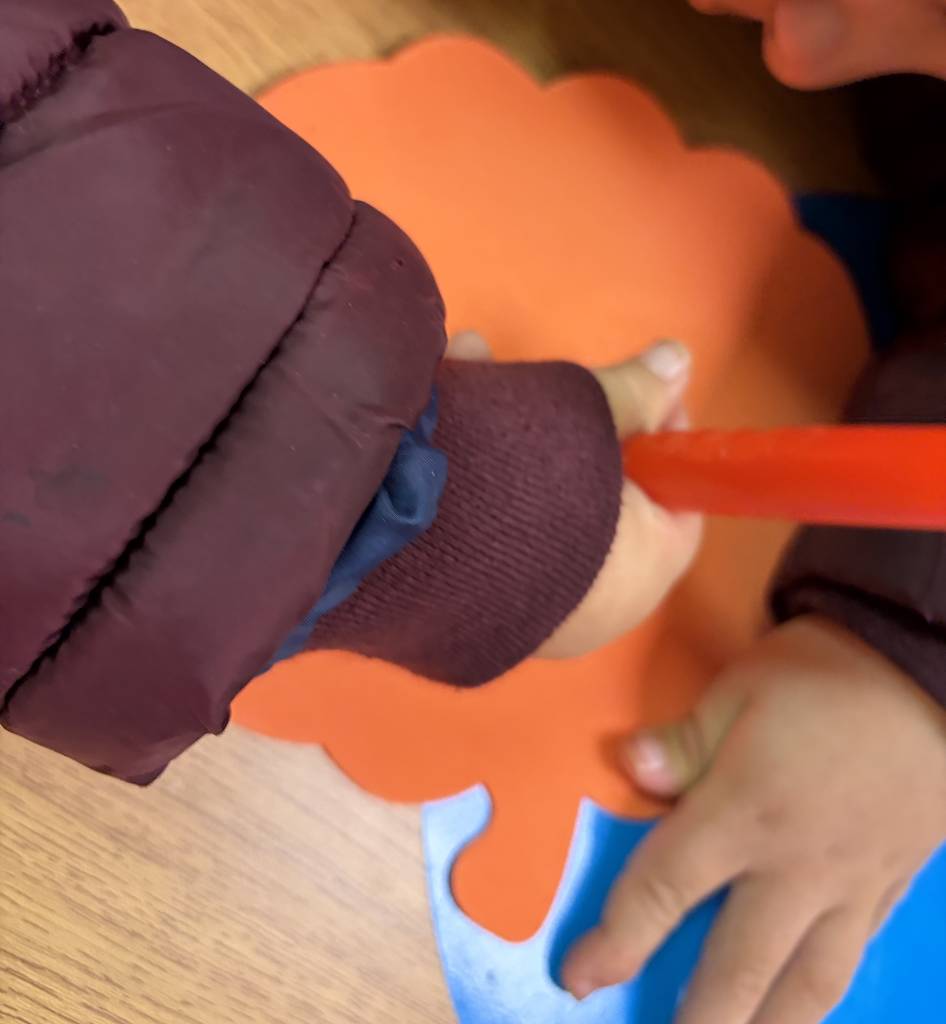
My students were given a tracing wheel to add texture to the foam pumpkin shape. The handle had gripping texture on two sides of the handle and was larger than the handle of a typical tracing wheel. Once they were happy with the texture, they added facial pieces to glue down.
Items needed for the craft
- Orange foam paper
- Large pumpkin stencil or xerox copy to trace
- Pumpkin face stickers or pieces
- Halloween Ultimate Pumpkin Carving Kit
- Elmer’s glue (needed for non-sticker items)
- Marker/pencil or name stamp
- Paper towels
- Wipes to clean the table
Story comprehension questions
Here are the comprehension questions I used for this story before reading:
- What do you think this book will be about based on the title and cover
picture? - Where in the house do you think the child might look for a monster?
- Have you ever felt scared of something in the dark or in your room?
What helped you feel brave?
After reading the story
- Where does the main character find the monster?
- What role did the boy get in his school play that gave him the
confidence to face the monster? - What kind of gear or traps does the boy use to try to capture the
monster? - Is the monster scary and mean, or is he friendly? What does the
monster actually do when the boy finds him? - Why do you think the main character dressed up like a ninja to catch
the monster? - How does the boy’s feeling about the monster change from the
beginning of the book to the end? - Why was the monster practicing his roars? Was he trying to be mean,
or was he practicing a skill? - What is one trick or trap from the book you found funniest?
- If you met the monster in this story, what fun activity would you want
to play with him?
Jokes
My students love to tell jokes (as do I) and I found some fun ones to share with them. I even assigned them homework to find a joke to tell me during our next lesson. So much fun!
- “What do you call an attractive monster?” Pretty scary!
- “What do you call a monster who makes great artwork?” A monster-
- piece!
- “What is a monster’s favorite dessert?” I-scream!
- “Why did the monster eat a flashlight?” Because he wanted a light
- snack.
- “What do little monsters like to ride on at the amusement park?” The
- scary-go-round.
- “What game do little monsters play at recess?” Hide and shriek!
- “Why does Frankenstein laugh all the time?” He’s always in stitches.
- “Being in the hospital can be a little cruddy, but if you let me hang
- with you, I’ll be your monster buddy!”
Tips
- Talk to art teachers about items they no longer need and/or to an
email blast to your district colleagues about supplies they’re willing to
donate. - Use textures from Feel ‘n Peel Sheets: Carousel of Textures
available on quota funds - Contact the campus PTA, parents of your students, or students
needing volunteer hours to help with the prep work of
cutting/assembling items - Include OT and Speech Therapists in the lessons and/or lesson
planning
Extension activities
- Instead of copying images on colored card stock, print on white card
stock and let the students color their own monsters the colors they
choose and then invite the OT to join the lesson for scissor skills. - Count the number of pieces you are putting on the different crafts.
Create math word problems to solve as well. For example:
Maya is making a craft monster out of paper and craft supplies. First, she glues on 3
googly eyes and 1 big red mouth. Next, she attaches 2 striped arms and 2 spotted legs.
Finally, she sticks on 5 bright purple dots for its fur.
Question: How many craft pieces did Maya use to build her monster in all?