Before discussing creating student made books, a question must be answered, “What is literacy?” According to Merriam-Webster Dictionary, Literacy is (noun) the quality or state of being literate. As teachers and parents, we try to help our students with an opportunity to be literate in whatever learning medium (print, large print, braille, picture, object) that works best for them.
In the past, I’ve written about making tactile books in the terms of making experience, object, routine, or theme books. I suggest making books in the child’s learning medium on topics that have meaning to their families, peers, IEP goals, and interests while increasing their literary library at home through a meaningful activity.
My goal this year was to create at least one book a month with seven students. I have since backed off on two students as they are resistant to the process/activity to the point where this is not a positive experience. Does this mean I will not continue with them? No. I will do other things with them that are like the activity to get them used to the process. Once they appear comfortable, I will reintroduce the activity.
Getting Started
Images
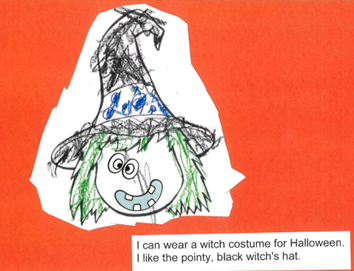
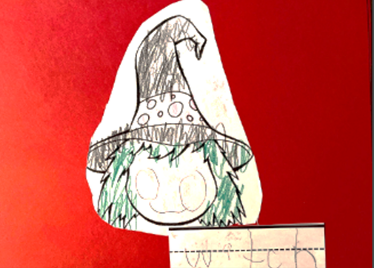
Each book starts with me looking for 5-10 images that the student can color based on a theme for that book, for example, Halloween. I then edit the images if needed. If the image appears to be too visually cluttered, we simplify it. When creating a page with a person on it, I have the student draw the face. Can’t draw? No problem! I have parts of the face stickers that can be used!
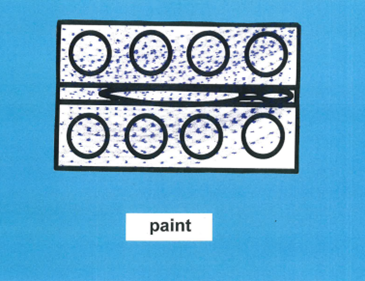
Script
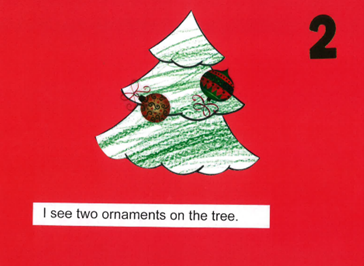
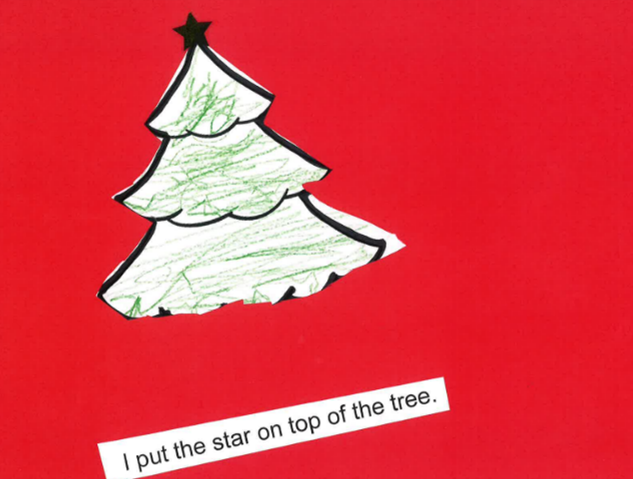
Images obtained, check! Now what about the script for each page? Here I like to collaborate with the speech therapists working with the students. What are they working on in speech that can be echoed in the pages of the book the students are making? For instance, the Christmas book was different from ones previously made. One group of students made a book for counting to 5 and other students created a positional book. The positional script was dictated to me by a student and his speech therapist edited the sentences.
Coloring
Script written, check! Time to color! Here some of the students work on staying inside the lines while other students work on holding a crayon (i.e., jumbo, egg, triangular, finger, Twistables). Several of the students went from making a single mark on the paper at the beginning of the school year to making several marks and filling in the object more with color. With one student, I use the Color-by-Texture Marking Mats available from APH (American Printing House). What I really love about this product is the tactile and auditory feedback the student receives while coloring.
Cutting and Gluing
Images all colored, check! Time to cut out the images. If the student is able, they cut out their own images and sentence strips in collaboration with their OT (occupational therapist). Cardstock is preferred. We use the scissors that the OT recommends. If I am unfamiliar with the scissors, I get brief training on their use BEFORE trying it with my student. If cutting is not yet a goal, I do this step for them.
Images all cut out, check! Time to glue! I use a purple glue stick so that the students can see where they have put the glue. They put the images and sentence strips on the colored cardstock to secure it in place. Once all the pages are completed, the student then puts the pages in the order that they want them to be in.
The Final Product
Prior to laminating the pages, I scan the pages and save them in a file. Once the books go home, we don’t have access to the books anymore unless we ask the parents if we can borrow it. By scanning it, we can revisit the book electronically. Students can learn a little technology while revisiting past books. I share the scans with the educational teams, so they can also use the books.
The pages are then laminated and bound by me. When I return the book to the students, I review it with them. Frequently a book is left at school for an extra couple of days so that their speech therapists can review the book with them before we send it home.
The reception of the books has all been positive. The students enjoy sharing their work with their families and teachers. Suggestions have been given to me such as a Thanksgiving book about camping for a student who would be camping with his family that week. I have a listing of monthly themes being addressed in the classrooms and try to use that to guide each of the books. Collaboration with the other service providers, teachers and families have made this a successful endeavor.