1. Progressing from identification of 3-D Shapes to 2-D Shapes
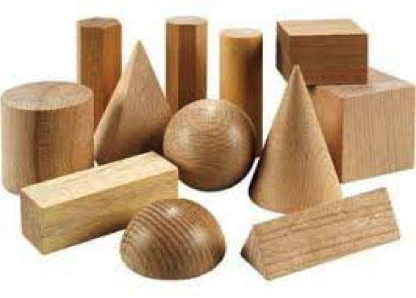
In the beginning explore hand-under-hand. Discuss the 3-D shape and connect to a real life object, e.g. rectangular prism to a cereal box, cone to an ice cream cone or sphere to a ball.
Build upon shapes recognized. Yes, all the way to the hexagonal prism!
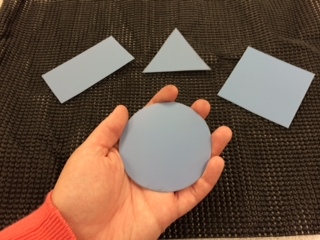
Transfer the 3-D shapes to 2-D shapes that they can hold in their hand.
I made these out of a plastic notebook divider.
3-D wooden shapes
2-D plastic shapes made from a plastic notebook divider
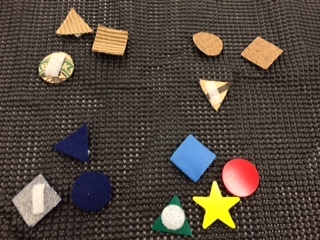
2. Move from the large 2-D shapes they can hold in their hand to small 2-D Shapes.
Various shapes made from different textured materials
3. Progress from sorting these shapes, to identification, to matching and finally to understanding same and different.
Child identifying shaped pieces
Start small and progress, 2, then 3, then 4, etc.
Activities:
Student finds requested shape
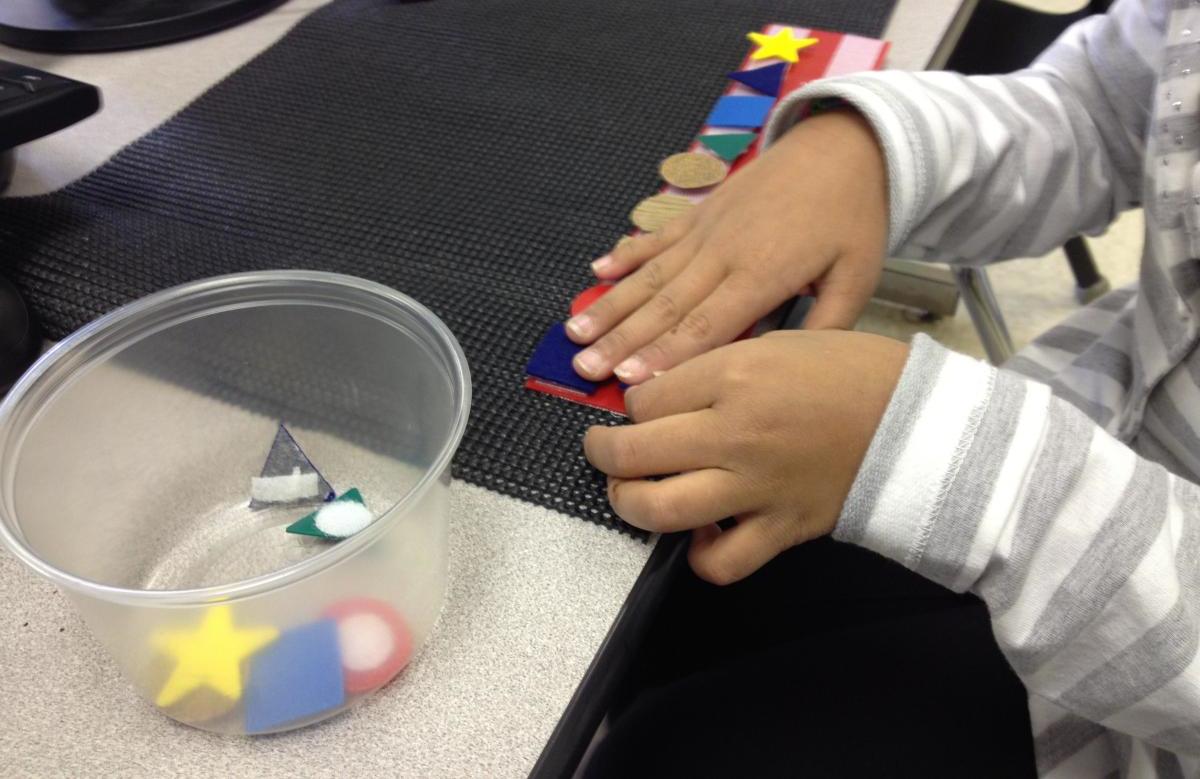
Student pulls a shape out of a container, identifies, then locate matching shape
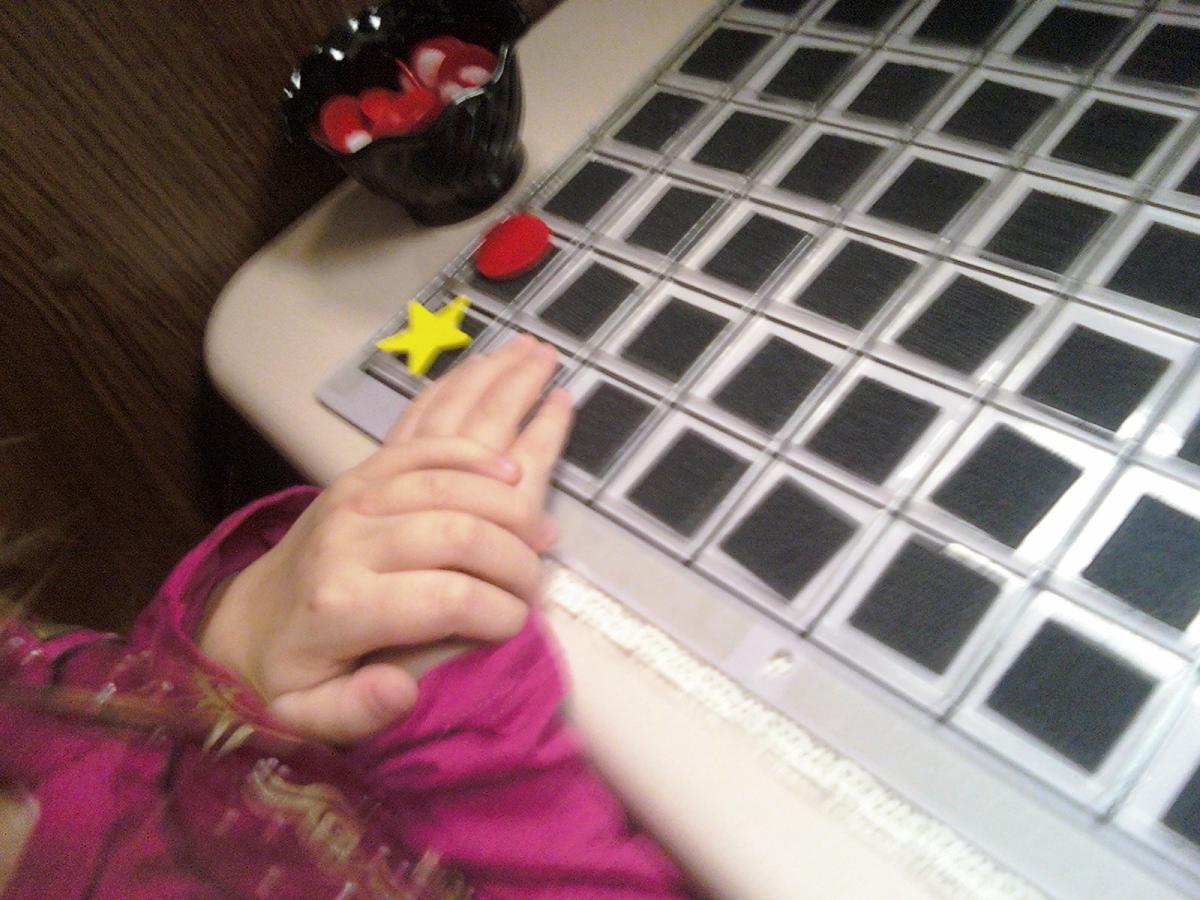
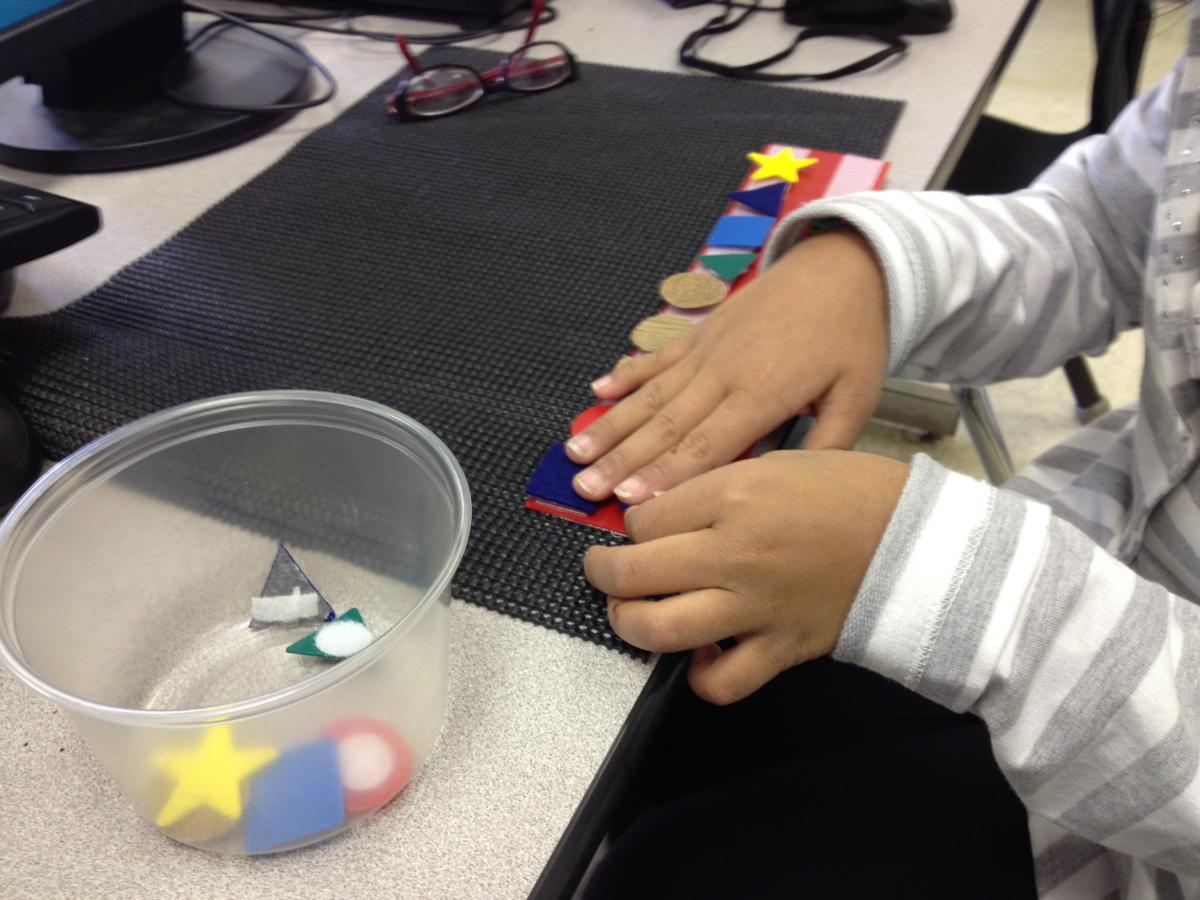
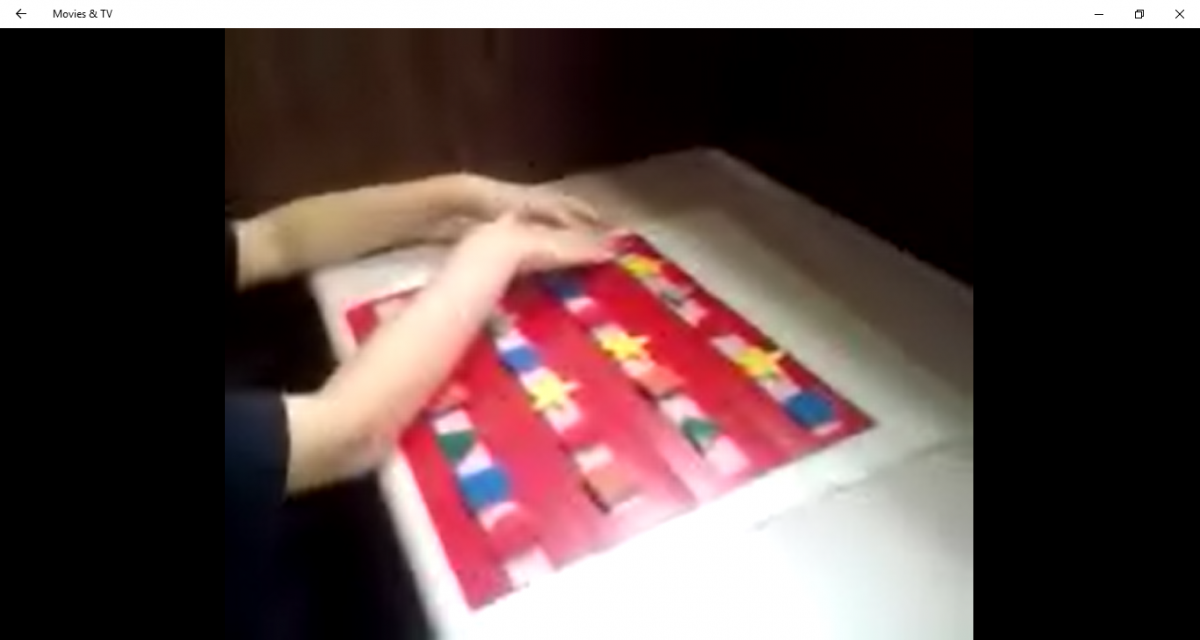
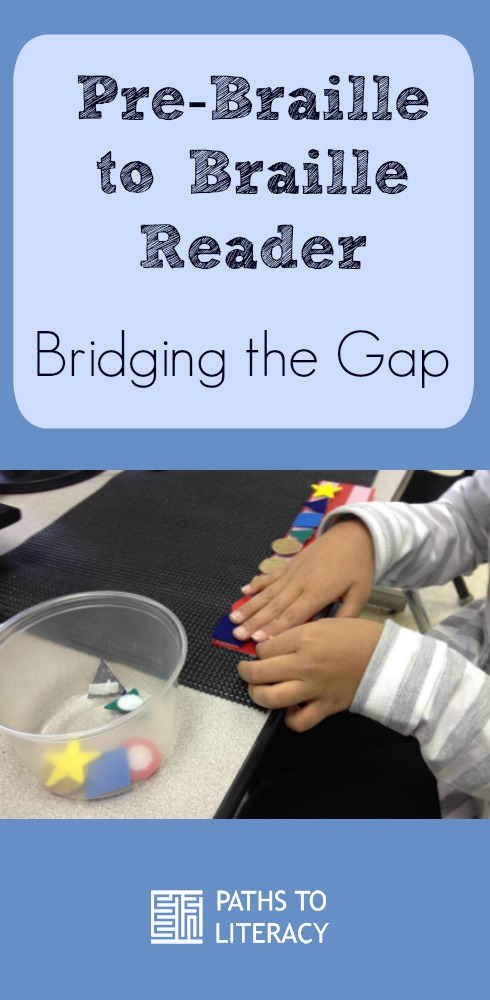
Child touching shapesin a horizontal row
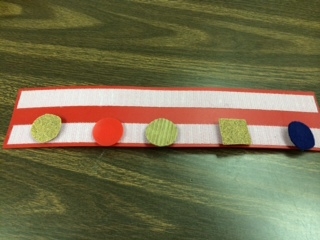
Velcro stripswith shapes arranged in horizontal line
4. Progress from same and different concept to tracking lines of 2-D textured shapes.
Again, progress to more difficulty
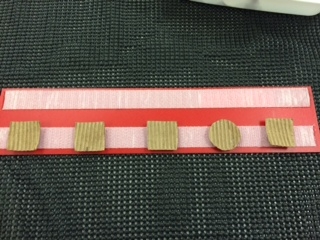
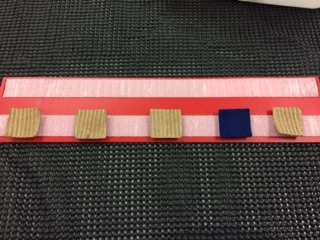
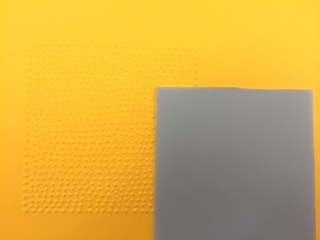
Bumpy squares with one bumpy circle
Bumpy squares with one soft square
Multiple textures with a different shape
This will help them to become sensitive to what is under their fingertips!
Tracking Lines
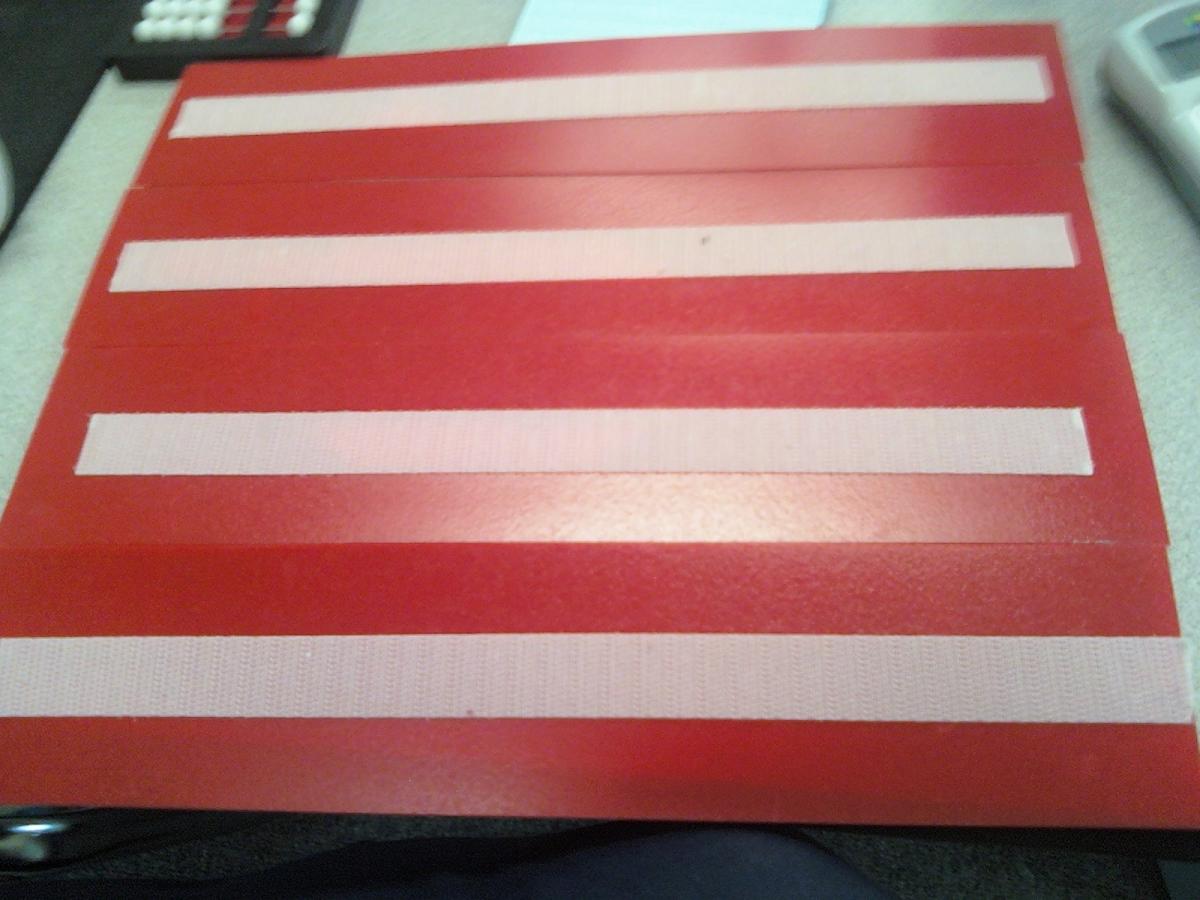
Horizontal strips of tracking lines
Once they are able to identify shapes
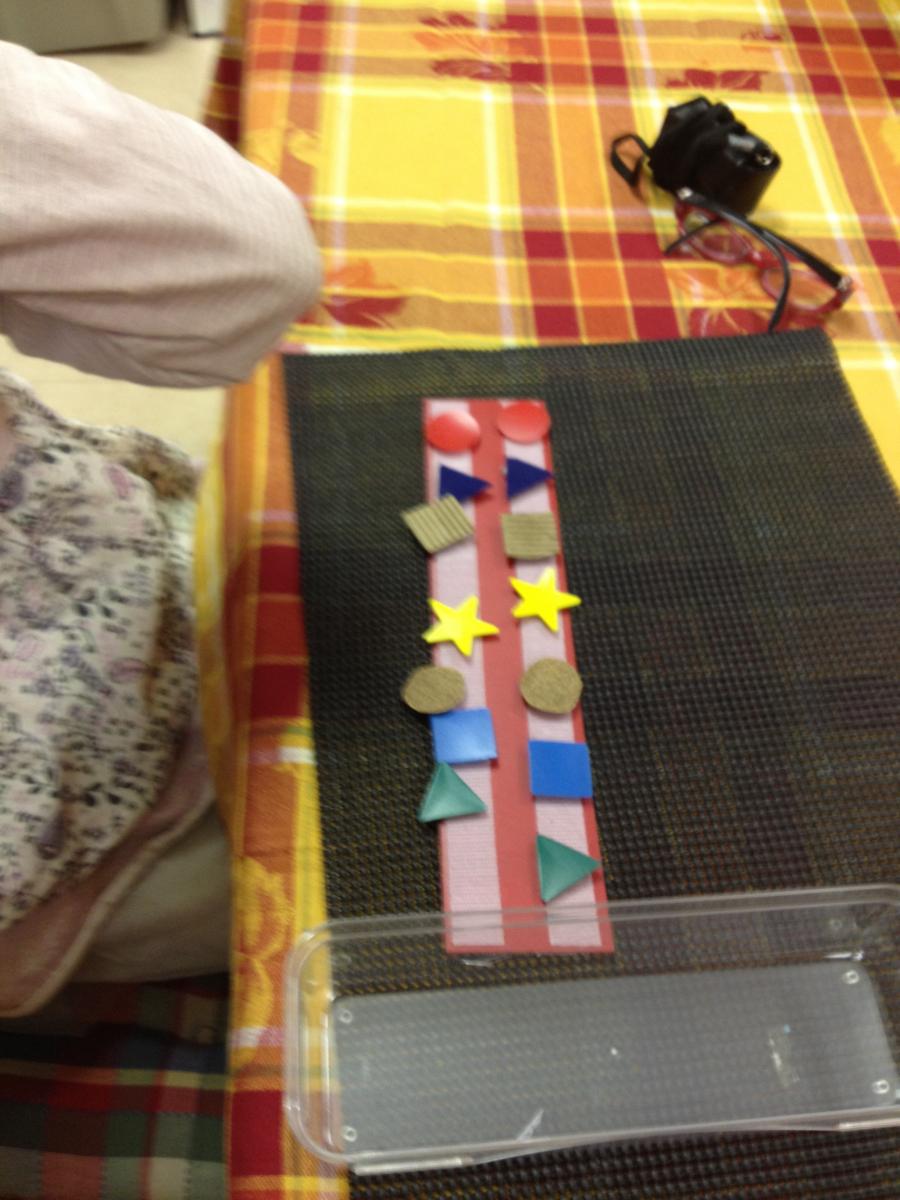
Begin by tracking 2 lines
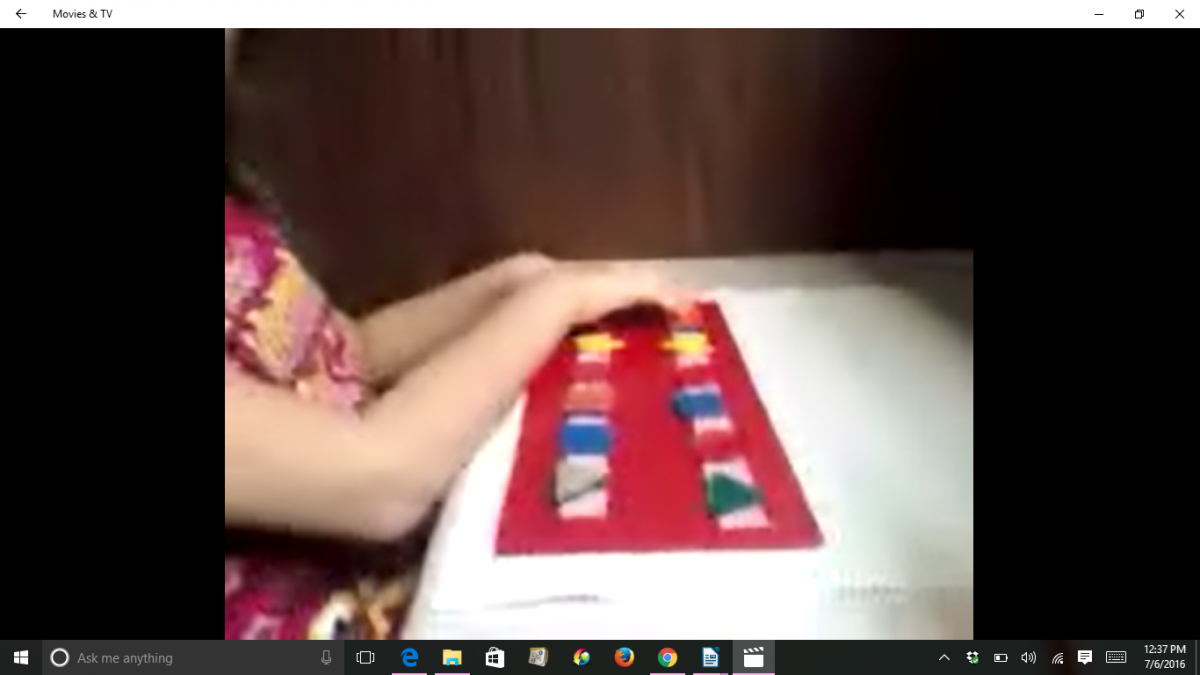
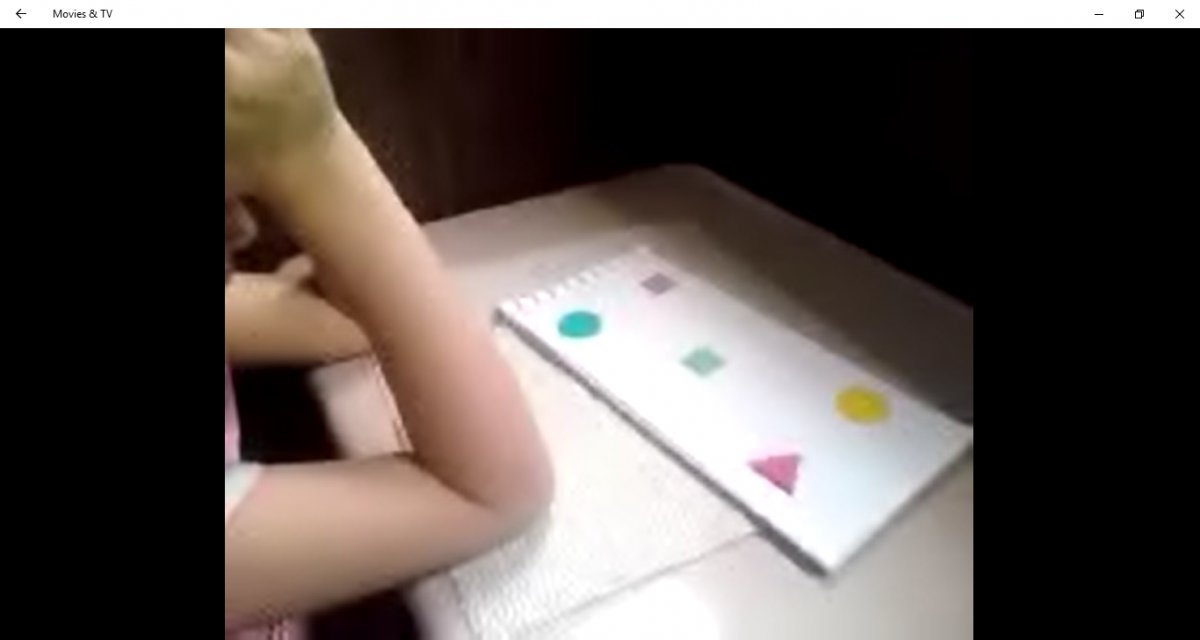
Student tracking two lines
Then, increase the amount of lines and shapes.
Student tracking four lines
Track just like they would a braille line
Mimic tracking braille
Practicing getting to next line
Hand-under-hand, then hand-over-hand (skip hand over hand if they are able to mimic how you tracked the lines hand under hand), then physical prompting, then verbal prompting to NO prompting!
Time them to increase their speed, they like to try and beat their best time
5. Transfer 2-D Hand-held or Raised to 2-D Braille on the Page
2-D velcro shapes are still more raised and 3-D than braille
Must transfer awareness of velcro shapes to actual 2-D shapes or characters on the page
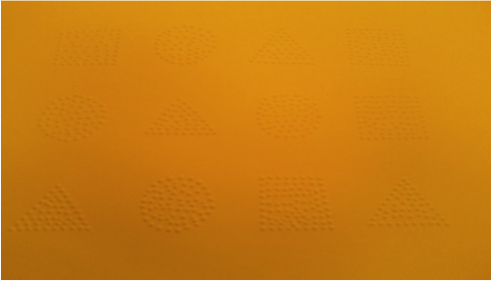
I like to start with tactile shapes glued to the page:
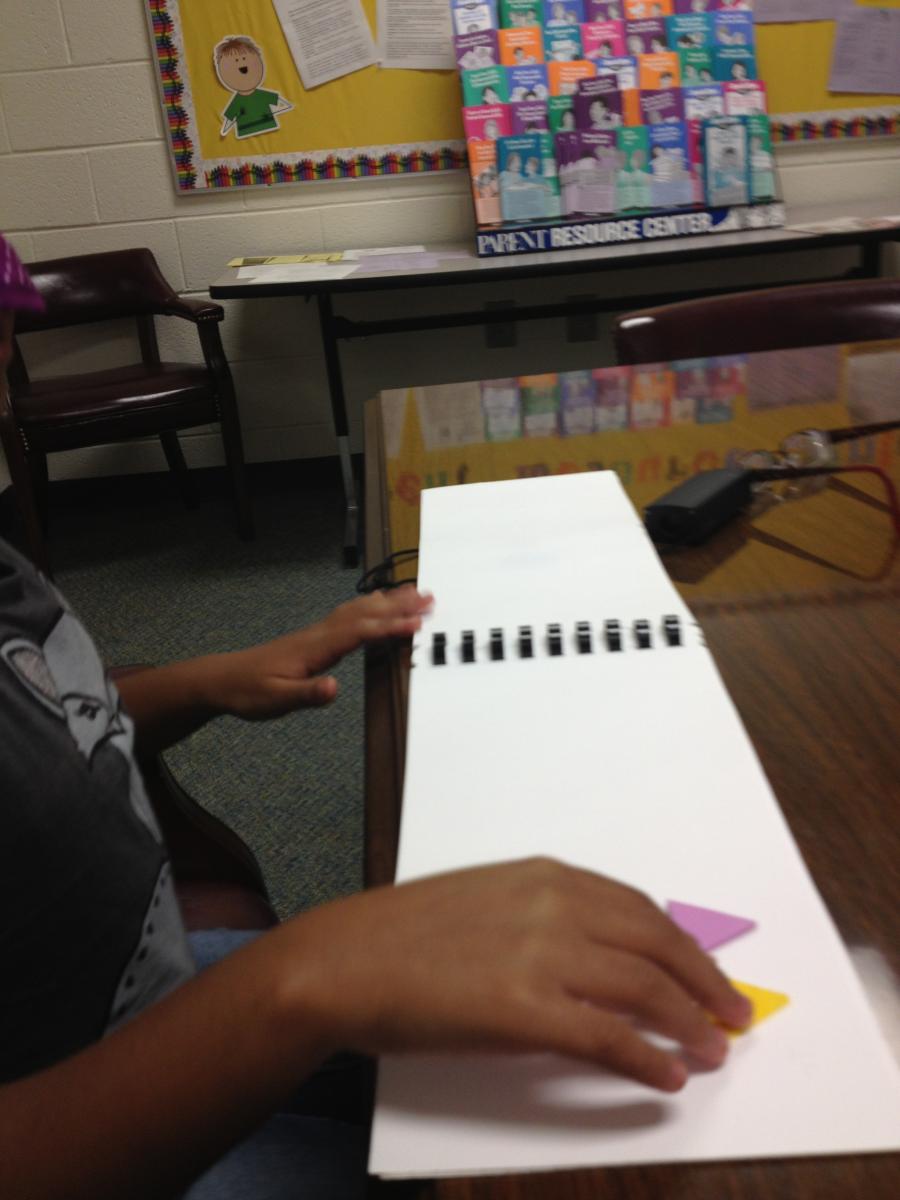
Tactile shapes glued to the page
Tactile shapes glued to the page
This leads into book concepts
Begins awareness of how to “read” a book
This is the first book they can truly read independently
Title page may be: square, circle, triangle
Include braille page numbers and teach them to identify where the page number is located
Ask: What’s on this page? Where is it spatially?
Ask: Can you find the page with a soft square? Can you find the page with one smooth triangle in the top left hand corner?
Remember: Every child is different. For one of my students, understanding the layout and counting the dots worked. Other students may not be able to understand this way. In Beginning With Braille, author Anna Swenson suggests using “positional concepts”, such as “Y has a big hole on the left” and “R has 3 dots on the left and one dot on the right”. Find what works with your student and stick with it!