I am frequently asked why I do so many crafts with my students as well as hear the comments: “You must really like crafting!” I do crafts with my students because it is a great and fun way to teach concepts with them. I have found learning the concepts through crafting helps with the carryover into other activities in their classrooms. As for liking crafting…not so much. Coming up with the crafts can be a struggle for me, so I do a lot of research to make things from scratch or go to www.orientaltrading.com and find craft kits that fit my needs.
I embed these few areas in the craft activities:
Listening skills
Listening is one of the most important skills to have in the student’s toolbox. Their listening skills will affect how they learn, communicate, etc. in the classroom, at home, and in the community. Teaching students to listen to obtain information, to understand for enjoyment and to learn is critical in their success. The listening skills I am working on here is having the student become an active listener. This is where the student is making the effort to hear, understand, and relay the information either back to the speaker or by completing the task assigned. Following one or more step directions is vital when working on assignments in the classroom. This is why I work on this skill during our craft times. Quiet hands is a concept I work on. While instructions are given, our hands are quiet in our laps or on the table.
Reading comprehension
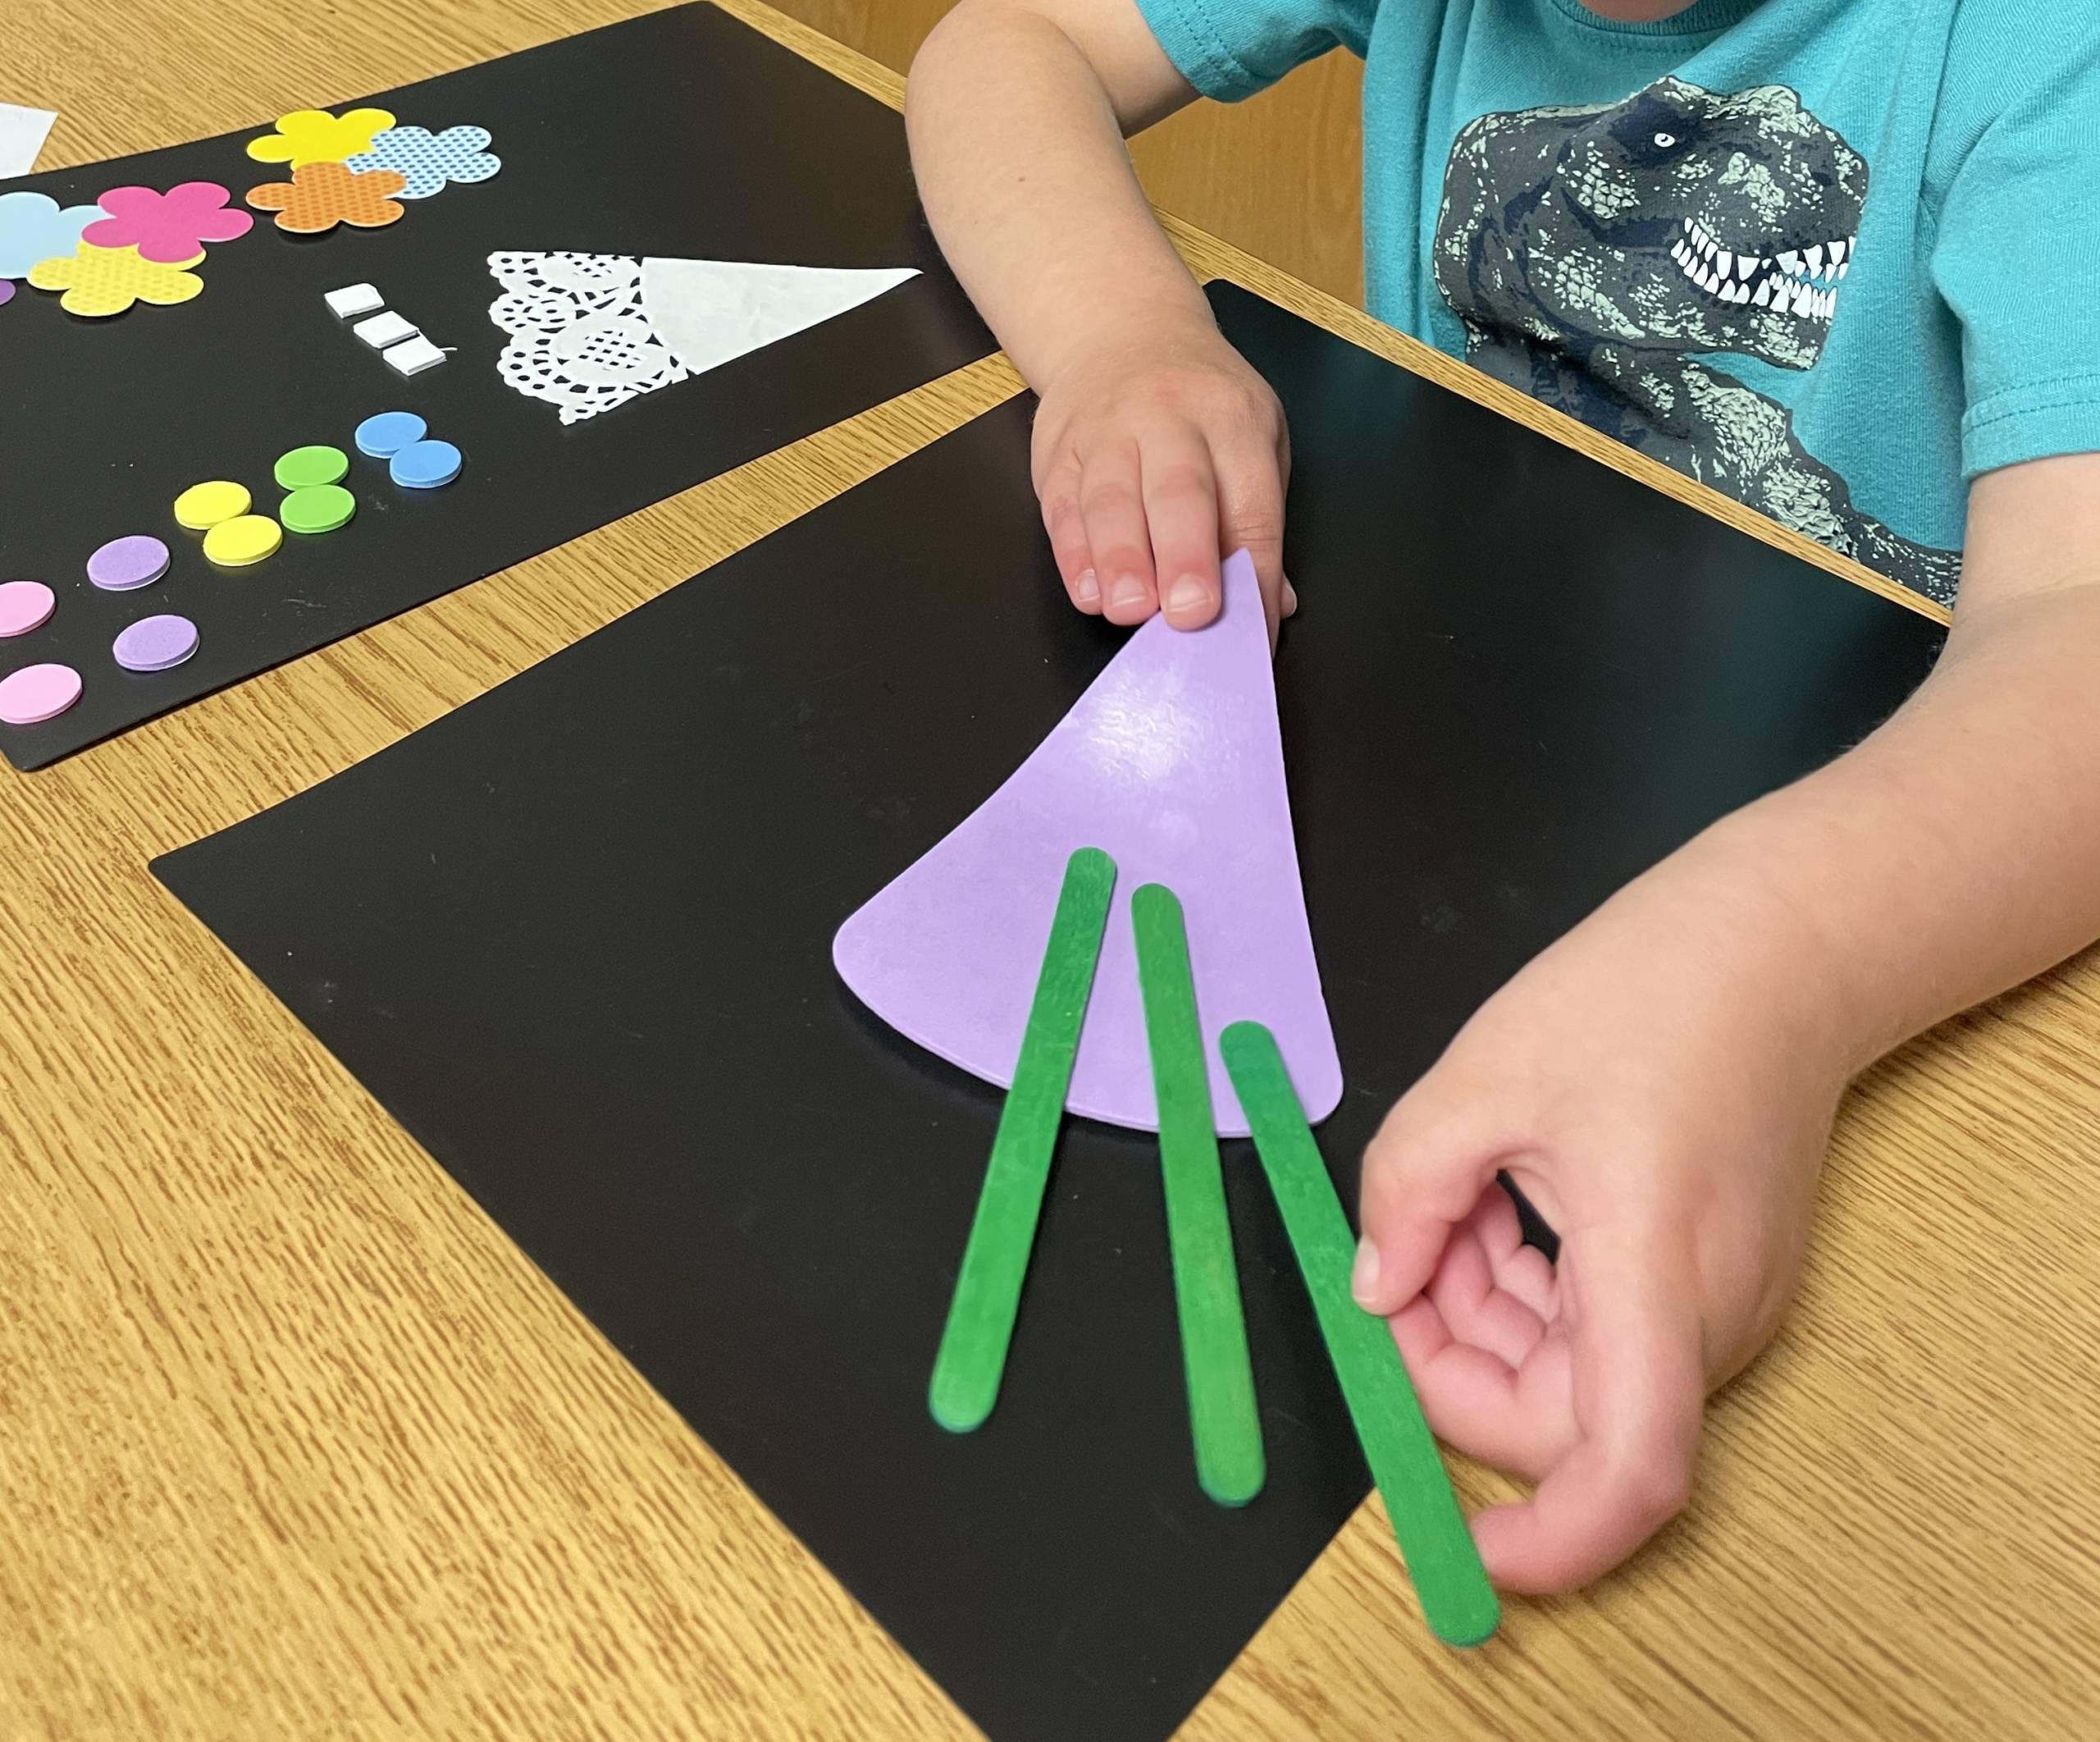
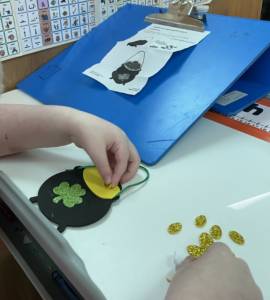
The instructions can be enlarged to the font size the student needs or typed/brailled. For the non-reader, picture symbols/tactile symbols can also be utilized, see image below:
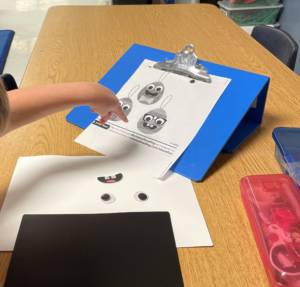
Having directions in the student’s learning medium helps the student to learn new vocabulary, reread the directions for their own comprehension, and to know what’s next. Reading can be reinforced by reading and interpreting the directions in the reading medium that best suits the student’s needs.
Additional academic skills
Additional academic skills such as math can be touched upon. Students can learn to recognize/sort shapes, count items needed for the craft, sort the craft supplies, measure items needed for the craft, etc. The “science” of blending two colors to create a new color. FasPaints has a free color mixing guide on it that can be helpful if you’re unfamiliar with what 2 paints make a new color: https://www.faspaints.com/free-paint-colour-mixing-guide-for-kids.html
Positional concepts
Here I work on page orientation (landscape or portrait) as well as top/down, left/right, center/middle, beside, below, etc. Learning positional concepts help the student learn the spatial relationships between their body and other objects. Students need to understand these concepts to meet with success in the classroom. Students are asked to write between lines on paper, place work on their desk, put their pencil in their desk, etc.
Interpreting/creating pictorial/tactile information
Here I work on discerning information from an image on paper, the internet, tactile representation or a real object – in this case a completed craft project. When looking at the image visually, the student is looking to make sense of what they are seeing as well as to interpreting the different components to the image (i.e. googly eyes, fish shape). When looking at the image tactically, the student is doing the same things only using their fingers to do the scanning of the image. Real objects or the finished product helps make sense of what they are seeing visually or tactically.
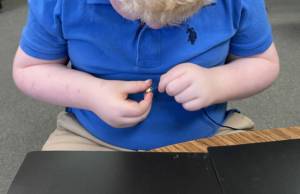
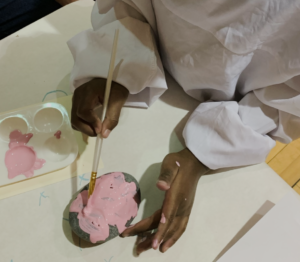
Developing fine motor skills
The students are using their small muscles in their hands as well as using both hands together to create a finished project. Here they can learn new skills such as cutting with scissors. I like to collaborate with the OT (occupational therapist) during the lessons when introducing new tools/skills like the scissors so the student learns to use them correctly from the beginning.
Creativity
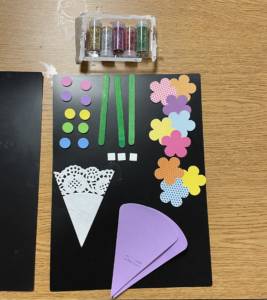
This is where I let the student take ownership of the craft. Yes, I want them to follow directions to complete the craft, but I am not so rigid as to discount their own creativity. I want the student to expand on the craft when they feel they need to. Once they are comfortable with crafting, I allow the student to create their own craft from their own imagination. I like to have a container that has different textured paper, pipe cleaners, beads, card-stock, colors/markers/paint etc. for them to create an original piece. If they desire specific items (i.e. rocks), I bring those in when I can. By allowing this creativity, I’m giving the student a chance to express their feelings. They are able to try new ideas and problem solve to create an original piece. I am a safe environment for my students to allow their creativity to shine through with no judgment.
Developing a positive self-esteem
Students have the opportunity to develop a sense of pride in their work. Arts and crafts give kids a sense of personal achievement. Working with me on the crafts, the students learn that it’s okay to make mistakes and things sometimes go wrong, but that sometimes leads the student to something even better than they had originally intended. I like to show them my mistakes or make a mistake while crafting with them. I’ve found by doing this, the student is now comfortable to give me suggestions to ‘fix’ my project or to add to it. The student is able to self-evaluate their own work which aids in the development of self-esteem. The students also start feeling more confident in using things like glue or scissors. This confidence transitions to the classroom where frequently their teachers tell me my student has become a peer helper instead of the student needing help!
Communication
Communicating when the student needs help, does not understand the directions or forgets the directions is an area that needs to be addressed. I collaborate with the student’s speech therapist on how they’d like to proceed in this area. I enjoy “sabotaging” the student: leaving off a part of the direction, not having all the pieces in the craft basket, etc. This forces the student to solicit assistance. I can work on how to solicit assistance appropriately. I also like to talk with my students while we do our craft. This helps with the turn taking in conversation that they need to do with communicating with their peers, teachers, families, etc. A fun extension of this skill is to have the student communicate to me or another how to make the craft. I have my student frequently make an additional craft to give to their teacher. I’ve asked the teacher to question the student on the craft i.e. how did you make this. Great opportunity that frequently occurs naturally in the classroom.
Community service
A big part of our crafting time is community service. The idea of giving back to others is an area I teach frequently. Our students with a visual impairment are frequently given materials/opportunities, but not always given the chance to give back, here we have that opportunity. Each month I have my students create a craft based on the month’s holiday that they can take home. Then I have them create an additional one to give to their teacher, a service provider, superintendent, etc. This is an opportunity to share with others what the student is capable of.
Crafting helps make learning all these concepts fun and frequently the students do not even realize they are learning a skill! There are additional areas that pop up during our crafting and other skills that are embedded as well, but the ones I listed previously are my “biggies”.
Where do I find the art supply materials?
- Donations from art teachers, classroom teachers, janitors, etc. – someone is always throwing out scraps or remnants
- Yard sales – a treasure trove of items can be found here
- Thrift stores – another gold mine!
- Oriental Trading https://www.orientaltrading.com/ This is my go to for when I just can’t think of anything for the month
- Michaels/Hobby Lobby or other craft stores – I like to wander the aisles for ideas
- Rhode Island Novelty https://www.rinovelty.com/ – they don’t have a craft section, but they frequently have items that I use with my students in crafting
In determining what crafts to do, I ALWAYS talk with my students. Their input is vital to their desire to do the craft number one, but also for them to learn that their input is important. I have progressed from doing my research for the activities on my own and then share what I find with them to researching with them. By researching the craft ideas together, we have had some amazing conversations and more laughter than I thought possible!
Bottom line in crafting for concepts has made it possible to have golden opportunities to work on many concepts at one time and have a fun finished product to take home and share with their families and/or give to someone.
Additional Tips
- Sometimes I need an outlet for plugging in a glue gun. I do not always have that luxury. I purchased a portable charger. There is a wide variety out there. I like this size as it’s small enough to fit in a bag easily: Portable Outlet Charger
- Glue guns like to drip. You can put a piece of paper under it to catch the drip or use a silicone pad. I like the silicon pad as I can easily wipe off the dried glue and reuse it. Silicone Pad
- Contrast is always an issue due to the tables my students and I work on and then the materials we use for crafting. I like to use white or black plastic sheets for their workspace. I’ve created these by finding an inexpensive folder and trimming off the pockets so that the newly created sheet will lie flat on the table.
- Trays/cups are great ways to help organize the materials. If using beads, they have a tendency to roll. Using cups helps eliminate the rolling away of the beads. Trays help keep the materials organized so if you don’t finish the craft in one setting, the items can be kept on the tray and put up out of reach for the next lesson. I typically buy my cups/trays for crafing from a dollar store. Again, I try to keep these items as high contrast as possible.
- I store each of the items for the craft in containers. I love to use the Meal Prep Containers because they are lightweight, inexpensive and easy to open/close. My students are responsible for opening/closing the containers.
- DO NOT be obvious as you take data! I have found my students do better when they do not think these activities are a lesson. Instead of using data collection sheets during the lesson, I take photos…many photos. I also use Lined Sticky Notes to take data. Here I abbreviate what I’m looking to collect data on (i.e. following 2 step directions = 2s; positional terminology = t for top, b for bottom, etc).
- Once the crafting becomes a familiar activity, I tend to add music in the background. The music is appropriate for school and the student’s choice. The sound is not up. This also helps me work with the student on their focus to the task and not the distracting background noises.