Learning to create a signature is an important skill for everyone to learn, including individuals with vision impairments. The tips below may be helpful for teaching students how to create a signature.
- Buy a signature guide. We often get them for free at different VI events. You can buy them on Amazon. You can also buy signature guides from MaxiAids or APH (American Printing House for the Blind).

- Teach the individual how to hold a pen or pencil. For cane techniques when going upstairs we teach students to use a pencil grip similar to how a person should hold their pen/pencil. If they know the “pencil grip” they can use the same position when learning a signature and holding a pencil. If not this skill needs to be broken down. Be sure the person knows the names of the parts of their fingers. To hold a pencil, for instance, you grip the middle of the pencil with your index finger and thumb towards the top in a pinching position with the middle finger supporting the pencil.
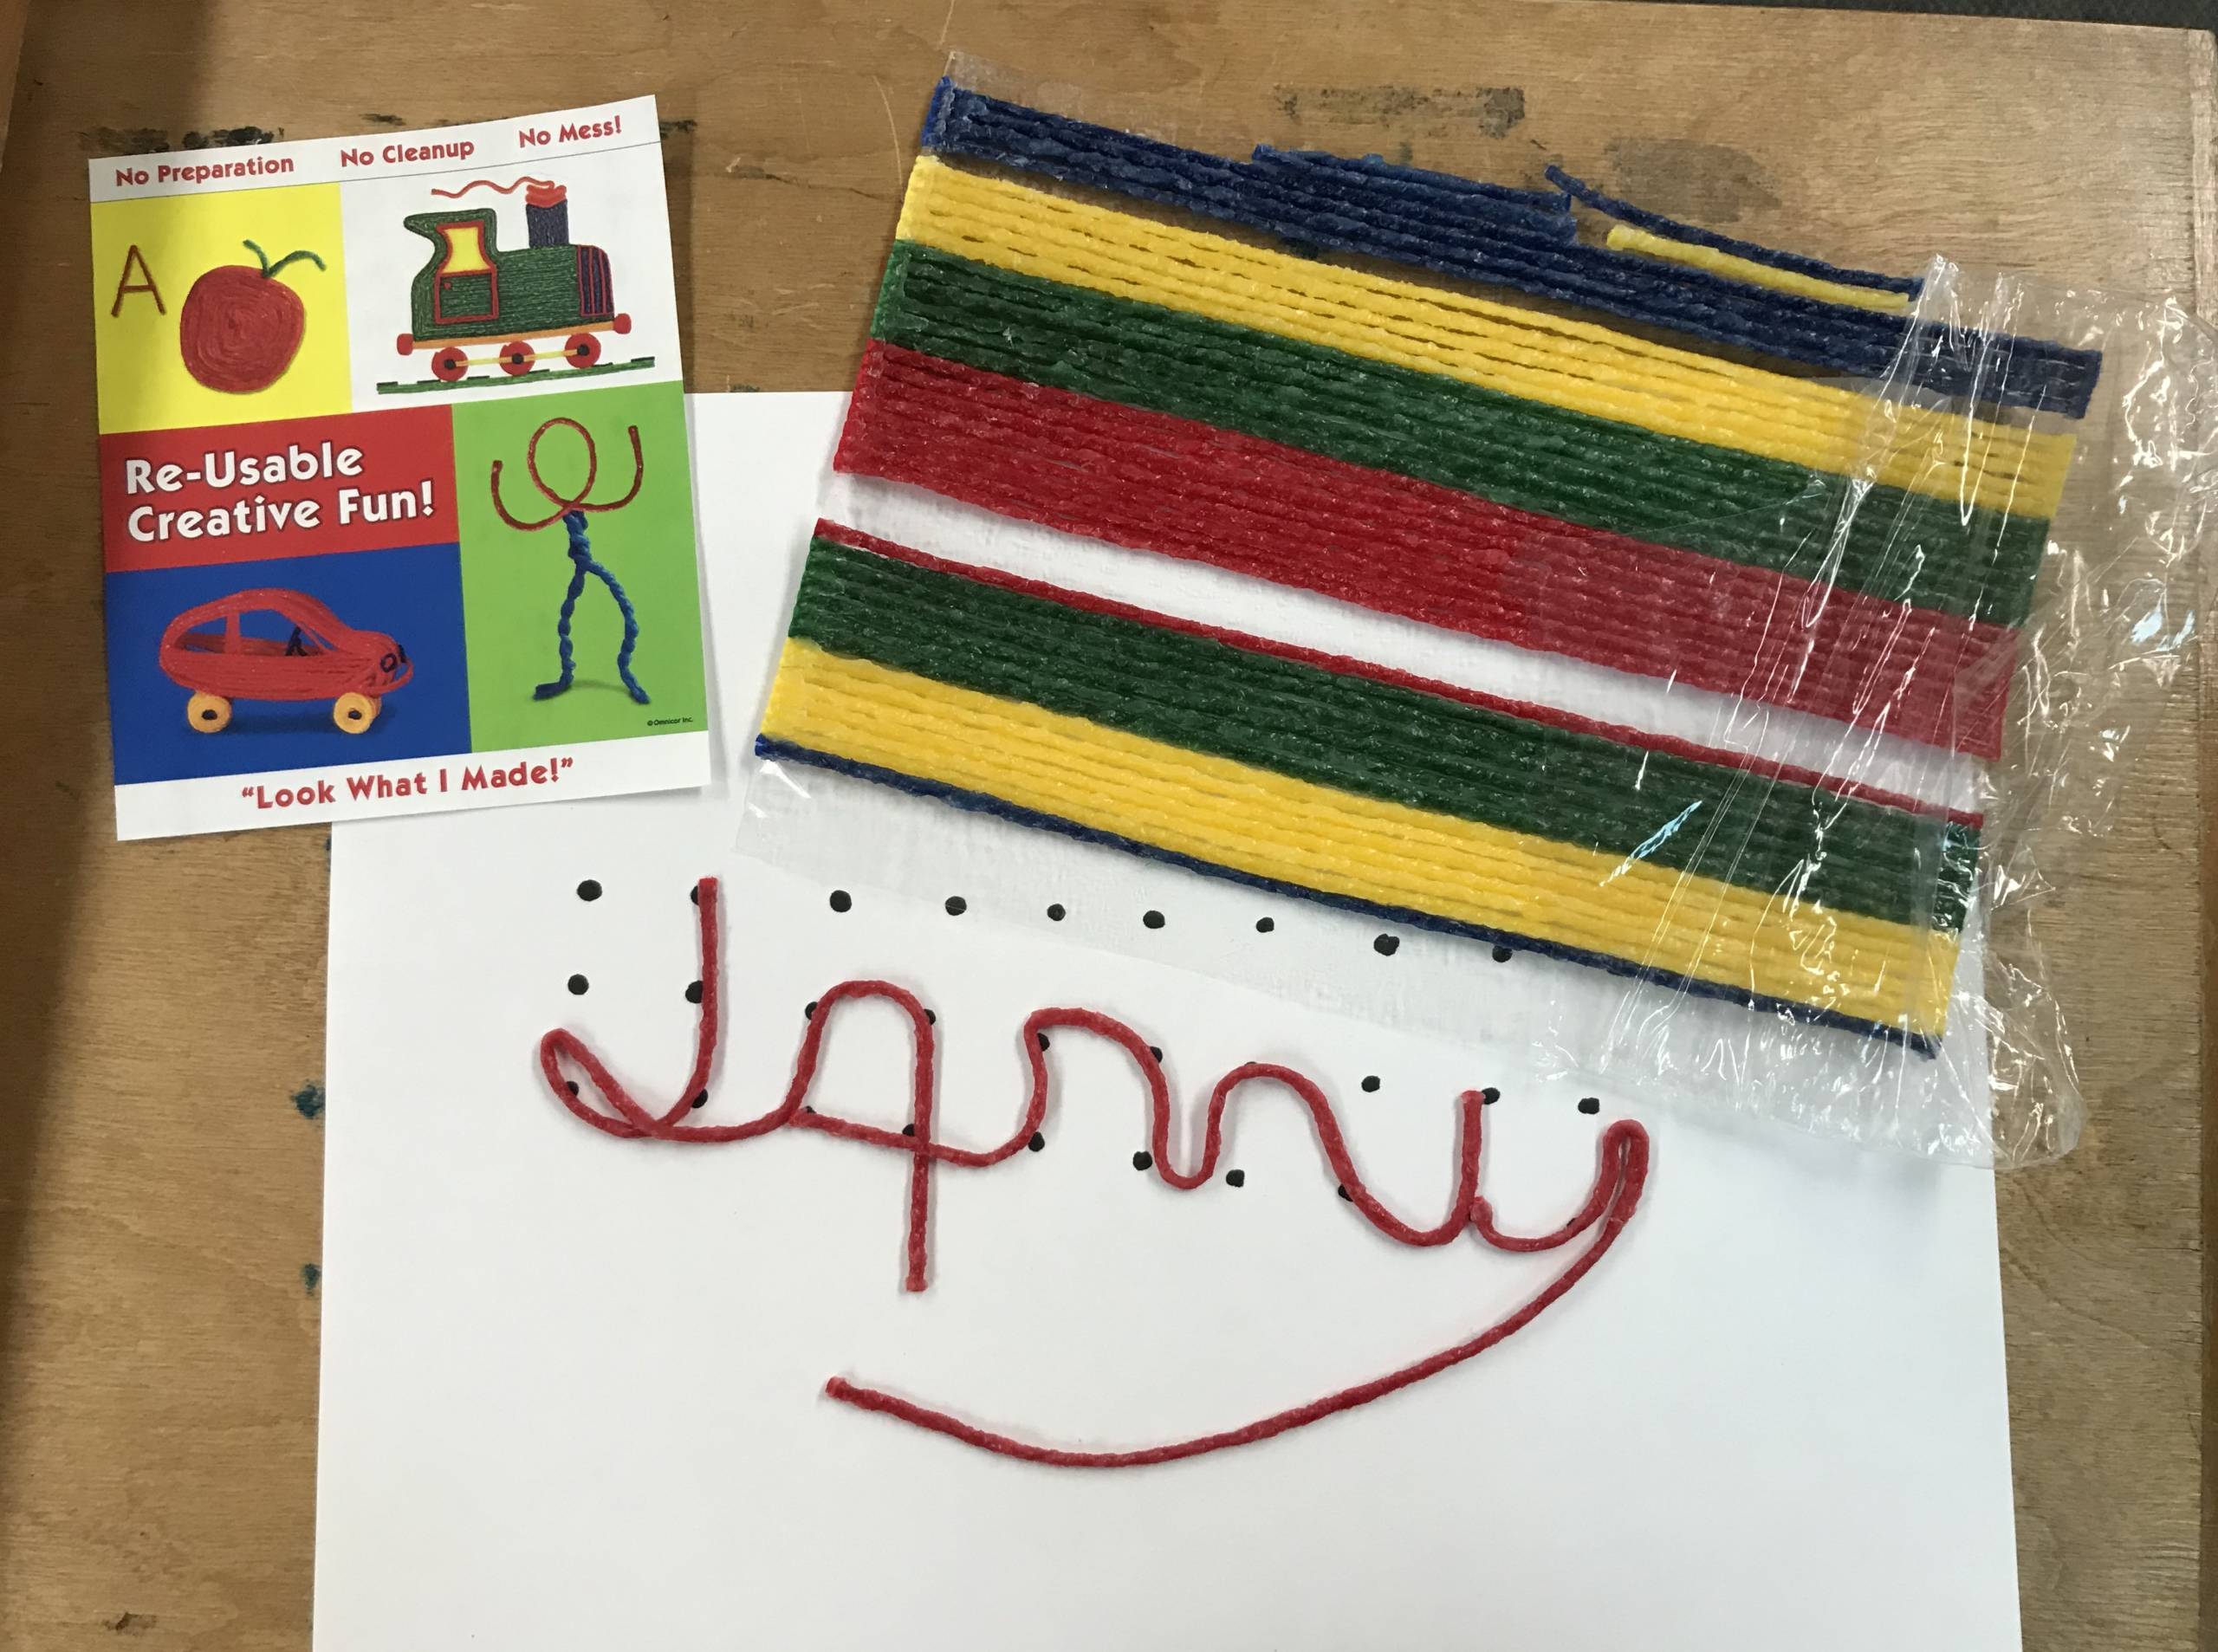
- You can use Wikki Stix to demonstrate what the signature looks like. It’s a form of orientation related mapping. You can buy Wikki Stix on Amazon, Walmart, and a variety of other places, such as craft stores.

- We often will just start by having the individual learn their initials and work towards learning a signature later once the initials are mastered.
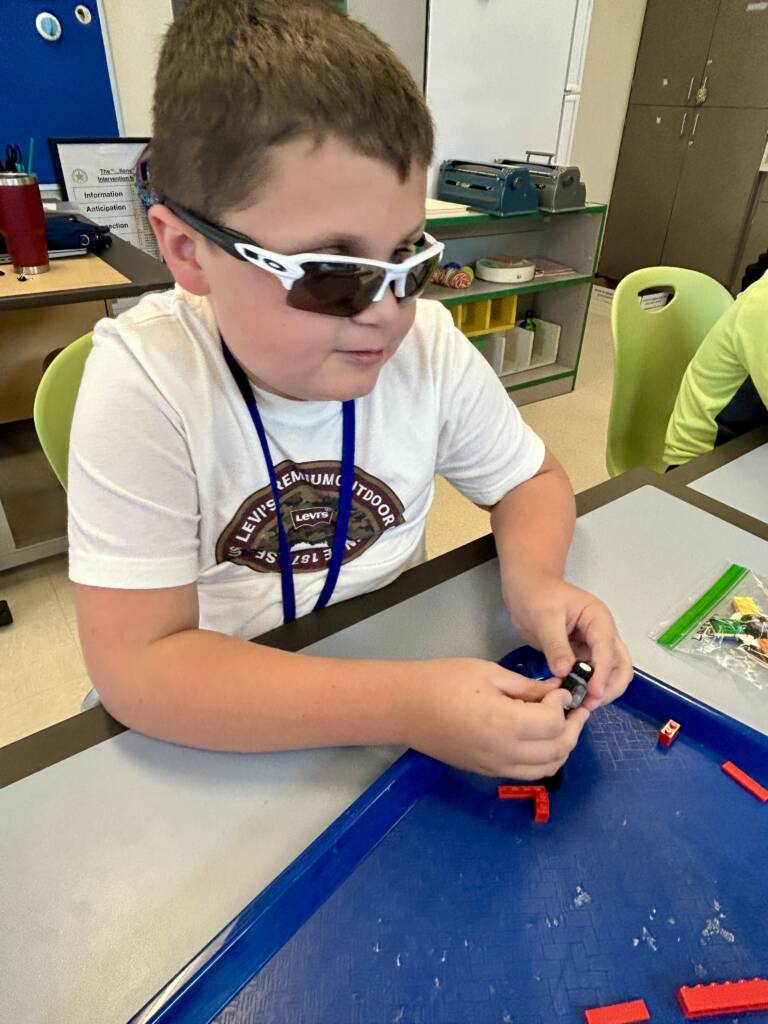
- For an individual who has low vision, consider using a CCTV or video magnifier while working on this skill. You can also use braille dots with someone who has vision to guide them while you practice (as demonstrated in the video example below).
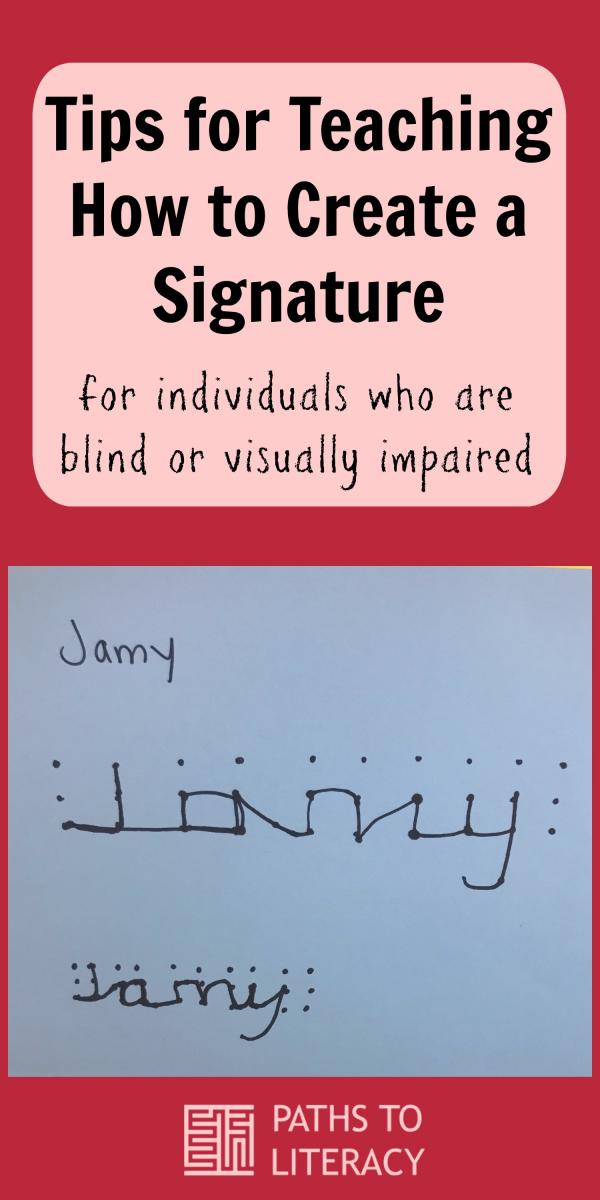
- For a student who knows braille, use braille cells as your guide. For example, to write the name Jamy, you will start with the letter “J” and tell the student to start at the top of cell number 4, go down to 5 and 6 and over to 3. Trace back to the right from 3 over to 3 on the next set of cells to the right to begin the “a”. Go from 3 up to 2 over to 5 to the right, down to 6, back to 3 on the left and drag the pen back to 6 up to 5 and at an angel to 3 to begin working on the letter “m”. From the 3 cell go up to 2 down to 6 up to 5 over to 3 on the next cell to the right. To begin the “y” go from 3 up to 2 down to 6 up to 5 and down below 6 at an angel to the left (I guess like a drop cell). It won’t be pretty, but it works and I hope that makes sense.

Watch the video below to see how braille cells can be used to create a signature.
- Use puff paint to create a braille cell model, so that the person can move a pen with a top on it through the cell to get the motion of what you are asking them to do. You can make a puff paint map of a name to feel as well.

Sample Lesson Plan for Teaching Students to Create a Signature
For a lesson plan I’d recommend this sequence:
- Holding the pencil/pen.
- Moving the pencil through the braille cells with motion using the puff paint model and a pen with a cap on, so the model isn’t ruined. Hand-over-hand may be helpful initially for this activity.
- Move towards having the individual practice with just verbal directions and no physical prompts.
- Once the student has somewhat mastered this skill, try using a signature guide.