For children with Cerebral/Cortical Visual Impairment (CVI), traditional children’s books with busy, overlapping illustrations present a significant barrier. To address these unique visual processing needs, platforms like the CVI Book Nook offer a library of free, accessible titles designed specifically to reduce visual complexity, feature realistic photographs, and present targets isolated on high-contrast black backgrounds (Dynamic Therapy Associates, 2024; Paths to Literacy, 2023).
Assess student needs
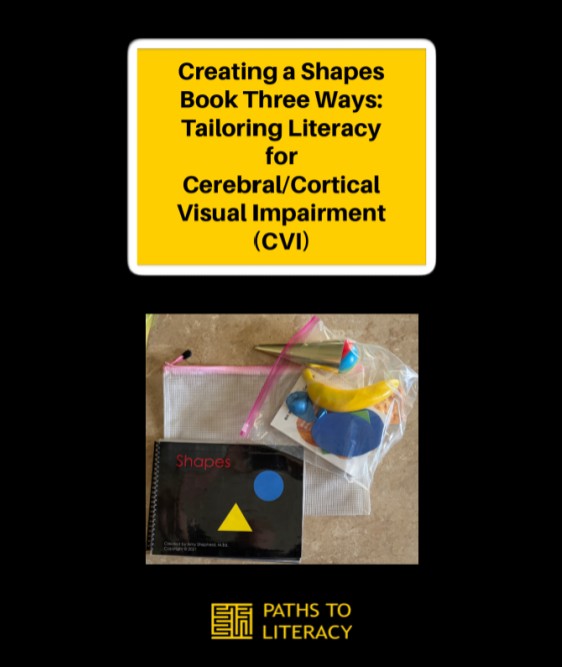
I am sharing this resource so your student’s team can determine if it could be helpful. Using the popular title “Shapes” from the CVI Book Nook. I will explore how a single digital file can be translated in three distinct structural formats to support different visual, tactile, and physical access needs. A core principle of CVI literacy instruction is meeting the student where they are on their sensory and visual journey – which can include moving systematically from three-dimensional objects to two-dimensional. Decisions around a student’s literacy should be made based on their Learning Media Assessment (LMA) and Functional Vision Assessment (FVA), which would include a CVI evaluation. Together, these evaluations can determine what type of learning media is most appropriate, and what types of accommodations are required. Two-dimensional materials, even adapted ones such as CVI Book Nook, are not appropriate for all students with CVI. For students for whom 2D is appropriate, materials should still be further customized to meet the needs of your specific student.
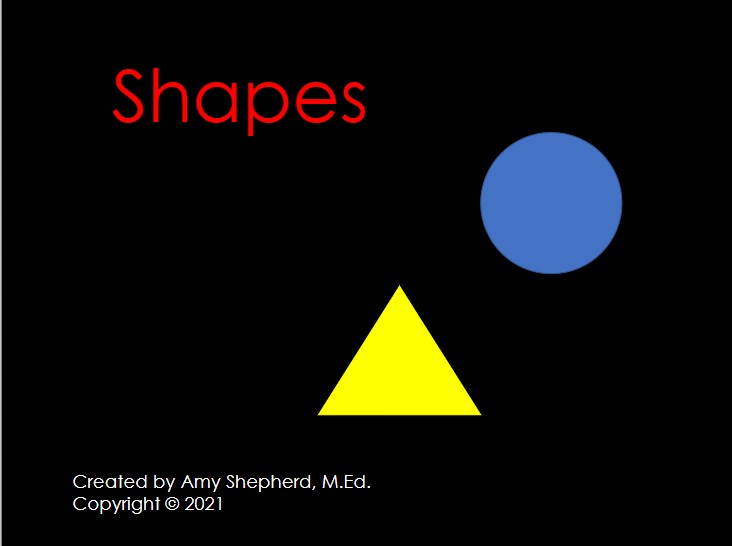
Method 1: The standard CVI Book Nook printout
This is best for students progressing to 2D image recognition who have good physical control and minimal visual fatigue.
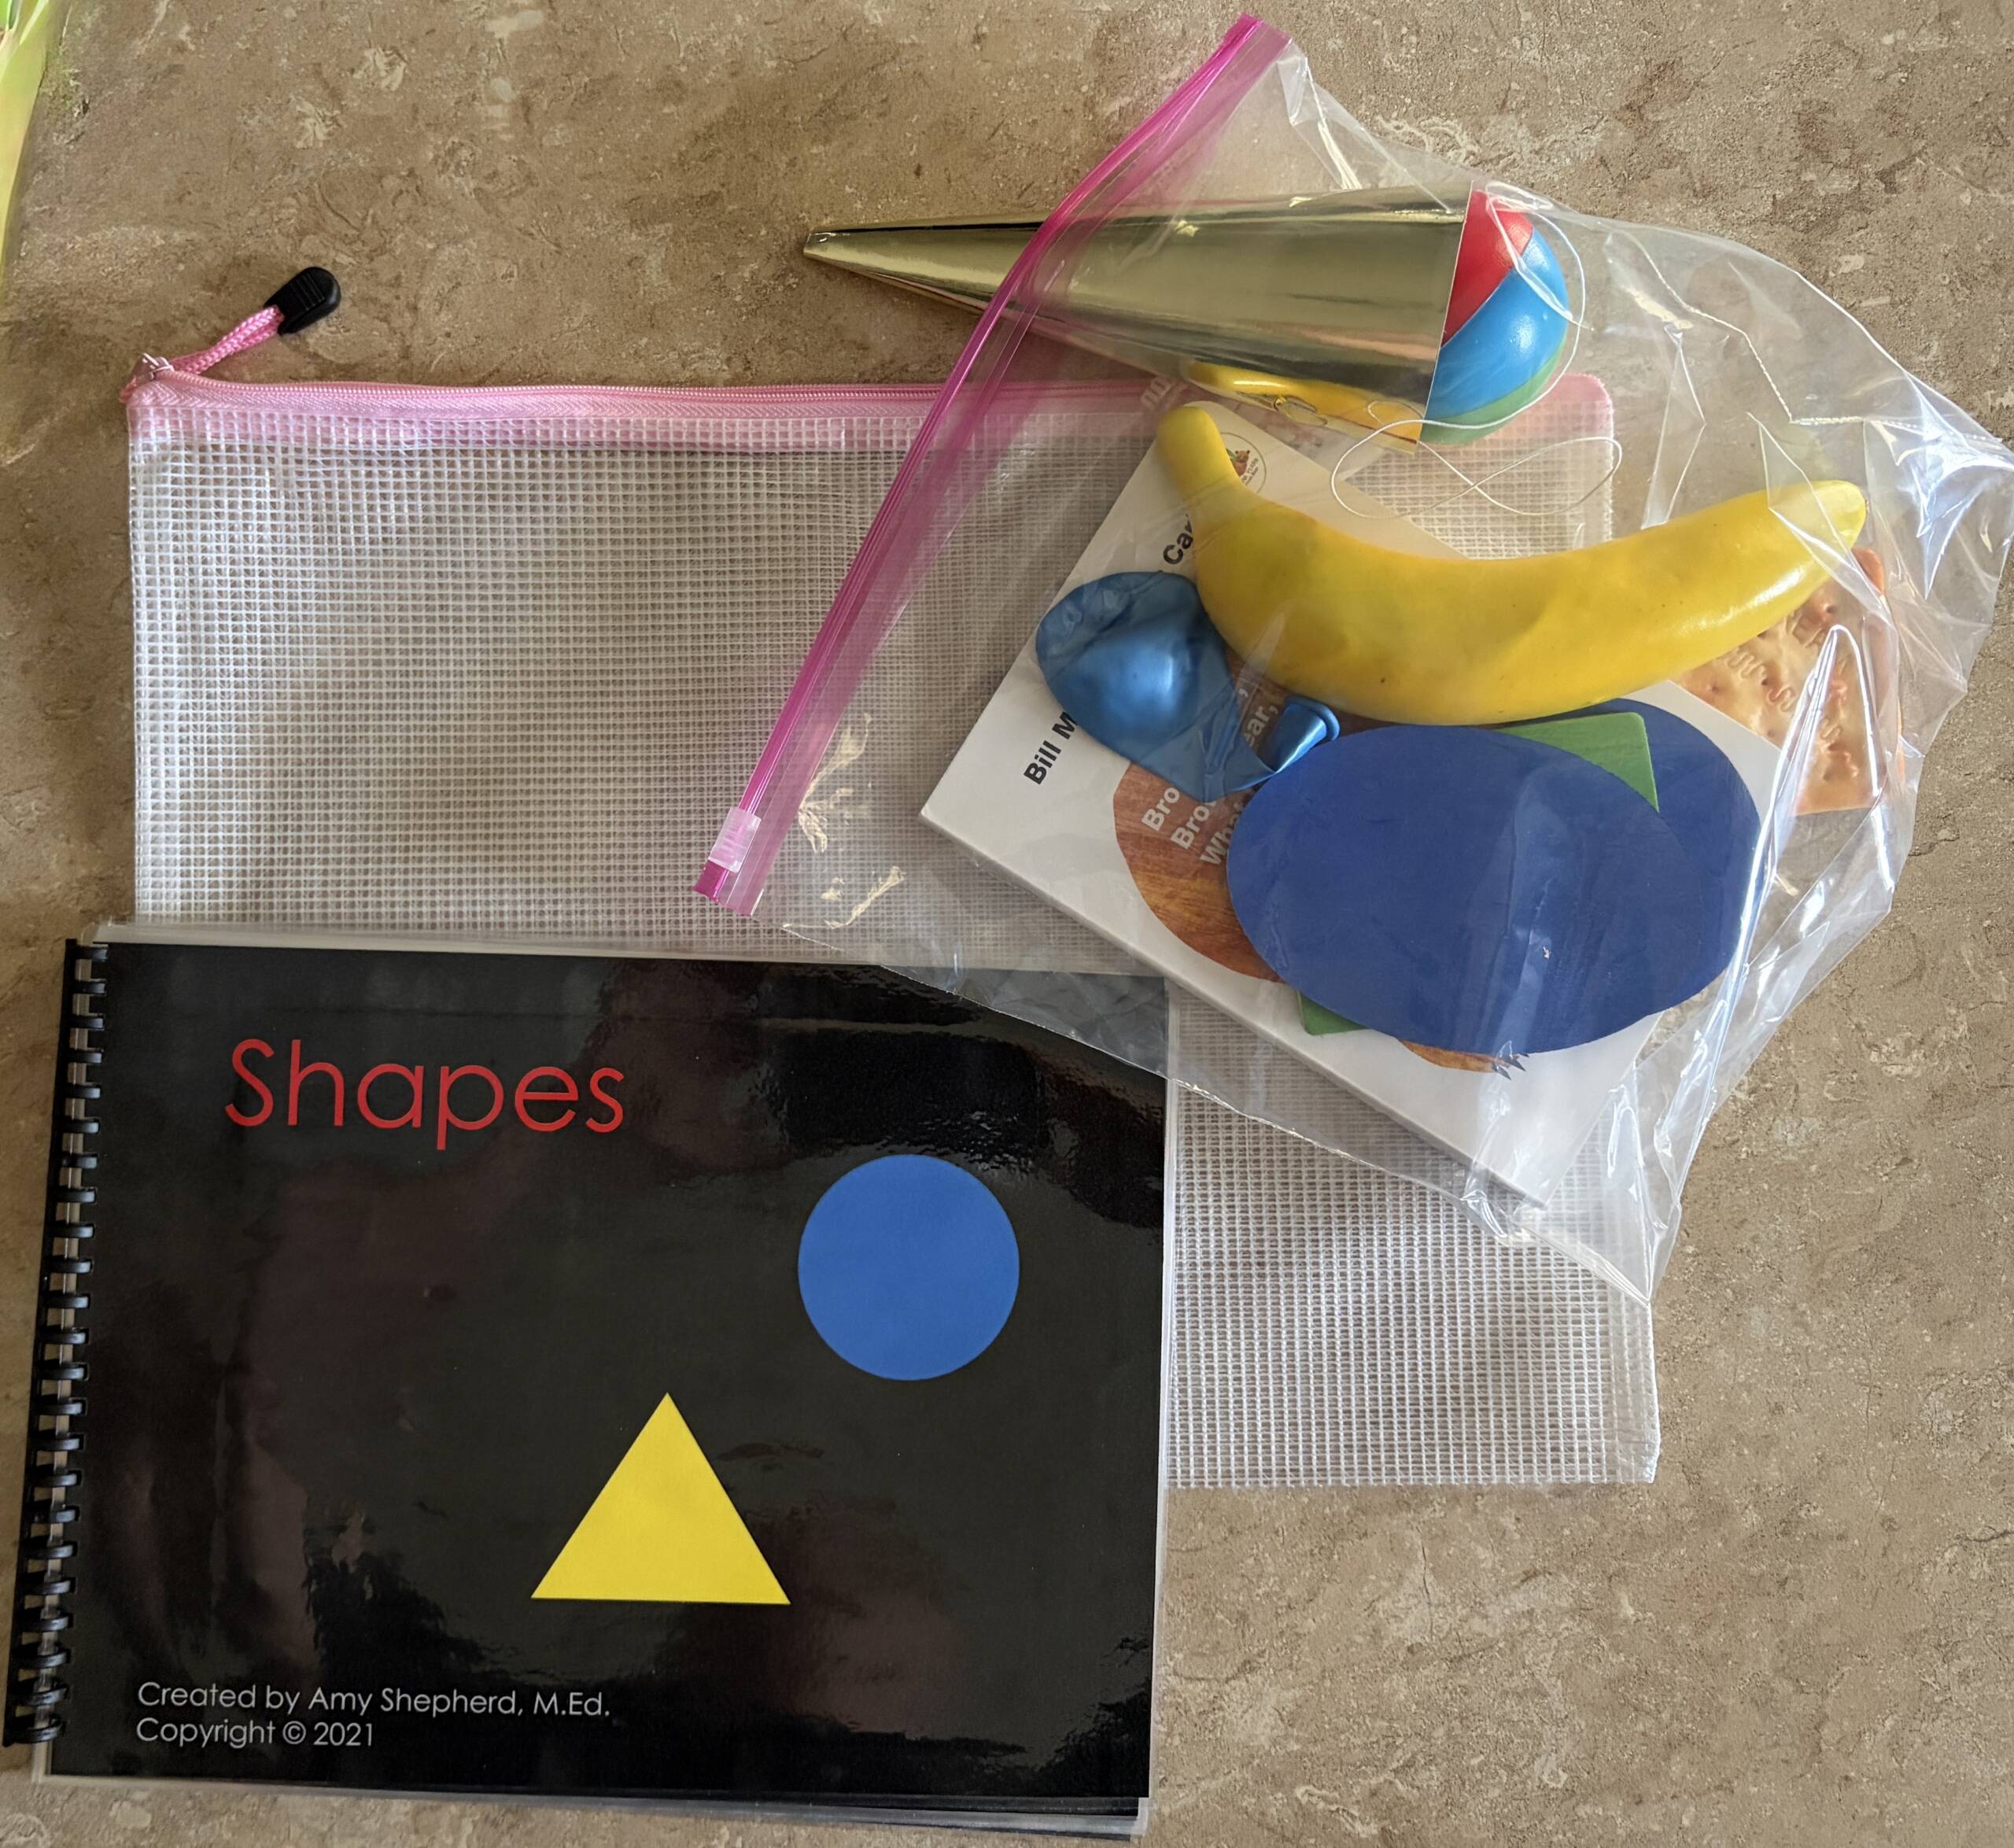
The most straightforward way to use the Shapes book is to print and construct it as the digital layout intends. The format acts as an excellent bridge for students who are ready to transition from real-world objects to identifying realistic photographs on a flat page.
Materials and assembly
- Download Shapes from cvibooks.com into Slides to easily make changes first (for example, changing the color or size of the text to best meet your student’s needs). Once it’s been modified, download it into a PDF for easy printing.
- Heavyweight matte cardstock (to reduce ambient glare, which can interfere with visual attention)
- Laminating pouches (matte finish preferred to reduce the glare)
- A book binding system. I use the Rayson TD-132 Binding System (a wire-loop binding machine that allows the pages to turn smoothly and lie completely flat)
Construction process
Print the pages on cardstock, use a matte laminate them for durability, and use a binding system to bind the edge. This layout technique is crucial for minimizing visual clutter and keeping the child’s focus entirely on a single geometric concept (Paths to Literacy, 2023).
Method 2: The object-reinforced “story box” bag
This is best for emergent readers who require concrete, 3D representations to build concept knowledge.
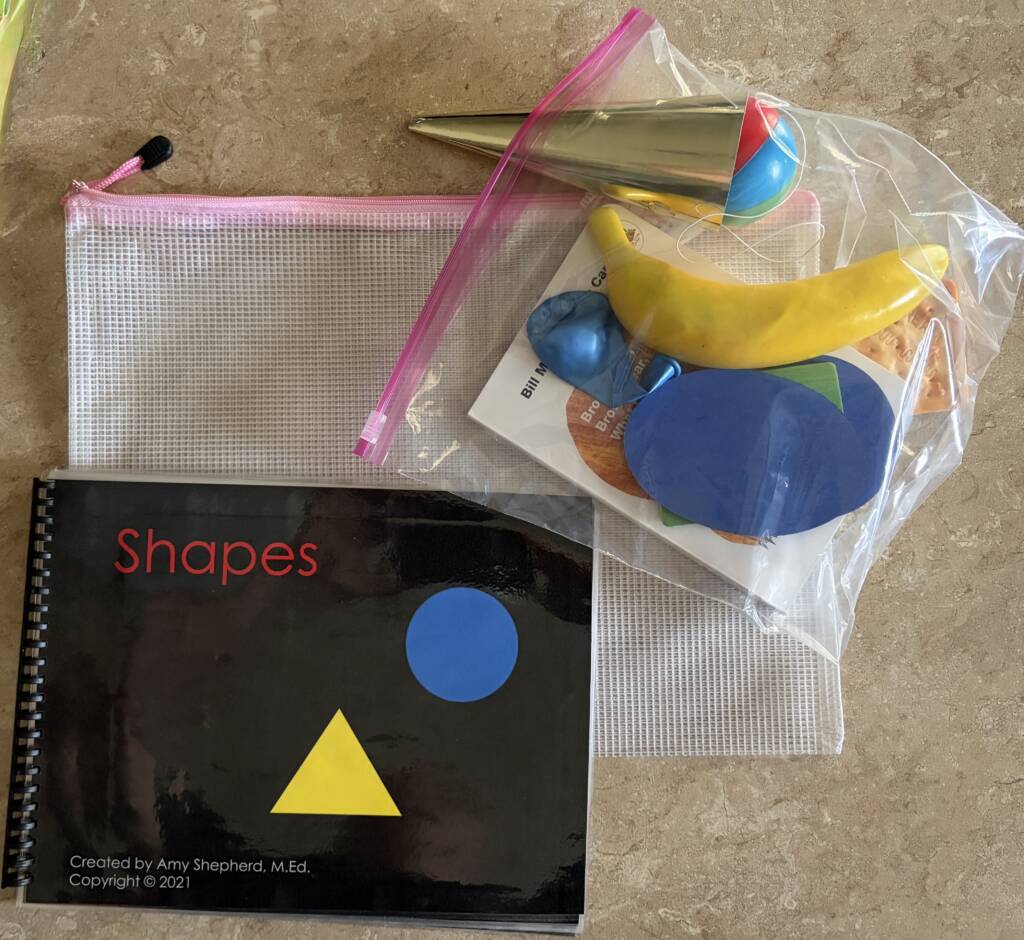
Children with CVI struggle with incidental learning; they must experience an object physically before they can understand its 2D representation. This method pairs the standard bound Shapes book with a literal “story box” or “object bag” filled with real world items that match the concepts mentioned in the text.
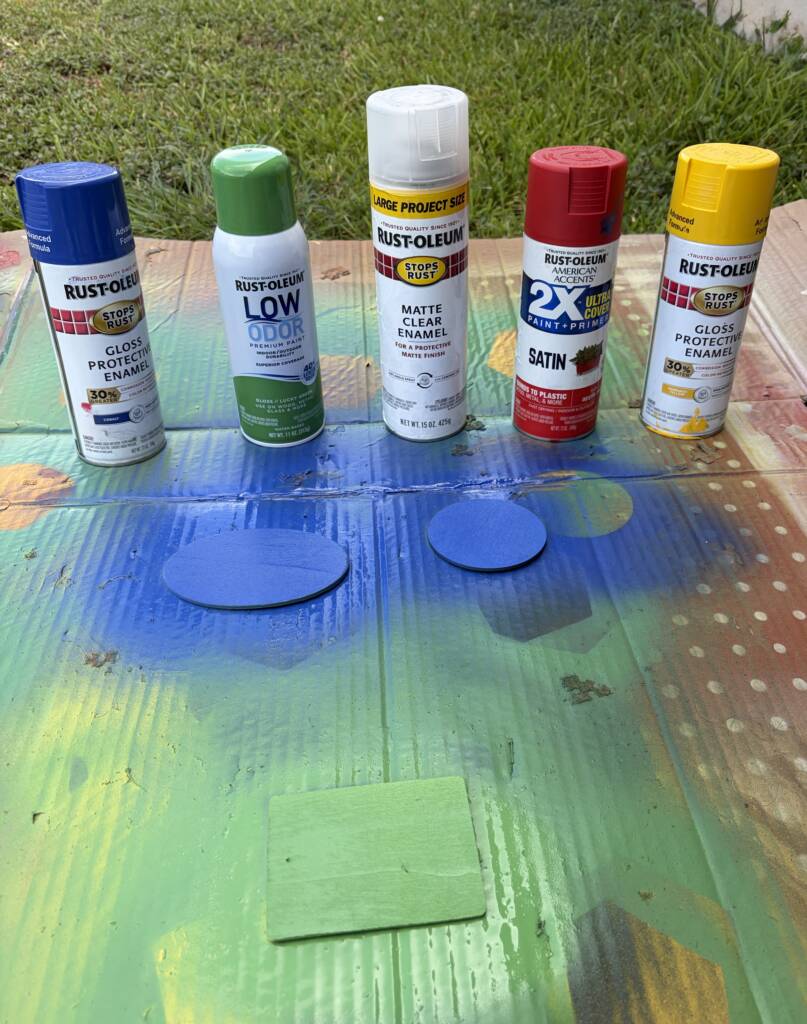
Materials and assembly
- An assembled bound Shapes book (from Method 1)
- A bag large enough to hold all the items and the book
- Real world shape analogs: a bright yellow banana (for a curve/crescent), a tan cracker, a balloon, a small multicolored beach ball, a wooden rectangle book.
- Wooden shapes painted to match the shape on the page. After painting I put a coat of clear shellac on each side.
Method 3: The stable texture binder
This is best for students with complex physical needs, low visual stamina, or those who require a dual tactile-visual approach to learning.
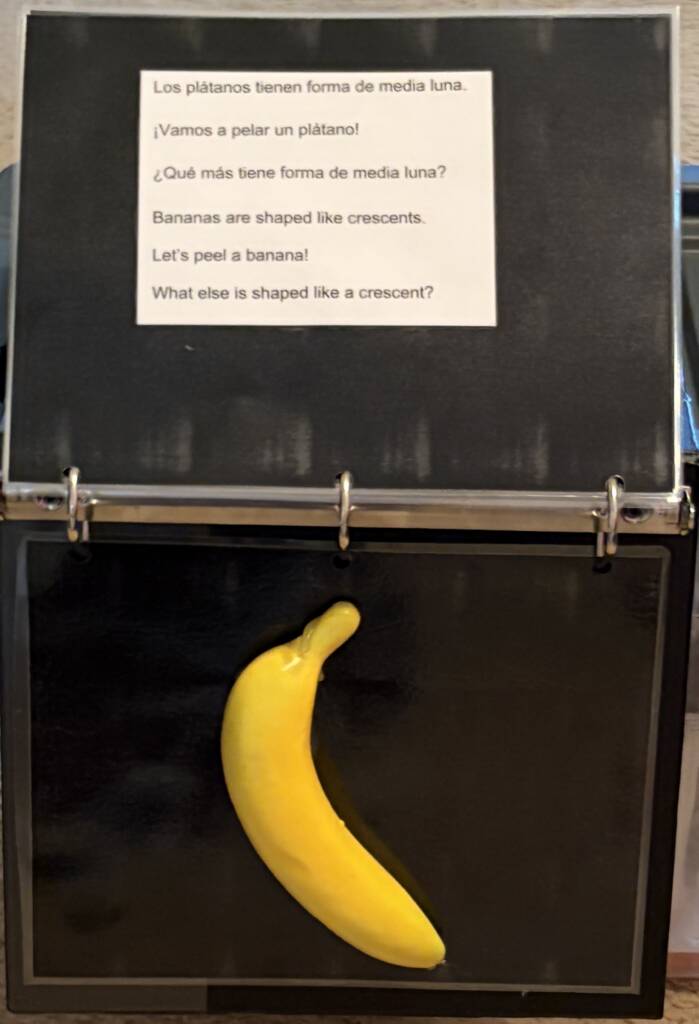
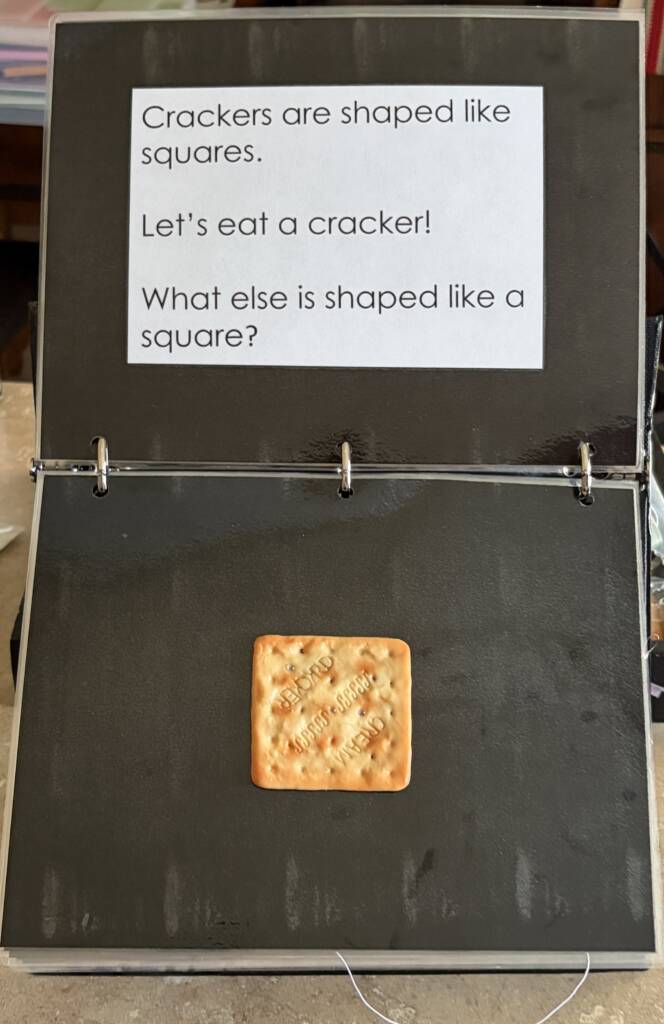
For many students, navigating pages that slip or bend can cause profound visual fatigue and motor frustration. Furthermore, incorporating tactile maps, images or 3D objects into a book expands accessibility for multi-sensory learners. This variation switches from a standard binding system to a heavy-duty binder so that utilizing the thick textures over the shapes is more durable.
Materials and assembly
- A sturdy, heavy-duty 3-ring binder (slant-D ring is optimal for smooth page turning)
- Black card stock laminated and punched with a 3-hole punch
- American Printing House for the Blind (APH) Carousel of Textures is a specialized kit filled with various distinct tactile materials like coarse sandpaper, corrugated ridges, smooth vinyl, and soft velour. It is available on quota funds
- High-tack adhesive or hot glue
Construction process
After laminating the black cardstock with the text for the next page on the back, I mounted the shapes/objects on them. For the balloon to keep its shape, I inserted an oval shaped cosmetic sponge. I had someone help with this as it definitely is a two person job! The binder provided a heavy, unmoving base that will anchor the book securely to a desk, slant board, or a wheelchair tray, allowing students with motor challenges to interact without knocking the book over.
I cut shapes out of the APH Carousel of Textures and overlay them precisely onto the corresponding printed shapes in the book. I tried to stick to the color scheme the original file used. This structural modification will allow the students to slide their fingers over the shape’s boundaries, reinforcing the visual perimeter with physical feedback which is a necessary scaffold for sensory integration (cvibooks.com, n.d.).
Adapting the book for home use
One of the method 3 books will be going to a student who currently receives homebound services. His family only speaks Spanish with limited knowledge of English. I wanted to ensure that the verbiage remains the same, so I transcribed the text from the book to Spanish. I model the use of the book and how to guide her son’s hands to the object. This parent has been amazing with her follow through and will frequently reach out with additional questions or ideas.
Conclusion
The CVI Book Nook serves as an invaluable foundation for building accessible literacy media, but the magic truly happens during implementation. The books listed on the site are all free. There are several book formats: PowerPoint, PDF, or Text File. You can also download them to Apple Books or as a MP4 movie.
By understanding whether a student needs a standard 2D layout (Method 1), a multi-sensory 3D pairing (Method 2), or a structurally stabilized tactile presentation (Method 3), TVIs and parents can optimize engagement, mitigate visual fatigue, and cultivate a genuine love of reading.
References
- American Printing House for the Blind (APH). (n.d.). Carousel of Textures. https://www.aph.org/product/feel-n-peel-sheets-carousel-of-textures/
- CVI Book Nook. (n.d.). Shapes. https://www.cvibooks.com/shapes
- CVI Book Nook. (n.d.). How to use these materials. https://www.cvibooks.com/how-to-use-these-materials
- Dynamic Therapy Associates. (2024, February 15). Exploring literacy for students with CVI: The CVI Book Nook for families, educators, and SLPs. https://www.mydynamictherapy.com/blog/exploring-literacy-for-students-with-cvi-the-cvi-book-nook-for-families-educators-and-slps
- Paths to Literacy. (2023, November 7). Discover FREE literary gems from the CVI Book Nook. https://www.pathstoliteracy.org/discover-free-literary-gems-from-the-cvi-book-nook/